
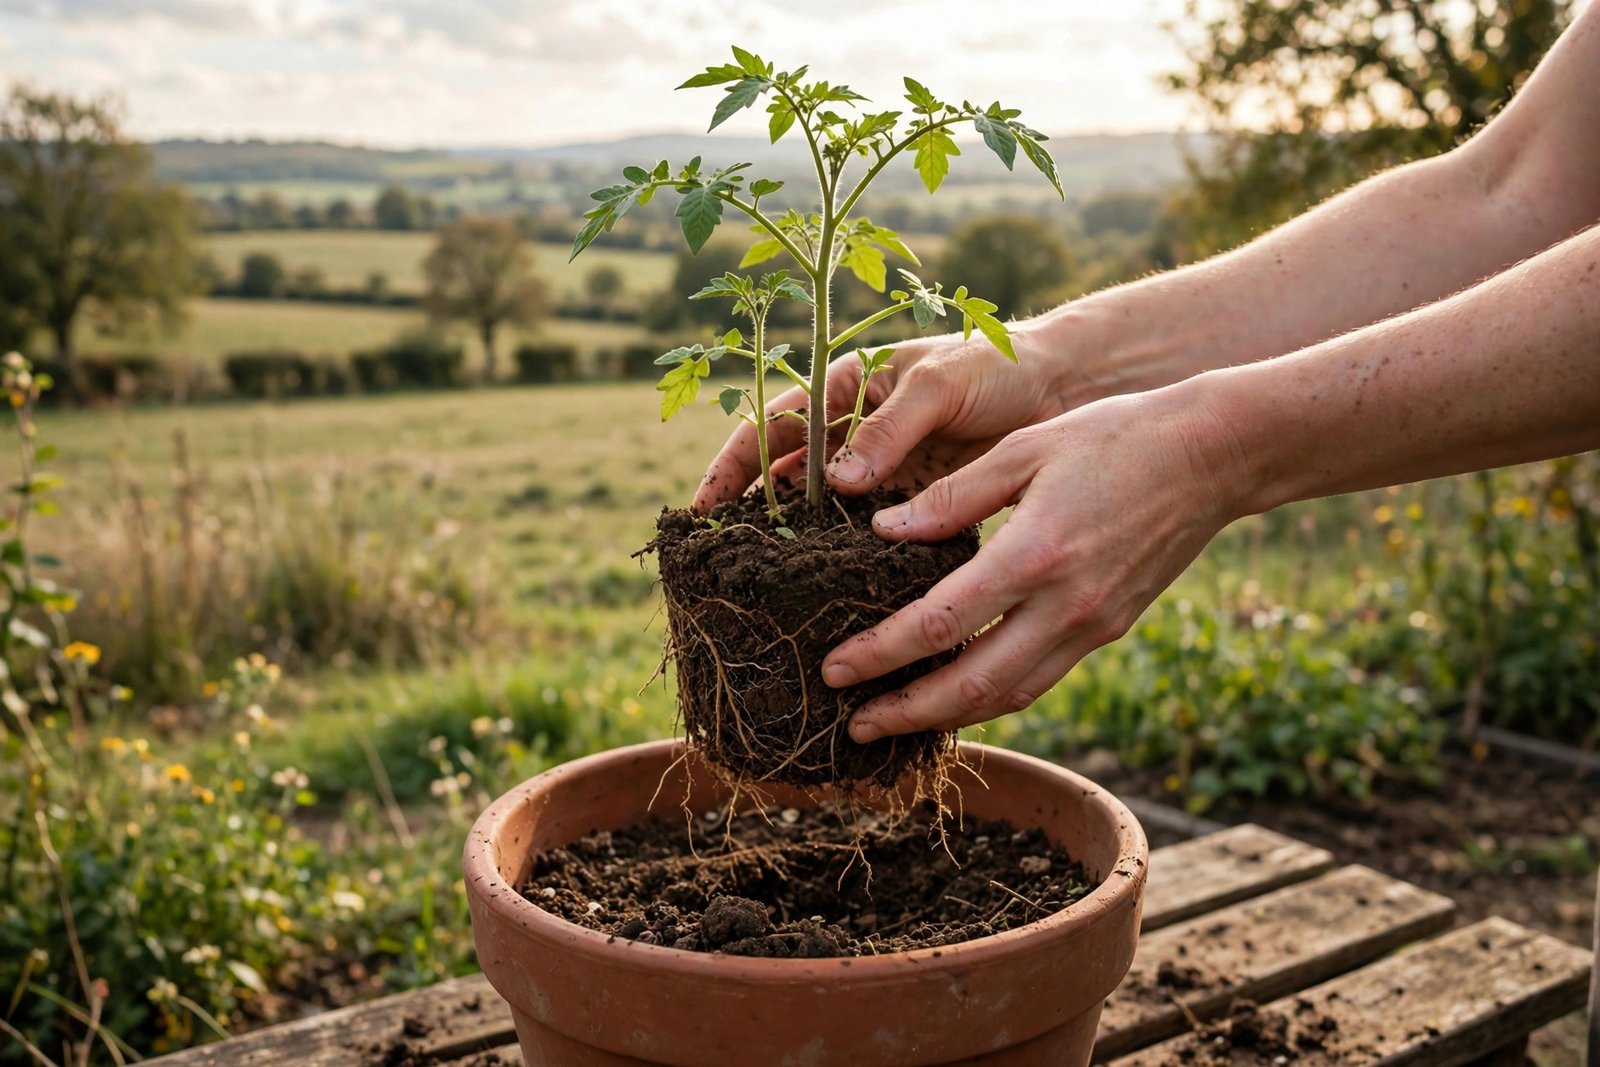
Picture the classic repotting disaster: a perfectly happy pothos moved into a pot three times too big, the stem buried two inches deeper than it had been, watered enthusiastically — then declining over the next month. That wasn’t repotting; that was relocating it to a swamp and hoping for the best. The good news: learning how to repot a plant is one of the easiest plant skills, and once you know the handful of things that actually matter, your plants will bounce back in days instead of sulking for weeks.
Quick Tips:
- Repot in spring or early summer when the plant is actively growing.
- Go only 2 inches (5 cm) bigger in pot diameter — never leap to a giant pot.
- Water the plant a day before repotting so the root ball holds together.
- Keep the plant at the same soil depth it was before.
- Wait 2–4 weeks before fertilizing after a repot.
How to tell your plant actually needs repotting
Beginners repot too often, usually out of enthusiasm. Plants don’t need a new home on a schedule — they need one when the old home stops working:
- Roots poking out of the drainage holes. A stray root tip is fine. A dense mat of roots circling the bottom is a clear signal.
- Water runs straight through. You water, and it pours out the bottom almost instantly while the plant still looks thirsty. The pot is mostly roots now, with barely any soil left to hold moisture.
- The plant is top-heavy and tips over. All growth, no ballast.
- Growth has stalled in growing season. A plant that put out new leaves all last spring but nothing this spring, despite good light and water, may be out of room and out of nutrients.
- White crust on the soil surface. That’s salt and mineral buildup from fertilizer and hard water. Sometimes a good flush fixes it; sometimes the soil is just spent and it’s time for fresh mix.
One thing that is not a reason to repot: you bought a prettier pot. Tempting — but if the plant is thriving, leave it alone. Repot when the plant needs it, not when the decor does.
When to repot (and when to wait)
Spring and early summer are the sweet spot. The plant is waking up, days are getting longer, and it has a full growing season ahead to settle into its new home and fill it with roots. April and May cover most repotting.
Avoid repotting in winter if you can. The plant is semi-dormant, light is low, and recovery is slow — a stressed plant in winter invites root rot. That said, emergencies override the calendar: don’t let a plant suffer in a cracked pot until spring out of principle.
Also wait if the plant is already stressed — freshly moved to a new home, recovering from pests, or dropping leaves from some mystery cause. Repotting is a disruption — don’t stack it on top of another one. Fix the first problem, let it stabilize for a couple of weeks, then repot.
What you’ll need
Gather everything before you start. Repotting with soil-covered hands while hunting for the watering can is how messes happen. A good kit:
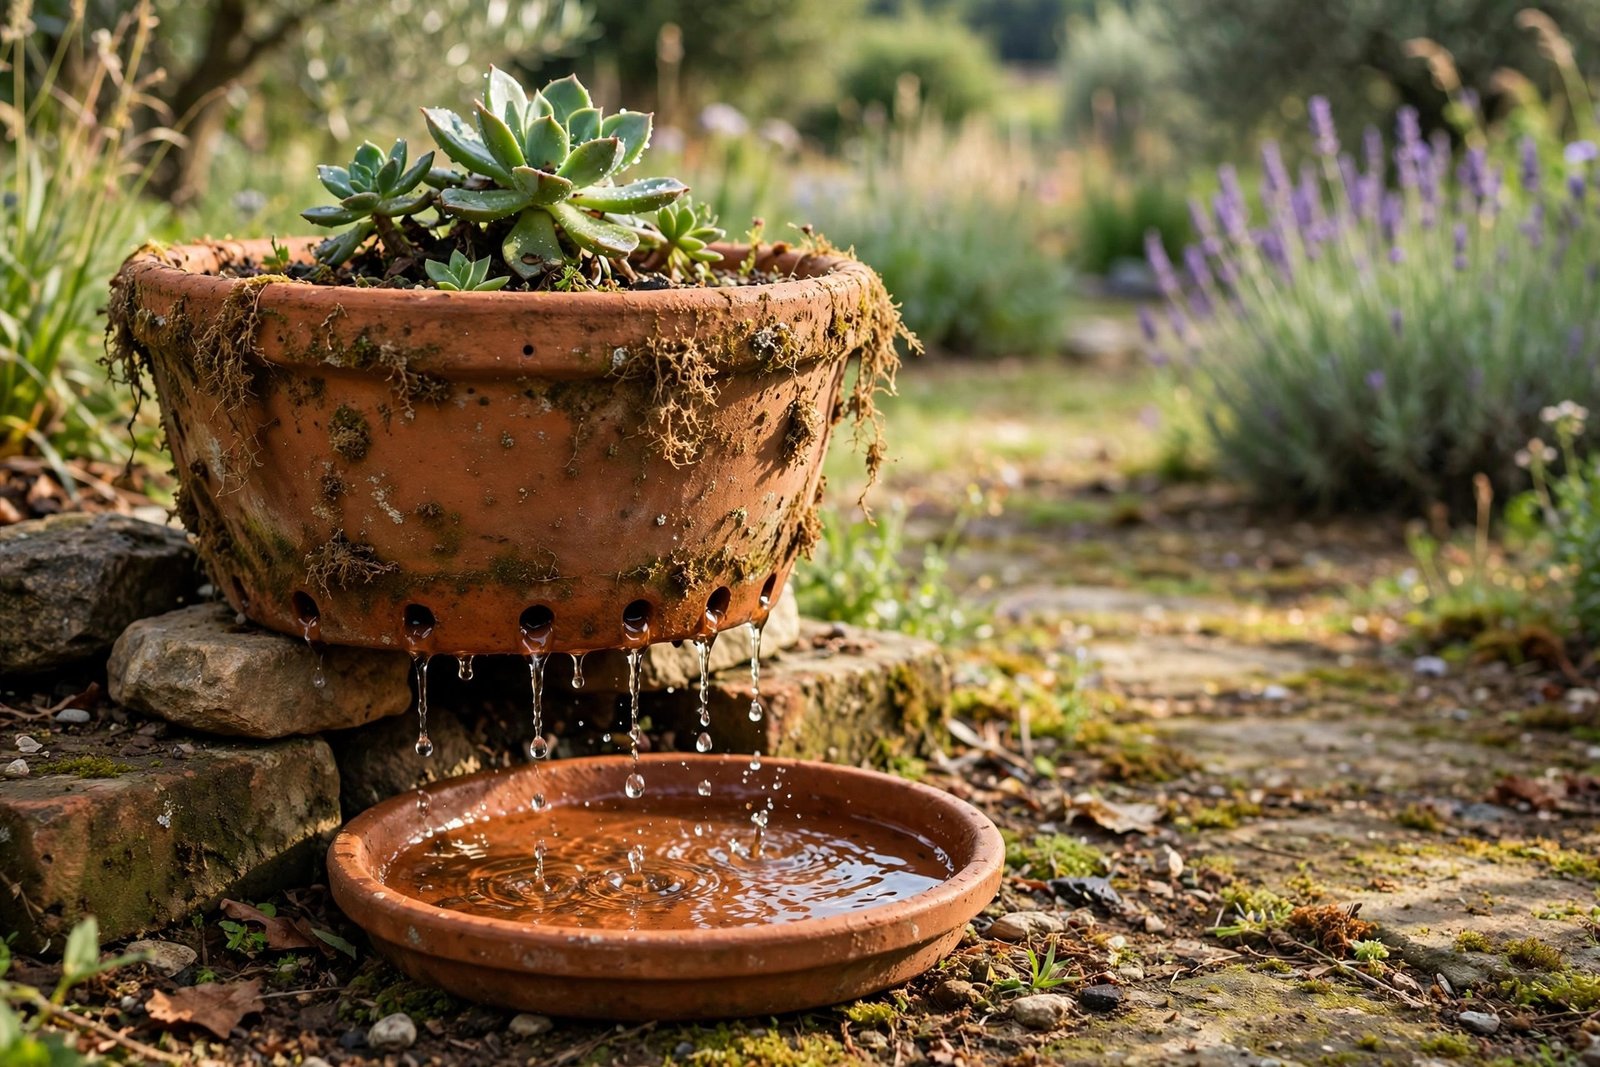
- The new pot — 2 inches (5 cm) wider than the current one, with drainage holes. If you need convincing, read the piece on why pots need drainage holes.
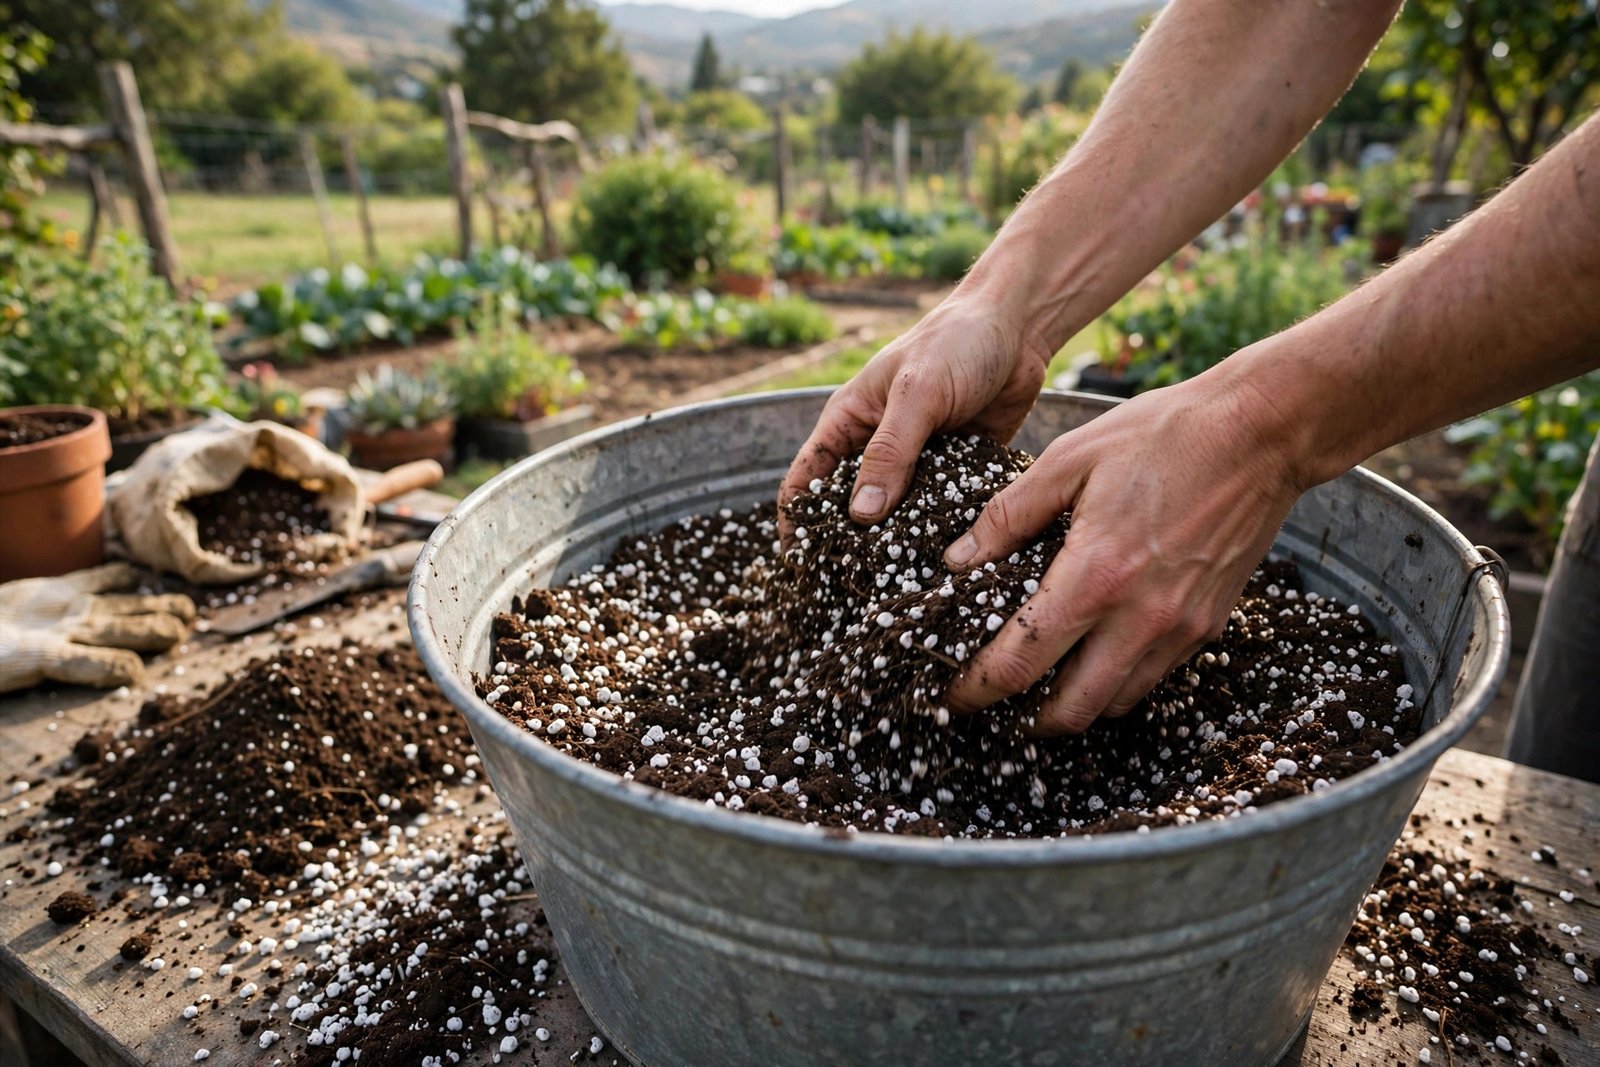
- Fresh potting mix — appropriate for the plant. A general houseplant mix works for most things; cacti and succulents want a grittier mix. The DIY potting soil recipe costs a fraction of bagged mix.
- Mesh or a coffee filter to cover the drainage holes.
- A trowel or large spoon, and a chopstick for teasing roots.
- Watering can with room-temperature water.
- Newspaper, a tarp, or a tray under your work area. Potting mix gets everywhere. Everywhere.
Choosing the right new pot
The single biggest repotting mistake is going too big. A small root system in a huge pot is surrounded by soil it can’t drink from, so that soil stays wet, and wet soil with no roots in it is where rot starts. The rule: 2 inches (5 cm) larger in diameter than the current pot. A 6-inch plant goes into an 8-inch pot. That’s it.
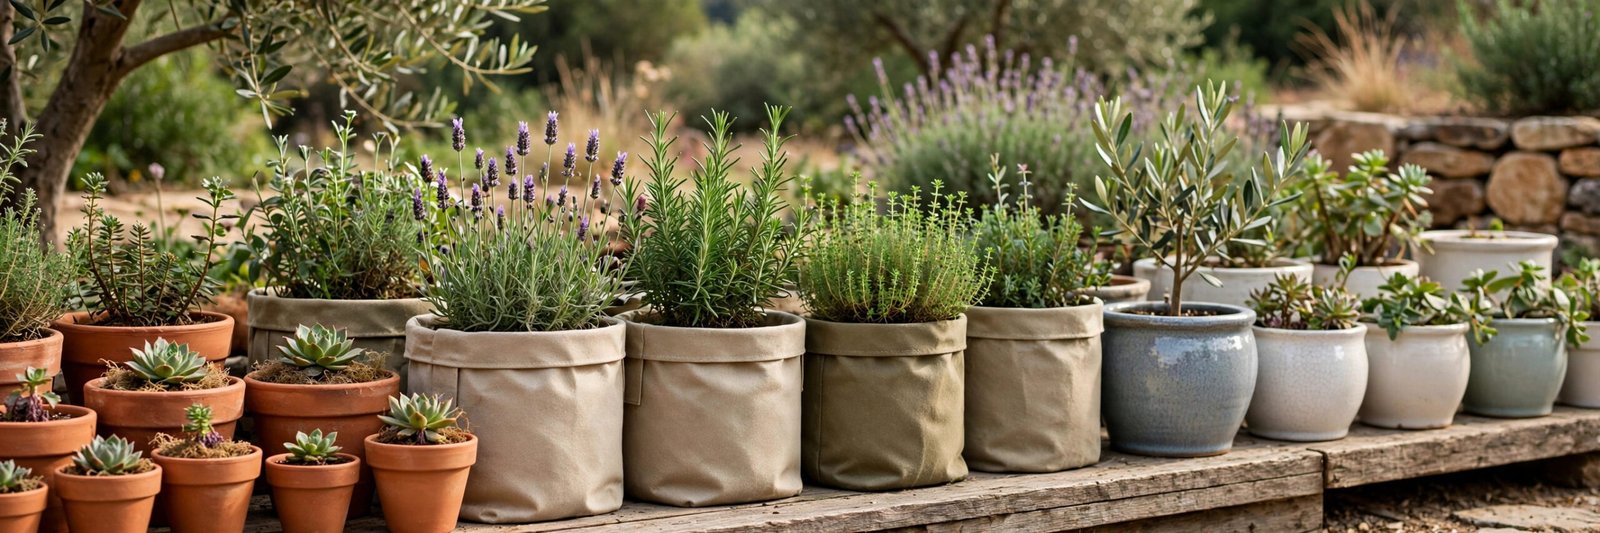
Material matters too. If you’re a chronic overwaterer (no judgment — many are), terracotta is your friend; it breathes and dries faster. If you tend to forget watering, glazed ceramic or plastic holds moisture longer. The guide to choosing the right pots and containers compares materials in detail.
And check the depth, not just the width. Most houseplants want a pot roughly as deep as it is wide. Going much deeper just creates a soggy basement layer the roots may never reach.
How to Repot a Plant: The Process, Step by Step
Step 1: Water a day ahead
Water the plant thoroughly 24 hours before repotting. Moist soil holds the root ball together, which means less root damage when you slide it out. Trying to repot a bone-dry plant is like trying to move a sandcastle — it crumbles, and every crumble tears roots.
Step 2: Prep the new pot
Cover the drainage holes with mesh or a coffee filter. Add a layer of fresh potting mix to the bottom — enough that when the plant sits on it, the top of its root ball will end up about an inch (2.5 cm) below the pot’s rim. That gap is your watering reservoir; without it, water just sheets off over the edge.
Step 3: Get the plant out
This is the part beginners dread, and it’s honestly fine. Tip the pot on its side. Squeeze a plastic nursery pot gently all around to loosen things. For rigid pots, run a butter knife around the inside edge. Then slide the plant out with one hand supporting the base of the stems — never yank it by the foliage.
If it’s truly stuck, don’t force it. Tap the rim firmly against a table edge while supporting the plant, or as a last resort, cut a plastic nursery pot away. A sacrificed nursery pot is cheaper than a torn-up root system.
Step 4: Inspect and loosen the roots
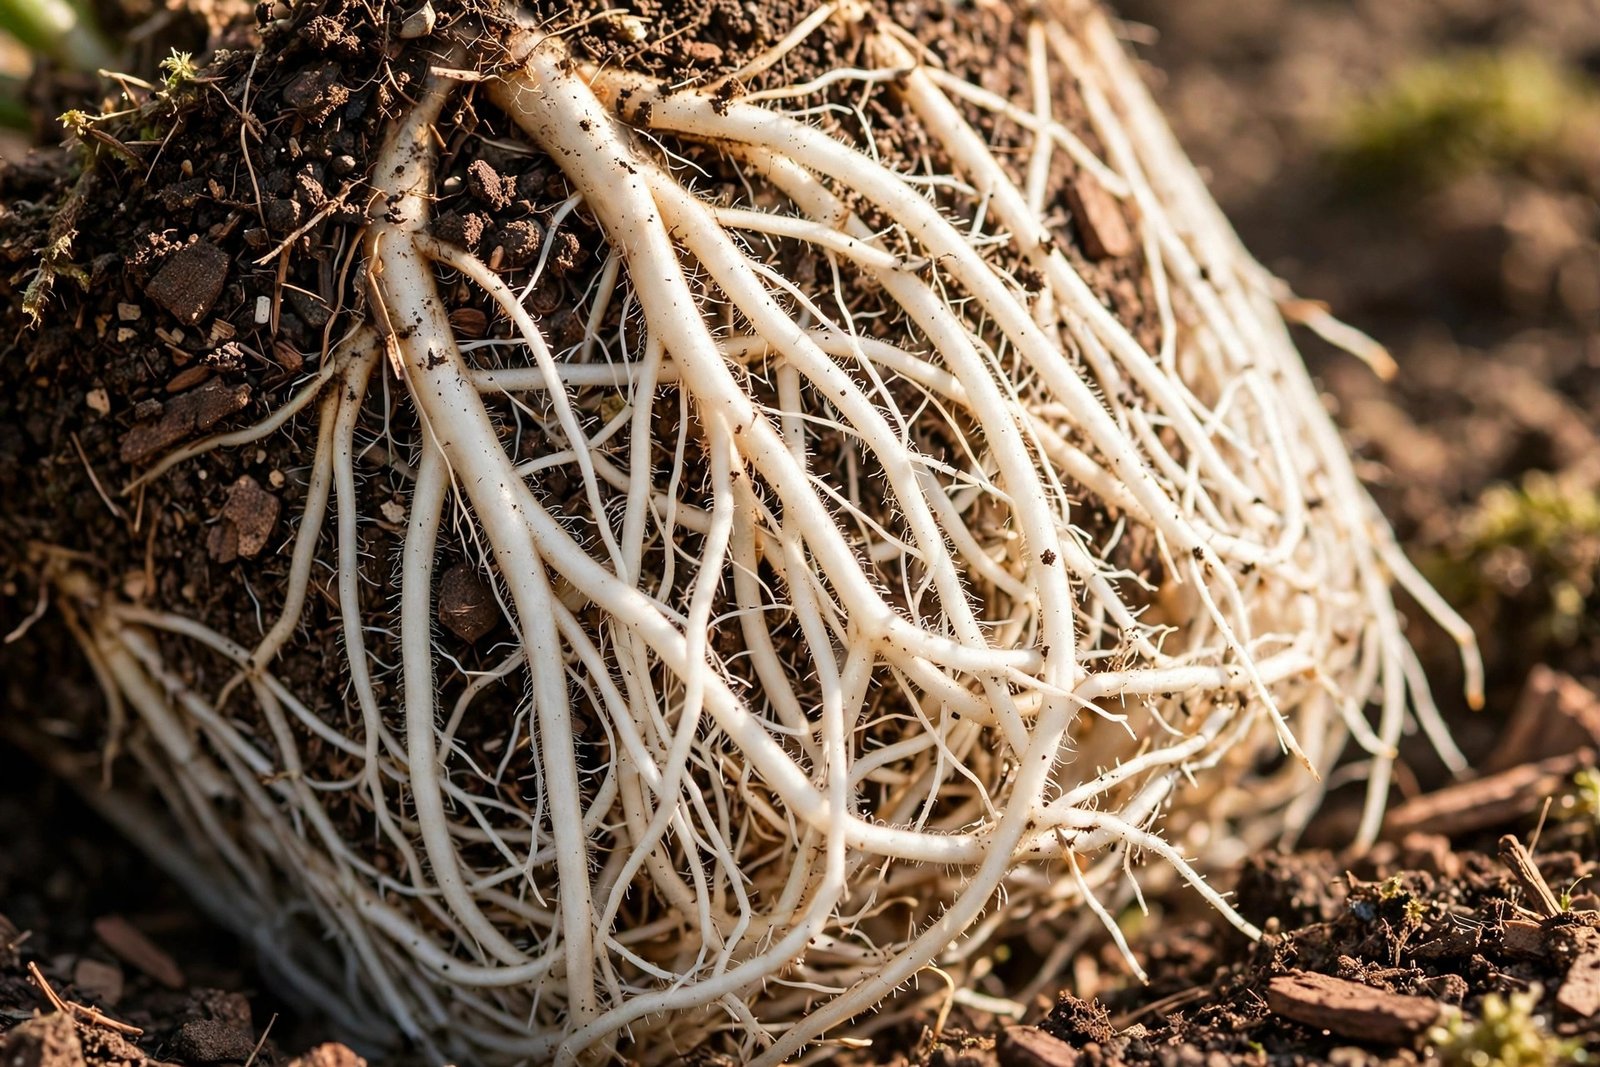
Look at the root ball. Healthy roots are white or light tan and firm. Brown, black, or mushy roots are rotted — trim them off with clean scissors. Don’t be timid here; rotten roots don’t recover, and leaving them just spreads the problem.
If the roots are circling densely around the bottom (classic root-bound), tease them loose with your fingers or a chopstick. For a severely matted root ball, slice a few vertical cuts about half an inch deep with a clean knife. It sounds brutal — the plant will thank you. Circling roots that never get redirected can eventually strangle the plant.
Step 5: Position and fill
Set the plant in the center of the new pot. The top of the root ball should sit about an inch (2.5 cm) below the rim, at the same level it was buried before. Planting deeper than before is a classic mistake — buried stems rot.
Fill in around the sides with fresh mix, pressing gently to eliminate big air pockets. Don’t pack it like concrete; roots need air. Fill, tap the pot on the table to settle, fill a little more, and stop when the soil is level.
Step 6: Water thoroughly
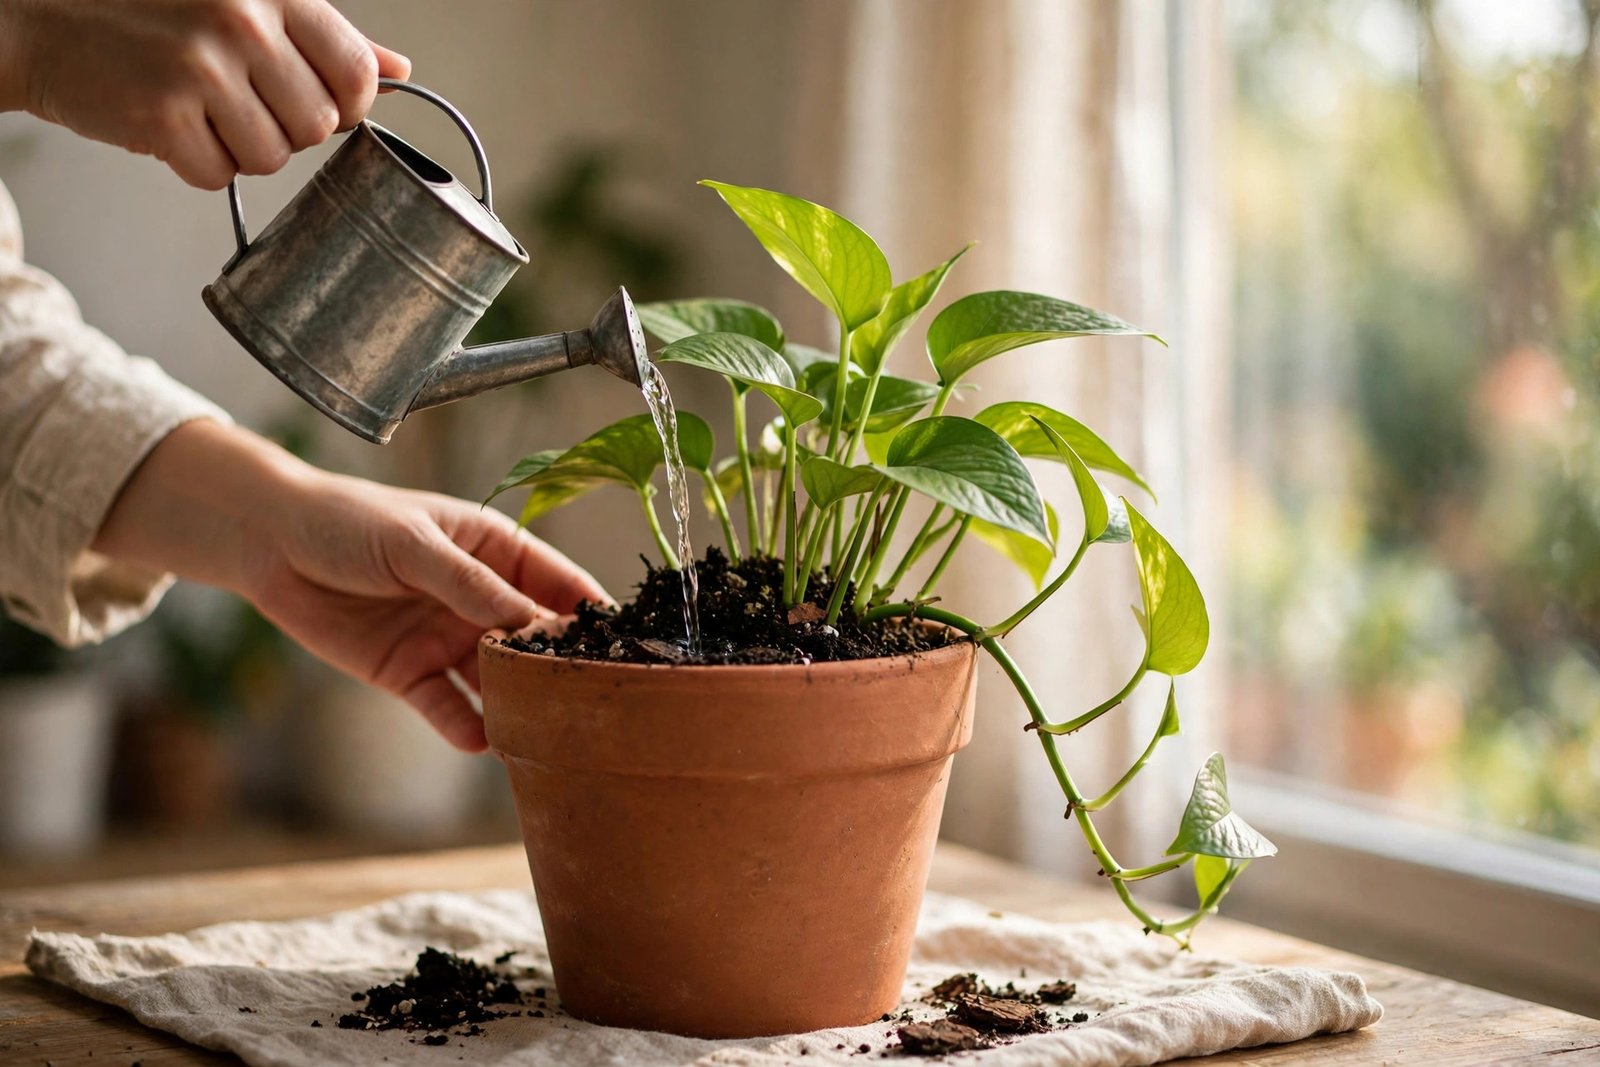
Water slowly until it runs freely from the drainage holes. This settles the soil around the roots and eliminates air pockets. Then empty the saucer after 20 minutes — letting the fresh repot sit in a puddle undoes all your good work. If the soil level drops noticeably, top it up with a little more mix.
Aftercare: the first two weeks
Your plant just went through something. Treat it gently for a bit:
- Light: bright, indirect light. Not a dark corner (it needs energy to recover) and not harsh direct sun (it’s stressed enough).
- Water: keep the soil lightly moist but not soggy for the first week or two, then return to the plant’s normal routine. When in doubt, check with your finger — the guide to how often to water indoor plants explains how.
- No fertilizer for 2–4 weeks. Fresh potting mix already contains nutrients, and fertilizer on stressed roots can burn them.
- Expect a sulk. A few droopy leaves in the first week is normal transplant shock, not failure. If the plant perks up within 7–10 days, you did everything right.
Mistakes I made so you don’t have to
- The giant pot leap. A pothos moved from 6 inches to 12 inches: the soil stays wet for two weeks, and root rot follows. Two inches at a time. Always.
- Burying the stem deeper. Stems that were above soil are not designed to be below it. They rot. Keep the soil line where it was.
- Repotting a dry plant. Half the root ball can crumble away. Water the day before, every time.
- Reusing old, exhausted soil. Repotting into the same tired mix topped up with a handful of fresh stuff stalls a plant for months. Fresh mix matters — old mix is compacted and depleted. (You can refresh it with compost — see the post on composting in a small apartment — but a straight reuse is rarely worth it.)
- Fertilizing immediately. Burned roots, yellow edges, a very sad calathea. Wait the full 2–4 weeks.
Questions I Get Asked a Lot
How often should I repot?
Most houseplants need it every 1–2 years; fast growers like pothos and monsteras lean toward yearly, slow growers like snake plants and ZZ plants can go 2–3 years. But go by the signs — roots, water behavior, stalled growth — not the calendar.
Can I repot in winter?
You can, but spring is better. If it’s an emergency (broken pot, severe root rot, soil that won’t absorb water at all), do it. Just be extra gentle, keep the plant warm afterward, and expect slower recovery. For routine upsizing, wait for spring.
My plant is drooping after repotting. Did I kill it?
Probably not. Mild drooping for a few days is textbook transplant shock. Keep it in bright indirect light, don’t overwater it out of guilt (the number one post-repot killer — see the overwatering vs underwatering guide), and give it a week. If it’s still declining after 10–14 days, unpot and check the roots.
Should I divide the plant while repotting?
If it’s a plant that naturally forms clumps — snake plants, peace lilies, ZZ plants, spider plants — repotting day is the perfect moment. Tease or cut the root ball into sections, each with roots and foliage, and pot them separately. Two plants for the effort of one. Just make sure each division is substantial; a division with three leaves and two roots is a gamble.
Can I put a small plant straight into a big decorative pot?
Only if you keep it in its appropriately-sized nursery pot and set that inside the decorative one. Planting directly into oversized soil volume is the giant-pot mistake with extra steps. The nursery-pot-inside-cachepot trick gives you the look with none of the rot risk.
Repotting feels daunting at first. But once you know how to repot a plant properly, it becomes one of the nicest spring rituals — coffee, newspaper on the table, a row of plants getting fresh starts. Take it slow, size up gently, water the day before, and your plants will barely notice. And if one sulks for a week? That’s normal. Give it time, not more water.

2 Comments on “How to Repot a Plant Without Killing It: Step-by-Step”