My first spider plant cost me £2 from the supermarket clearance shelf. It was 2020, it was sitting in a bone-dry 4-inch pot, and it had brown tips on every single leaf. I bought it out of pure pity — the plant equivalent of taking home the saddest dog at the shelter.
Within a year, that £2 rescue was hanging in my kitchen window, throwing out arching stems of babies like it was getting paid per plantlet. I gave them to friends, potted them for the bathroom, and still had spares. That’s spider plant care in a nutshell: nearly unkillable, wildly generous, and the perfect first houseplant. Here’s everything that little rescue taught me — light, water, brown tips, and turning one plant into ten.
Quick Tips:
- Bright, indirect light is ideal — but spider plants tolerate low light too.
- Water when the top inch (2–3 cm) of soil feels dry; empty the saucer afterwards.
- Brown leaf tips usually mean tap-water chemicals or dry air — cosmetic, not fatal.
- Pot up the dangling babies to make free plants for every room (and every friend).
- Feed lightly in spring and summer only; skip fertiliser in autumn and winter.
Light: Bright Is Best, Dim Is Fine
A spider plant’s happy place is bright, indirect light — an east-facing window, a north-facing window, or a few feet back from a sunny south or west window with a sheer curtain in between. In that spot mine grew fast, stayed a rich green-and-cream, and started making babies within its first year.
But here’s why it’s a classic beginner plant: it tolerates low light far better than most houseplants. It’s one of my go-to recommendations alongside the other low-light houseplants that survive anything — the solid green variety especially will sit in a dim hallway and merely grow slowly rather than sulk. The trade-off is real, though: in low light you’ll get slower growth, fading variegation, and far fewer babies.
The one light mistake to avoid is harsh, direct afternoon sun. I moved mine to a west-facing windowsill one July and the leaves developed pale, bleached patches within a week — sun scorch. A sheer curtain fixed it, and the damaged leaves eventually got trimmed off. Bright yes, baking no.
Water: The Forgiving Part
Watering a spider plant is about as low-stress as it gets. Let the top inch (2–3 cm) of compost dry out, then water thoroughly until it drains from the bottom, and empty the saucer after twenty minutes. In summer that’s roughly weekly for mine in a 6-inch pot; in winter, every two to three weeks is plenty.
They forgive forgetfulness because of their thick, tuberous roots, which store water like little underground reservoirs. My early mistake was the opposite: I watered every Sunday on a schedule, whether the soil was dry or not. The leaf bases went soft and black-tipped — classic overwatering. The finger test fixed it: dry, water; damp, walk away. Room-temperature water, by the way — they don’t love an icy shock.
The Babies: Turning One Plant Into Ten
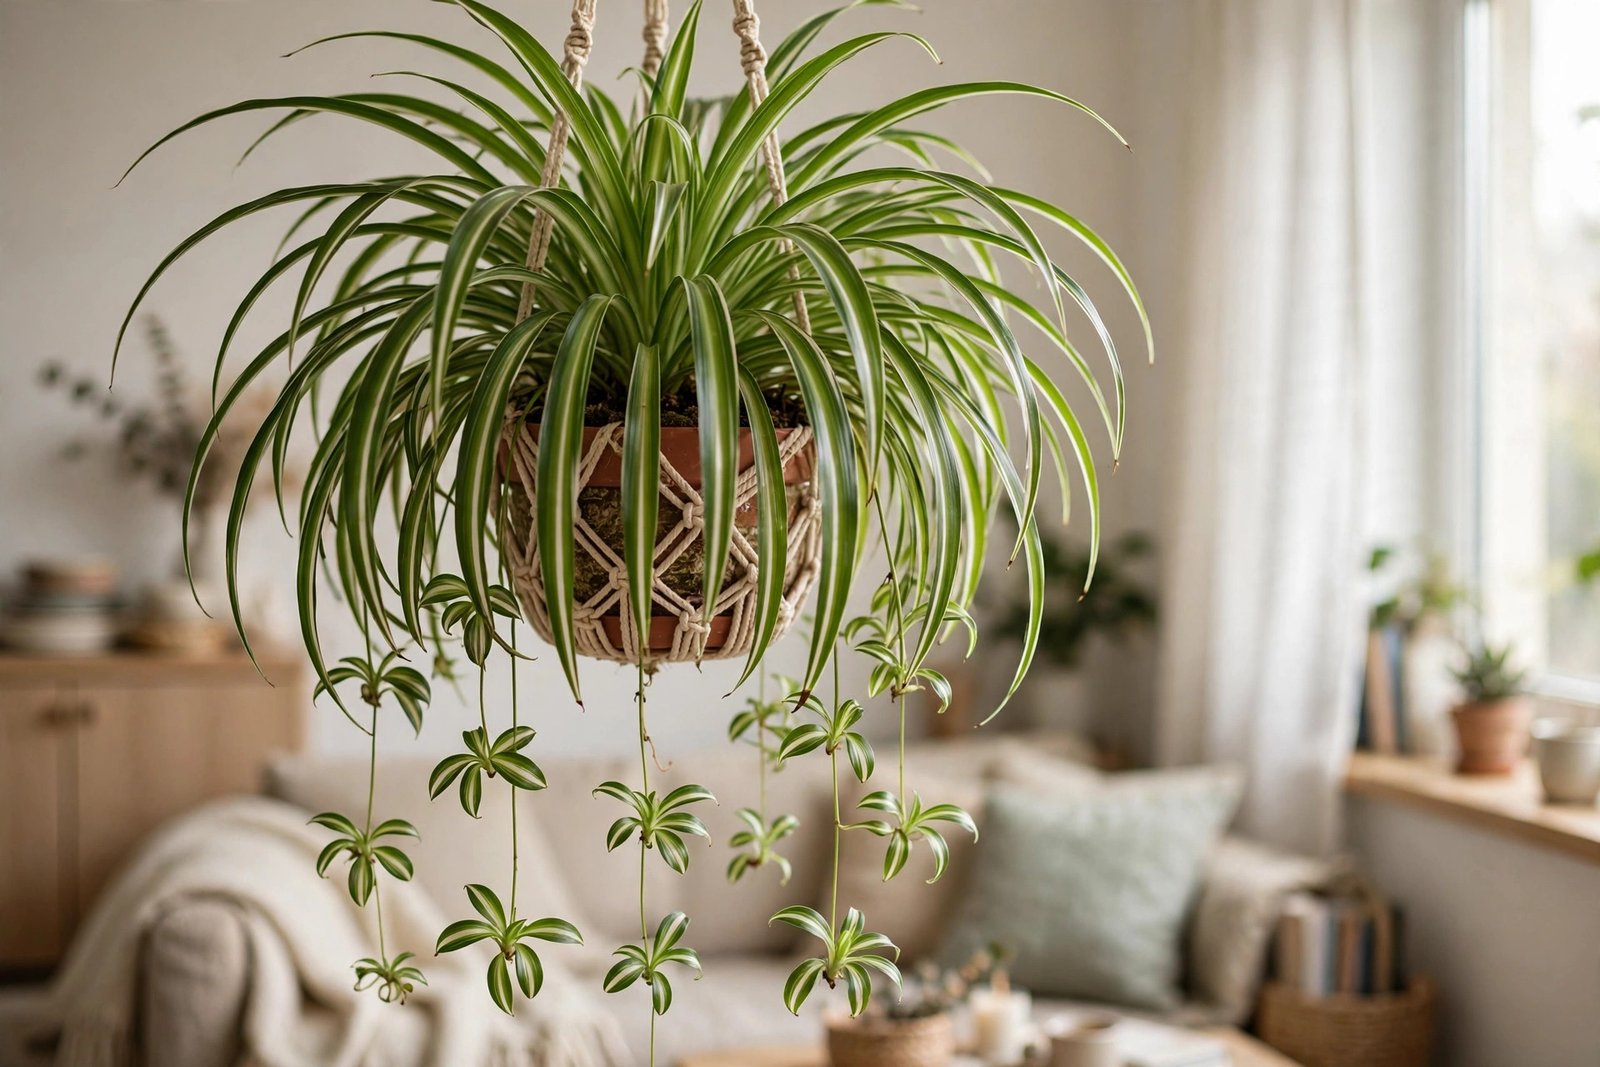
This is the fun part, and the reason spider plants have a reputation as the plant that keeps on giving. A mature, happy plant sends out long arching stems — botanists call them stolons — studded with tiny plantlets, each a miniature spider plant with its own little tuft of leaves and the beginnings of roots.
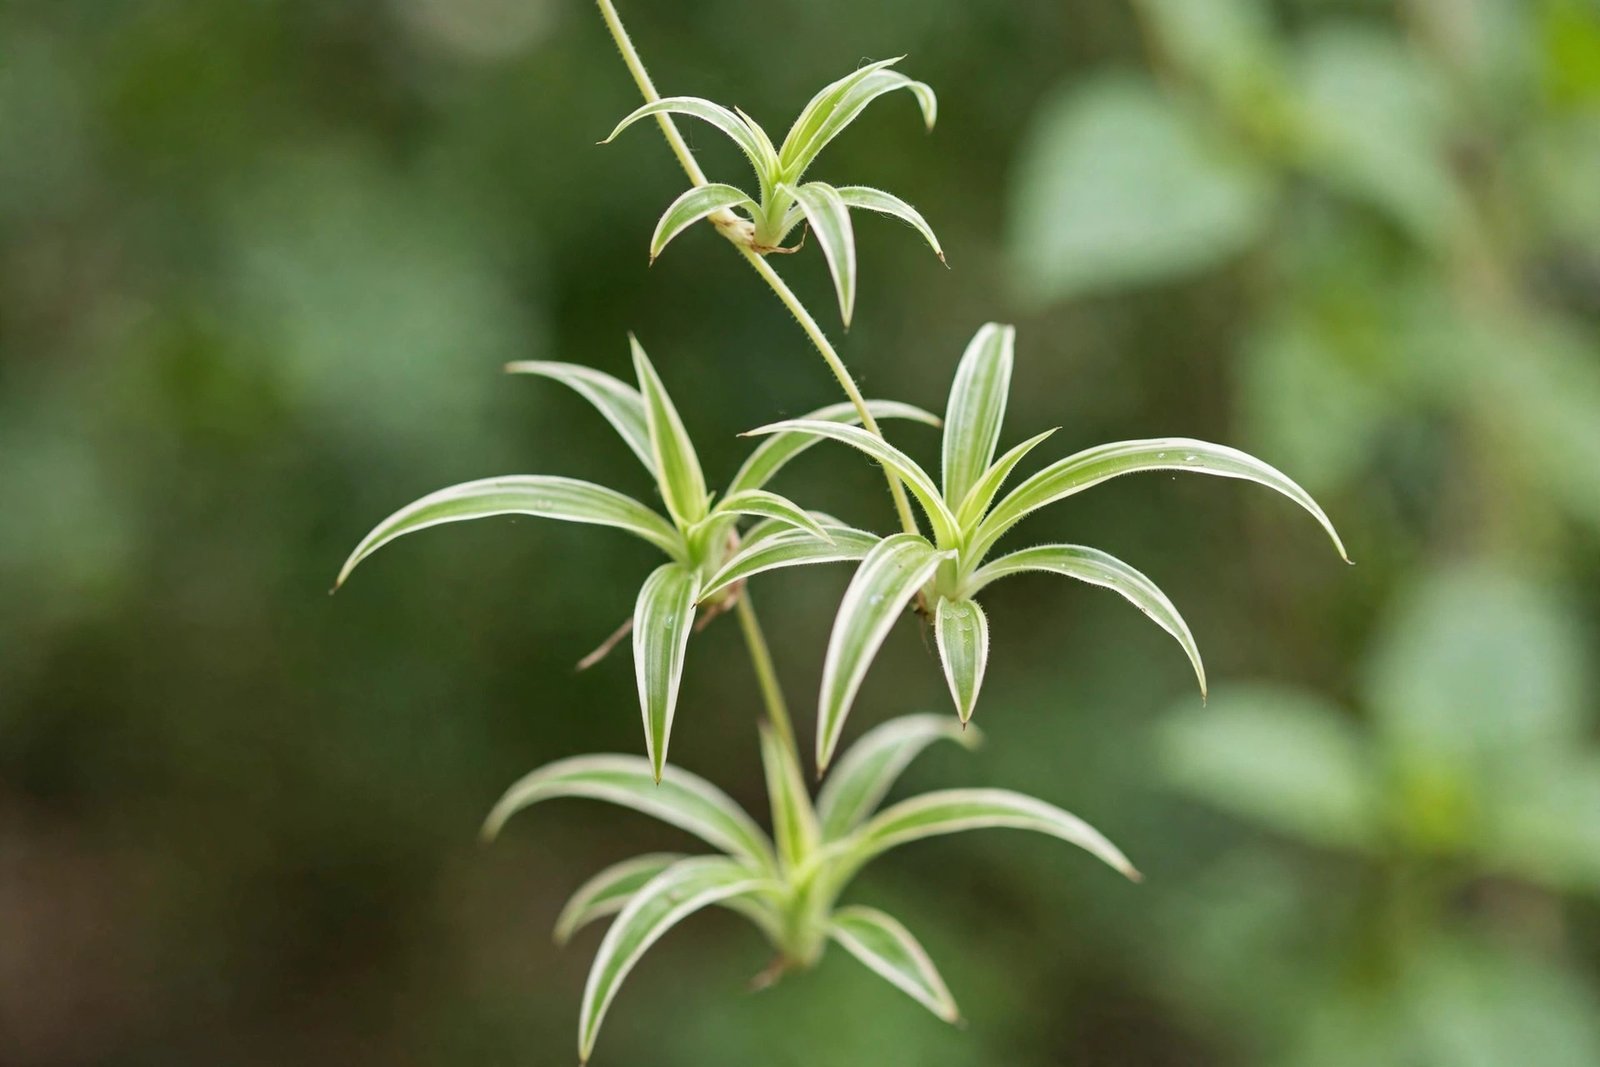
There are two ways to turn those babies into new plants, and both are nearly foolproof. The water method: snip a plantlet off with a short piece of stem, pop it in a jar of water, and wait — roots appear in one to two weeks. Pot it up once the roots are about an inch long. The full step-by-step for this lives in my propagating houseplants in water guide, and it works for a whole shelf of beginner plants, not just spiders.
My preferred method skips the jar entirely: while the baby is still attached to the mother plant, pin it down into a small pot of damp compost sitting alongside — a bent paperclip makes a perfect pin. Keep the compost lightly moist, and once the baby resists a gentle tug (two to three weeks), snip the stem. I’ve had a near-100% success rate with this, and the baby never suffers the shock of moving from water to soil.
Brown Tips: Everyone Asks About This
If spider plants have one universal complaint, it’s brown leaf tips — mine arrived with them, and nearly every spider plant I’ve ever seen has a few. The good news: it’s cosmetic. The plant is fine; it just looks a bit tired at the edges.
The usual culprits are fluoride and chlorine in tap water (spider plants are unusually sensitive to both), dry indoor air, fertiliser salt buildup, or plain underwatering. My fixes, in order of impact: leave tap water out overnight before watering (this helps with chlorine), flush the pot with plain water once a month to wash out accumulated salts, cut back on fertiliser, and snip the brown tips off with clean scissors, following the leaf’s natural pointed shape rather than cutting straight across. Don’t cut into the green — you’ll just make a new brown edge.
On the dry-air front, winter is the worst season — central heating drops indoor humidity to desert levels, and that’s when my plants’ tips look their scruffiest. I’ve never bothered with a humidifier for spider plants; grouping plants together on a tray of damp pebbles raises the local humidity enough to make a visible difference, and it costs nothing. A bathroom with a window is spider-plant heaven for the same reason.
One distinction worth making: brown tips are almost always the water/air issue above. If whole leaves are going yellow instead, that’s a different problem — my guide to why houseplant leaves turn yellow and how to fix it walks through the causes.
Potting and Repotting
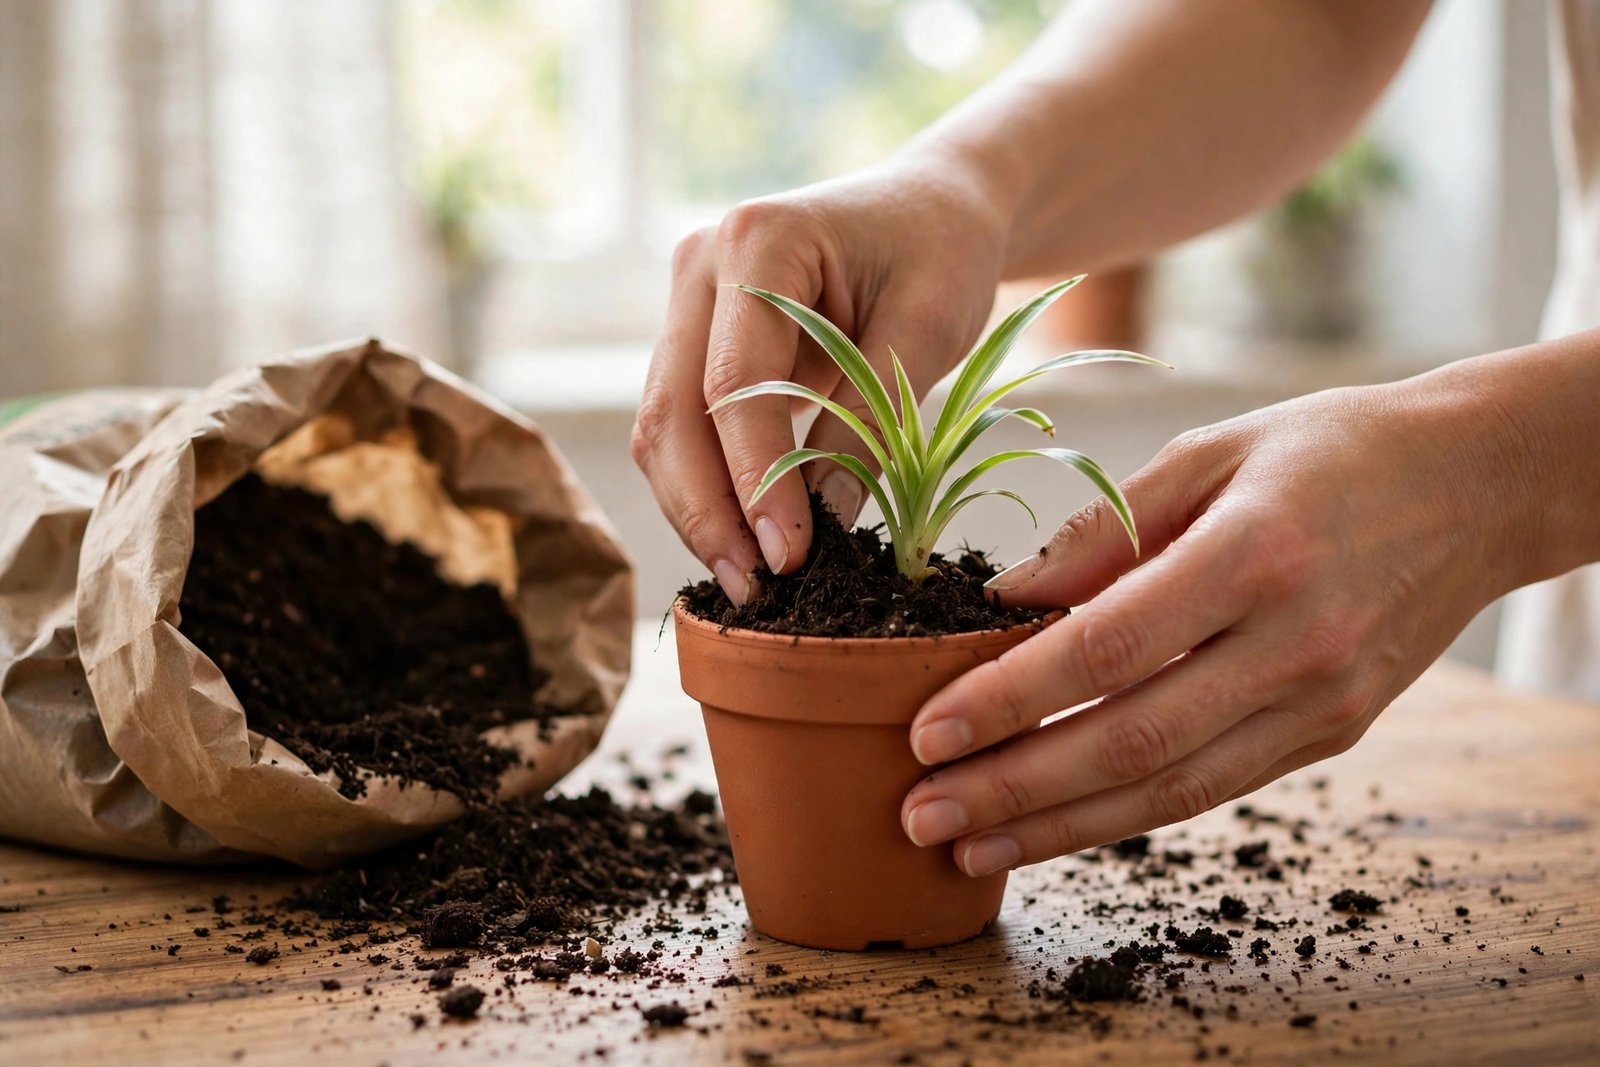
Spider plants like being a little bit snug. A slightly root-bound plant actually flowers and makes babies more readily than one swimming in a huge pot — which is convenient, because it means you repot less often. I repot mine every two to three years, going just one to two inches (2–5 cm) bigger each time.
Signs it’s time: roots circling densely, pushing through the drainage holes, or water running straight through the pot without soaking in. My soil mix is nothing fancy — two parts standard multipurpose compost to one part perlite for drainage. And drainage holes are essential; a spider plant in a pot with no holes is a spider plant on borrowed time.
Small Problems, Easy Fixes
- Pale, bleached leaves — too much direct sun. Move it back from the window or add a sheer curtain.
- No babies after a year or more — usually too young, too dark, or overfed. Bright indirect light, a snug pot, and light feeding is the recipe. Mine took fourteen months to make its first.
- Drooping, dull leaves — thirsty. A deep drink perks them up within hours; those tuberous roots bounce back fast.
- Black, mushy leaf bases — overwatering. Ease off, check the drainage holes aren’t blocked, and let the compost dry out properly between waterings.
- Fading variegation — not enough light. Move it brighter and the new leaves will come in properly striped.
Frequently Asked Questions
Are spider plants safe for cats?
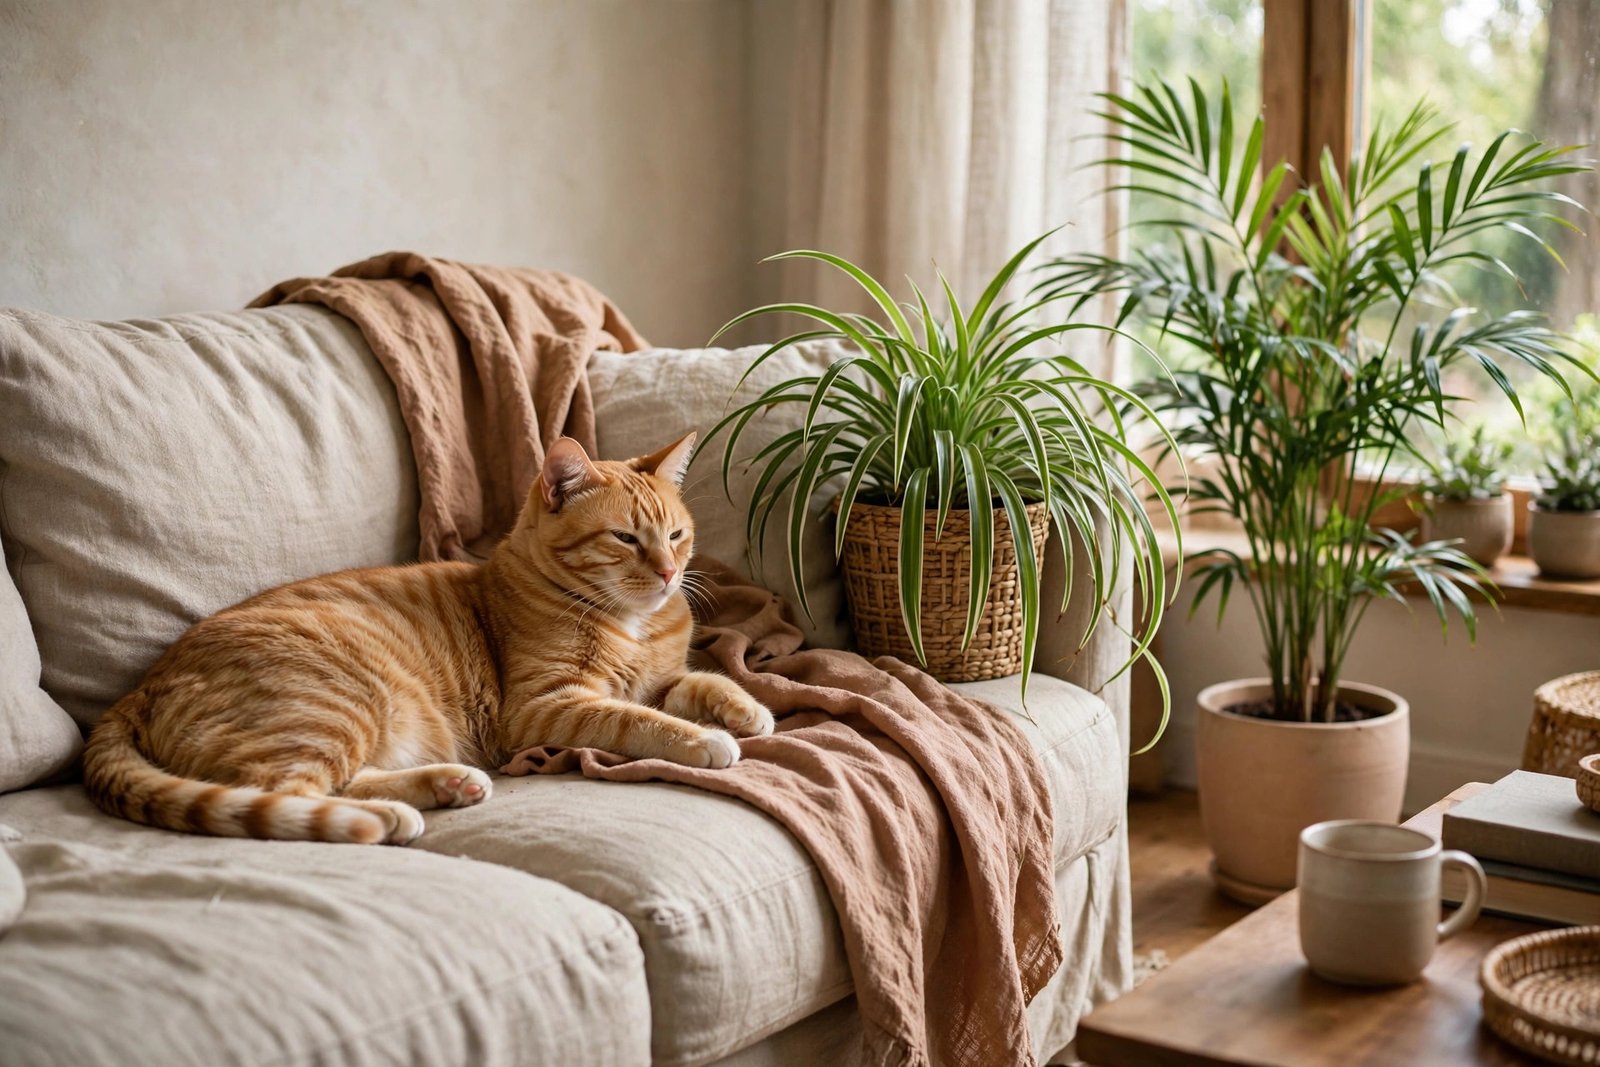
Yes — spider plants are non-toxic to cats and dogs. The catch is that cats find the dangling leaves absolutely irresistible, so if yours is a chewer, hang the plant out of swatting range. You’ll end up with a chewed plant and a smug cat otherwise; ask me how I know.
Why won’t my spider plant make babies?
The three usual reasons: the plant is under a year old (patience — babies are a sign of maturity), it’s not getting enough light, or the pot is too roomy. Bright indirect light, slightly snug roots, and a bit of benign neglect is the recipe. Hold off on heavy fertiliser too — overfed plants grow leaves, not plantlets.
How often should I fertilise?
Spider plants are light feeders. Half-strength liquid houseplant feed once a month in spring and summer is plenty; skip it entirely in autumn and winter. Overfeeding causes brown tips and floppy, pale growth — more food is not more love here.
Can spider plants live in water permanently?
They’ll survive in a jar of water for months — the babies root happily in water — but long-term they get leggy and pale without soil nutrients. Think of water as the nursery, not the forever home. Pot rooted babies into compost once their roots are an inch or so long.
Which variety should I get?
‘Vittatum’, with the cream stripe down the middle of each leaf, is the classic you see everywhere. ‘Variegatum’, with white edges, is showier. The solid green type is the toughest of the three and the most shade-tolerant. I have all three; the green one survived a dark hallway the variegated ones sulked in. For a first plant, you can’t go wrong with any of them.
That £2 supermarket rescue is still going, by the way — four years on, grandmother of maybe thirty plants now living in friends’ homes. If that isn’t a beginner plant, I don’t know what is. Start with a spider plant, and you’ll have gifts to give away by next spring.