Here’s my honest opinion after three full seasons: fabric grow bags are the most underrated container in balcony gardening — and about half the hype around them is nonsense. They grow better tomatoes than my plastic pots ever did, they cost next to nothing, and they fold flat for winter. But they dry out alarmingly fast in July, they look scruffy after a season, and there are plants I’d never put in one. This is the no-sponsored-content version of fabric grow bags’ pros and cons.
Quick Tips:
- Go bigger than you think — 5 gallons (19 litres) minimum for tomatoes, 3 gallons for peppers.
- Fabric bags dry fast: mulch the surface and check water daily in summer heat.
- No drainage holes needed — the whole bag breathes and drains.
- Feed more often than in plastic pots; frequent watering washes nutrients out.
- Expect 2–4 seasons per bag; fold flat and store dry over winter.
What a Fabric Grow Bag Actually Is (and Why Roots Love Them)
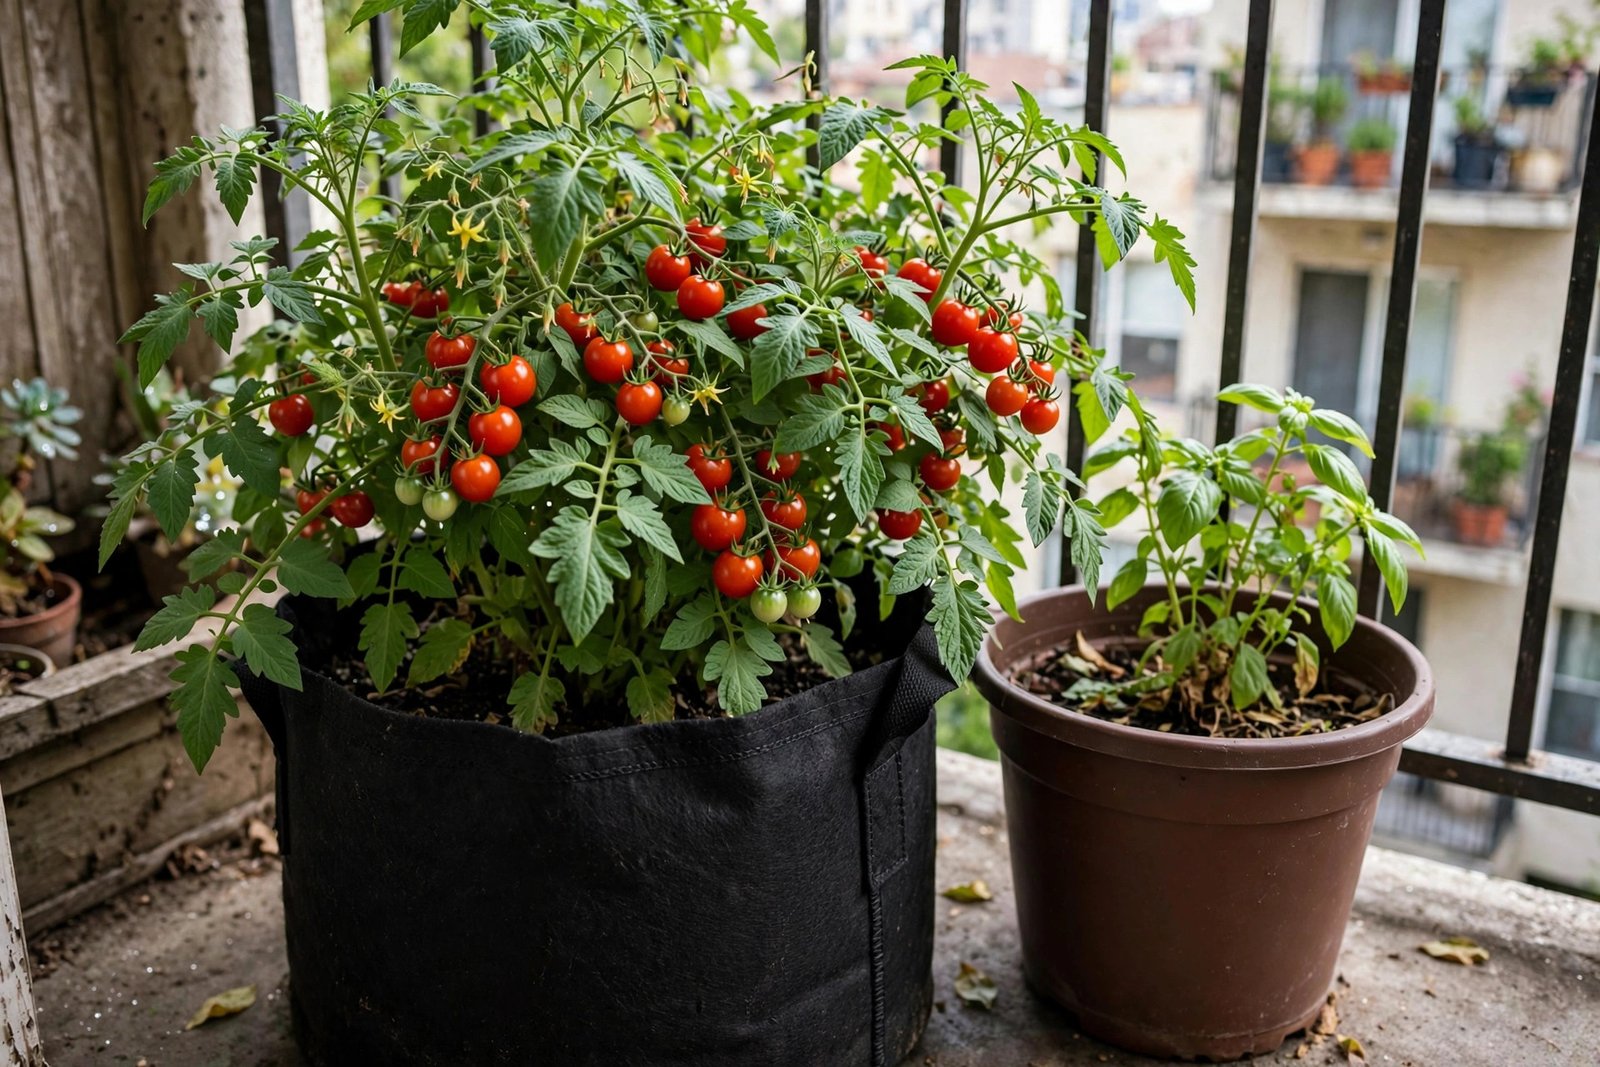
A fabric grow bag is exactly what it sounds like: a pot made from thick, felt-like non-woven fabric, usually black or dark grey, with stitched handles. They come in sizes from 1 gallon right up to 100+ gallons (though on a balcony, you’ll live in the 1–15 gallon range). I bought my first set in spring 2023 — six 5-gallon bags for less than the price of two decent ceramic pots — mostly out of curiosity.
The magic trick is air pruning. In a plastic pot, roots hit the smooth wall and circle round and round into the dense matted ball every repotter knows. In a fabric bag, each root tip reaches the fabric edge, meets air, and stops — which signals the plant to branch out with fibrous side roots instead. When I tipped out my first season’s tomato bag, the root mass was the healthiest I’d ever seen: fine roots right to the edges, not a single circling strand. That’s the real reason these things work.
What Grows Brilliantly in Grow Bags
Let’s start with the wins, because there are plenty.
Tomatoes (the headline act)
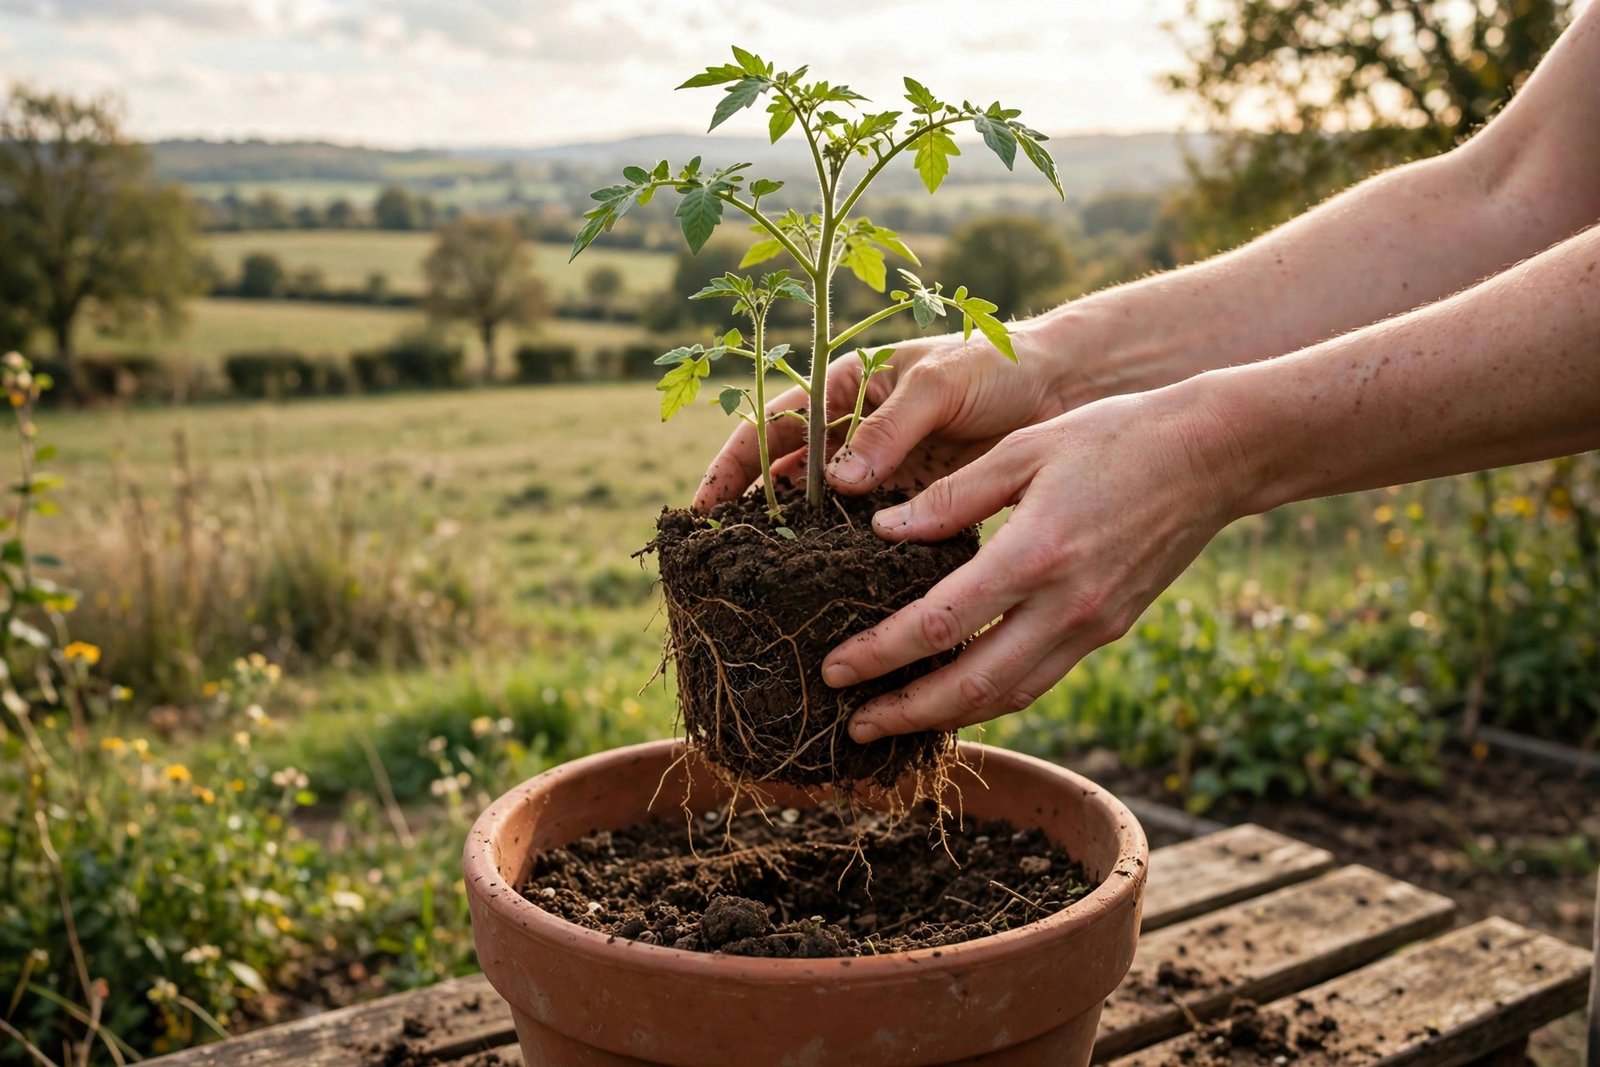
Tomatoes are the single best use of a grow bag I’ve found. I grow cherries (‘Gardener’s Delight’, ‘Sungold’) in 7-gallon bags and full-size varieties in 10-gallon ones — 5 gallons is the honest minimum, and bigger is better. My 2024 side-by-side test — identical seedlings, one in a 5-gallon grow bag, one in a 5-gallon plastic pot, same compost and feeding — gave the bag plant stockier growth and about a third more fruit. Same balcony, same summer. The bag won.
Peppers and chillies
Peppers love the warm root zone dark fabric creates in spring, and their compact roots suit 3–5 gallon bags. My chilli ‘Apache’ has fruited heavily in 3-gallon bags two seasons running; sweet peppers get 5 gallons. The handles are a genuine bonus — when a May cold snap threatens, I grab them and carry the whole plant indoors. Try that with a 14-inch terracotta pot.
Potatoes
This is the grow bag’s party trick. Get a 10 or 15-gallon bag, roll the sides down, plant your seed potatoes in 6 inches of compost, and roll the sides up while adding compost as the plants grow (“earthing up”). At harvest, you just tip the whole bag over and pick out the potatoes — no digging, no forked spuds. My 2024 bag of ‘Charlotte’ salad potatoes gave me just over 2 kg from a single 10-gallon bag on the balcony floor. If you only buy one grow bag, make it a big one for potatoes.
Salad leaves and cut-and-come-again crops
Shallow-rooted and fast, salad leaves are perfectly happy in 2–3 gallon bags, and the excellent drainage means they never sit soggy — which is what usually kills salad in pots. I run a rolling crop of mixed leaves, rocket, and spinach in three 3-gallon bags from April to October. Bush beans, spring onions, and radishes all do well too.
Mint (containment included)
Mint in the ground is a garden takeover waiting to happen, but in a grow bag it’s perfectly behaved — and the fast drainage suits it, since mint hates sitting in stagnant water. A 3-gallon bag keeps one mint plant happily contained for a season or two.
What Doesn’t Do Well (The Honest Half)
Now the part the grow-bag enthusiasts on social media skip.
Anything in a tiny bag in high summer
This is the big one. Fabric breathes on all sides — great for roots, terrible for moisture retention. A 1-gallon bag in July sun can go from soaked to bone-dry in a day. I grew basil in 2-gallon bags in 2023 and spent August watering twice daily like an anxious lifeguard. Small bags are fine in spring and autumn, but in real heat they’re a commitment: group them tight, mulch 2–3 inches deep, and accept the watering schedule.
Long-rooted vegetables
Standard carrots and parsnips need depth — at least 12 inches (30 cm) of unobstructed growing room. Most grow bags are wider than they are deep, so unless you buy the tall “root vegetable” style bags, stick to stubby carrot varieties like ‘Paris Market’ or grow your long roots in deep rigid pots instead.
Long-term perennials, shrubs, and small trees
Grow bags are a 2–4 season product. UV light slowly degrades the fabric, the handles are always the first thing to go, and after a couple of seasons the bag starts looking tired and the fabric weakens. They’re brilliant for annual vegetables you’ll compost in autumn anyway. For a blueberry bush or a bay tree you want to keep for a decade, invest in a proper rigid pot — the guide to choosing the right pots and containers covers the long-term options.
Plants where looks are the whole point
A black fabric sack will never win a beauty contest. After a season the outside grows algae and compost staining. Fine in a working vegetable corner — mine live in the “farm zone” of my balcony — but I wouldn’t frame a front-door display with them. Tan or green ones blend in better, if it matters.
The Drying Problem: Managing the Trade-Off
Every advantage of a grow bag comes from the same thing — breathable fabric — and that breathability is also the main drawback. Here’s how I manage it, because I’ve made every mistake here:
- Size up. A 7-gallon bag holds moisture far longer than a 3-gallon one. When in doubt, go one size bigger than you think you need.
- Mulch every bag. A 2–3 inch (5–7 cm) layer of straw, bark, or even shredded leaves on the surface cuts evaporation dramatically. My mulched tomato bags need water once a day in heat; unmulched, they’d need two rounds.
- Water deeply, in two passes. Fabric wicks moisture outward, so water once, wait ten minutes, and water again. The second pass actually reaches the root zone instead of running down the fabric sides.
- Stand bags on saucers or trays. This one surprises people, because the whole point is drainage — but a shallow tray underneath catches runoff and lets the bag wick a little back up on hot days. Just don’t let bags sit in deep water for days. The drainage, holes, and saucers guide explains the balance better than I can in a paragraph.
- Feed little and often. All that watering washes nutrients out faster than in plastic pots. I give my bag-grown tomatoes and peppers a half-strength liquid tomato feed every week from June, rather than full-strength every fortnight.
Setting Them Up Right: Soil, Filling, and Placement
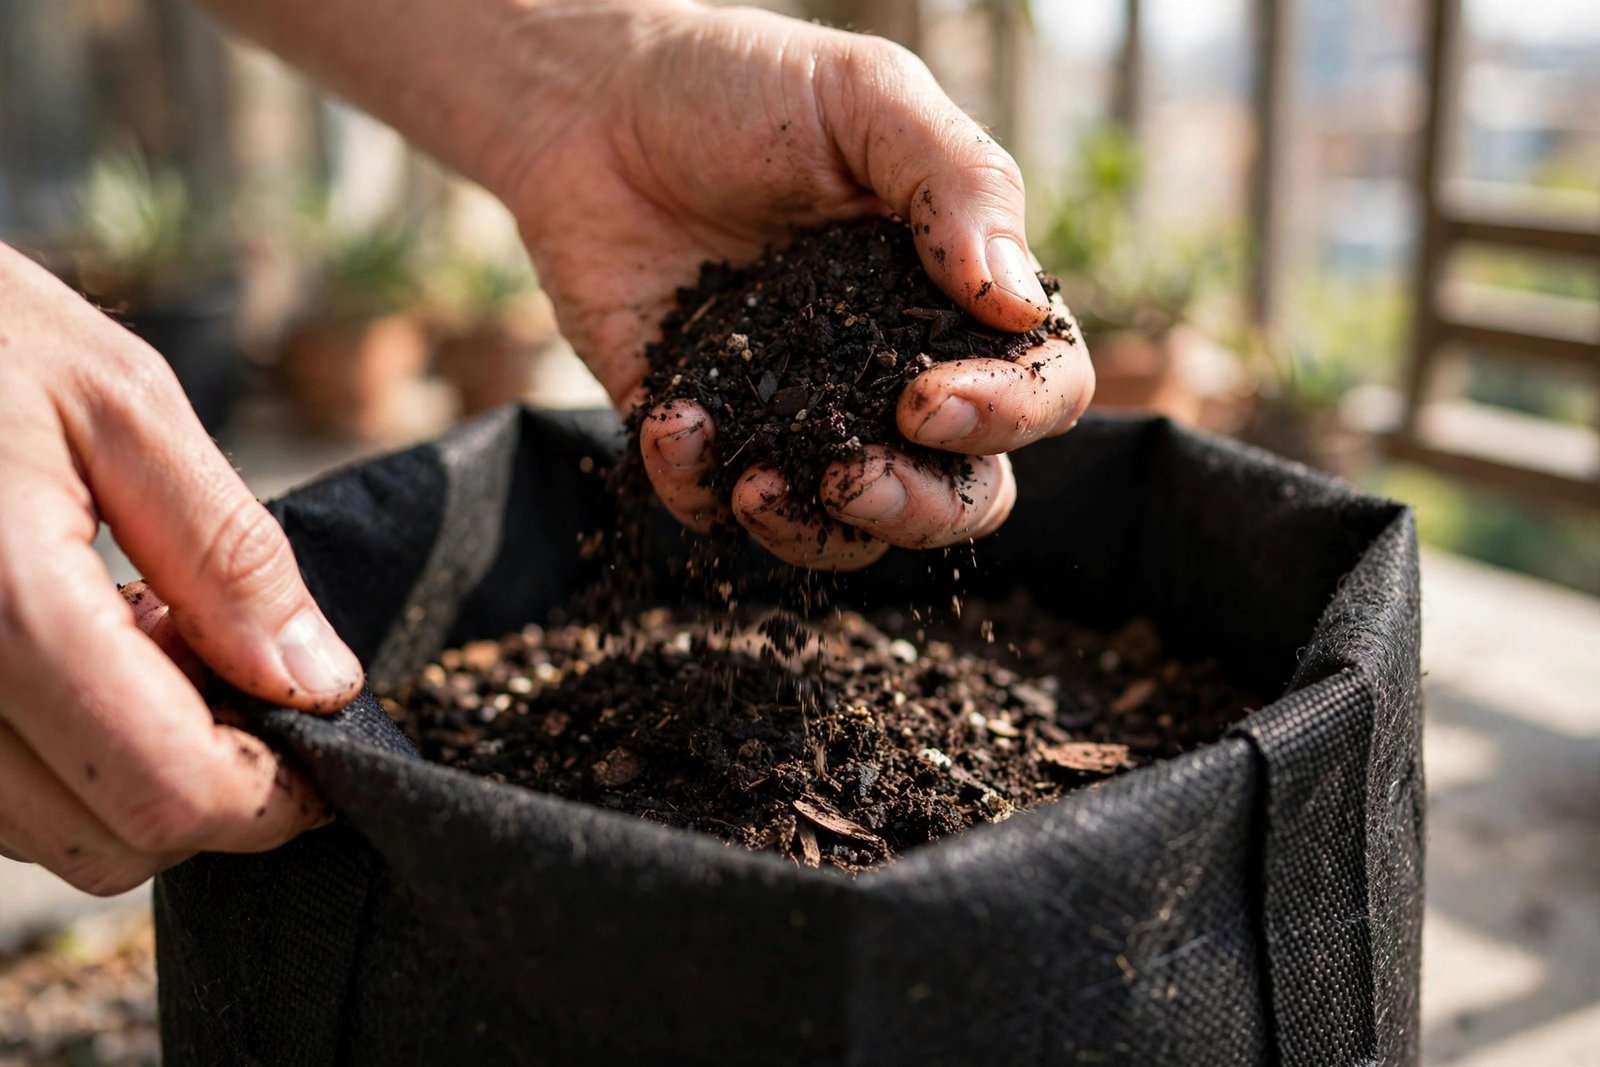
Don’t fill grow bags with garden soil — it compacts into a brick in fabric. Use a good peat-free multipurpose compost, ideally with about a fifth perlite or coarse grit mixed in for structure. My standard bag mix is roughly 4 parts multipurpose compost to 1 part perlite, with a handful of slow-release organic fertiliser mixed through. If you make your own compost blends, my DIY potting soil recipe works brilliantly in bags — just go slightly heavier on the water-retentive ingredients than you would for terracotta.
Fill nearly to the top, water thoroughly, and let it settle a day before planting — the compost sinks a couple of inches as it beds in. Fold the top rim down an inch or two for a sturdier collar that won’t flop over seedlings.
Placement matters more than with rigid pots. Fabric bags are light even when full (compared to terracotta), so on a windy balcony they can shuffle around — cluster them together or tuck them against the wall. And think about what’s underneath: water seeps through the fabric and the bottom, so on a wooden deck or a downstairs neighbour’s balcony ceiling, always use a tray.
Fabric vs Plastic vs Terracotta: My Honest Scorecard
After three seasons running all three side by side: root health: fabric wins clearly. Moisture retention: plastic first, terracotta second, fabric last — the price you pay. Cost: fabric by a mile. Lifespan: terracotta (decades), plastic (years), fabric (seasons). Weight and storage: fabric — light, folds flat. Looks: terracotta, obviously.
So I don’t use one type for everything. My working system: grow bags for tomatoes, peppers, and potatoes (the hungry annuals where root health matters most), plastic for herbs and salad (moisture retention, cheap), terracotta for the permanent residents like rosemary and lavender (looks and longevity). Horses for courses.
Frequently Asked Questions
Do I need to cut drainage holes in grow bags?
No — that’s the beauty of them. The whole bag is permeable, so excess water drains through the fabric and the bottom seam; you can’t overwater one the way you can a plastic pot with blocked holes. The only caveat is what’s underneath: on a wooden deck or above a neighbour, use a shallow tray to catch seepage.
How long do fabric grow bags actually last?
Two to four seasons in my experience. Thick ones (300gsm+ fabric, reinforced stitching) last longer; bargain thin ones fray after one UV summer. The handles always fail first — I lift heavy bags from underneath rather than trusting old handles. Dead bags compost down fine.
Can I reuse the compost next year?
Yes, with a refresh: tip it out, remove old roots, mix in a third fresh compost and slow-release fertiliser. One rule — rotate crops. Don’t grow tomatoes in the same bag compost two years running or you’ll build up soil-borne disease. Potatoes one year, beans or salad the next.
Won’t they dry out too fast on a hot, sunny balcony?
Honestly? Small ones will. A 1–2 gallon bag in full July sun is a twice-a-day commitment — I’d rather be straight with you than have you learn it the crispy way. The fixes work: go bigger (5+ gallons), mulch thickly, group bags together, stand them on trays. With all four, my 7-gallon tomato bags need one good daily watering even in heatwaves.
Are grow bags genuinely better than plastic pots for tomatoes?
For the plant, yes — my test gave the bag a third more fruit from identical seedlings. For the gardener, it depends on watering discipline: plastic forgives a forgotten day. Daily checkers will be rewarded by bags; sporadic waterers may do better with plastic.
So here’s my verdict after three seasons: fabric grow bags are the best cheap container I’ve ever used for hungry annual vegetables, and I’ll keep buying them every spring. They’re not magic, they’re not for everything, and they will absolutely punish you if you underwater them in August. But for tomatoes, peppers, and potatoes on a balcony? Nothing touches them at the price.