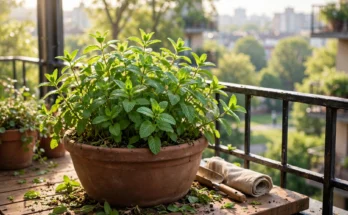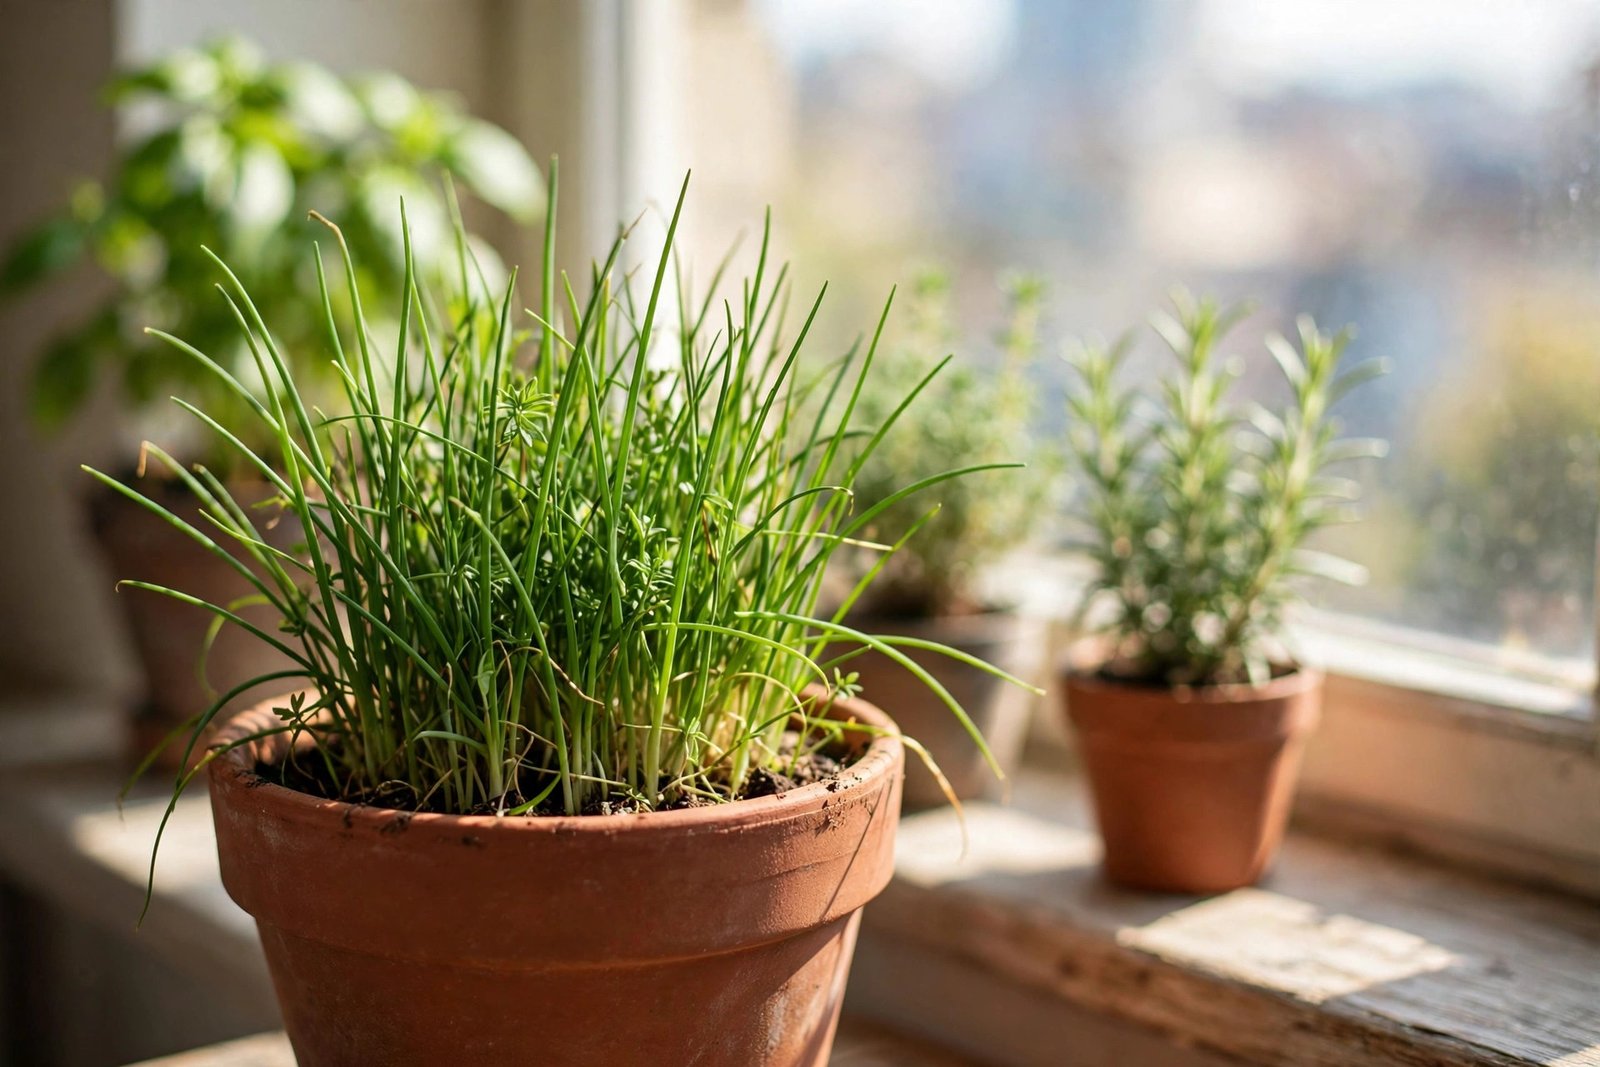
In spring 2019, I sowed two things on my rented apartment balcony: the famous two leggy basil plants that started this whole journey, and a 6-inch pot of chives from a seed packet costing less than a cup of tea. The basil was dead within a month — overwatered, then underwatered, then loved to death in the way only a true beginner can. The chives? I forgot about them for most of June during a manic stretch at work. When I finally looked, expecting a crispy brown disaster, there they were: a cheerful green fountain, slightly thirsty, completely unbothered. A drink and a haircut, and they bounced back in days. That pot taught me my first real gardening lesson: the best beginner plant isn’t the one you tend perfectly, it’s the one that survives you learning.
Seven years later those original chives are still going — divided twice, now three pots — and I’m still amazed more people don’t grow them. Here’s everything I know about how to grow chives in pots: the sowing, the snipping, the dividing, and keeping one pot going for years.
Why Chives Are the Easiest Herb Nobody Grows
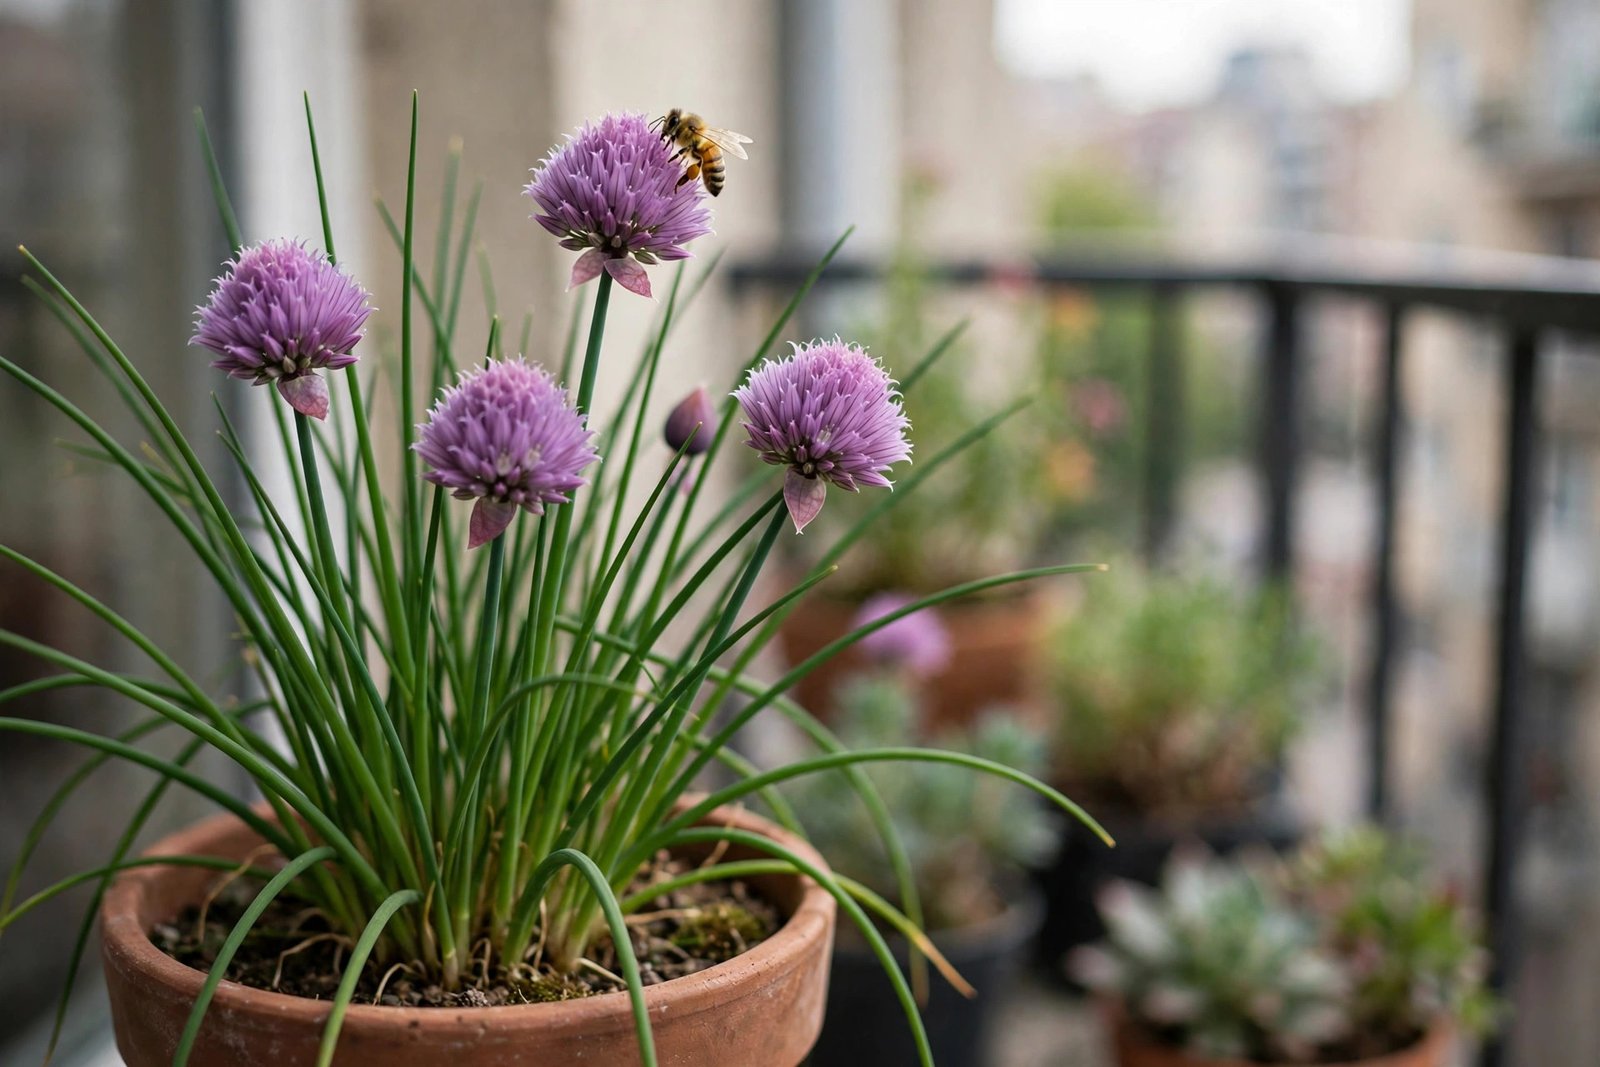
Let me make the case. Chives are perennial, so one sowing gives you years of harvests — not one season like basil or coriander. They’re hardy down to about -20°C (-4°F), so they shrug off winters that kill tender herbs. They tolerate a missed watering, a shady week, and a beginner’s heavy hand with the scissors. They’re rarely bothered by pests. And in early summer they produce the prettiest purple pom-pom flowers in the herb world, which the bees absolutely mob.
Compare basil, the herb everyone starts with: it wants constant warmth, sulks below 10°C (50°F), and collapses at the first sign of neglect. I love basil, but as a first herb it’s a heartbreaker. Chives are the opposite — the herb that makes you feel like a gardener while you’re still learning. Snip a handful over scrambled eggs and you’ll wonder why you ever bought those sad supermarket punnets.
Starting Chives: Three Ways In
You’ve got three good options, and honestly they all work.
1. From seed (cheapest, slightly slow)
Sow seeds 6 mm (a quarter inch) deep in moist multipurpose compost at 15–21°C (60–70°F) — a bright spring windowsill is perfect. Germination takes 14–21 days, which feels like forever when you’re checking daily (I checked daily; don’t be like me). Sow a generous pinch per 6-inch pot — chives grow as a clump, and a dozen seedlings make a far better pot than three lonely ones. Start indoors from March, or sow direct outdoors from late April.
2. From a nursery plant (fastest)
A small potted chive plant from the garden centre gives you harvestable leaves within weeks. Look for a dense, green clump with no yellowing at the base. Pot it up into something bigger straight away — nursery pots are always too small — and it’ll settle in within days.
3. From a supermarket pot (the cheat code)
This is my favourite trick for impatient beginners. Supermarket living-herb pots are always overcrowded — twenty seedlings crammed into a tiny pot, which is why they collapse within a week. Buy one, tip it out, tease the root ball into three or four clumps, and pot each into its own 6-inch pot of fresh compost. Water well, give them a week in bright indirect light, and you’ve turned one struggling pot into four proper chive plants. It feels like getting away with something.
The Right Pot and Soil
Chives aren’t fussy, but they do have preferences. A 6–8 inch (15–20 cm) pot suits a single clump; go 10–12 inches (25–30 cm) if you want a big, generous mound. Terracotta is lovely and traditional, but it dries fast — in a hot spot, plastic or glazed ceramic holds moisture better and your chives will thank you. Whatever you choose, drainage holes are non-negotiable; chives like steady moisture but hate sitting in a puddle.
Soil-wise, ordinary peat-free multipurpose compost is perfect. I mix in about a fifth perlite for drainage, the same as most of my herbs. Chives aren’t heavy feeders, so you don’t need anything fancy in the mix — save the rich stuff for the tomatoes.
Quick Tips:
- Sow seeds 6 mm deep; expect sprouts in 2–3 weeks at room temperature.
- One 6–8 inch pot per clump, with drainage holes and multipurpose compost.
- Snip outer leaves 5 cm above the base; never take more than a third at once.
- Divide congested clumps every 2–3 years in spring for free new plants.
- Leave a few flower heads for the bees — the blooms are edible too.
- Cut the whole clump down to 5 cm in late autumn; it’ll return in spring.
Light, Water, and Food: The Daily Reality
Chives want about six hours of sun for best growth, but they tolerate less — mine have produced happily on an east-facing windowsill with four hours of morning sun. They’re one of the most forgiving indoor herbs; see my guide to growing herbs on a windowsill for more on indoor setups.
Keep the compost evenly moist, like a wrung-out sponge: most days in summer for sunny pots, every few days in spring and autumn. Yellow leaf tips are the classic signal — nine times out of ten the pot went too dry, not a disease. A deep soak perks them right back up.
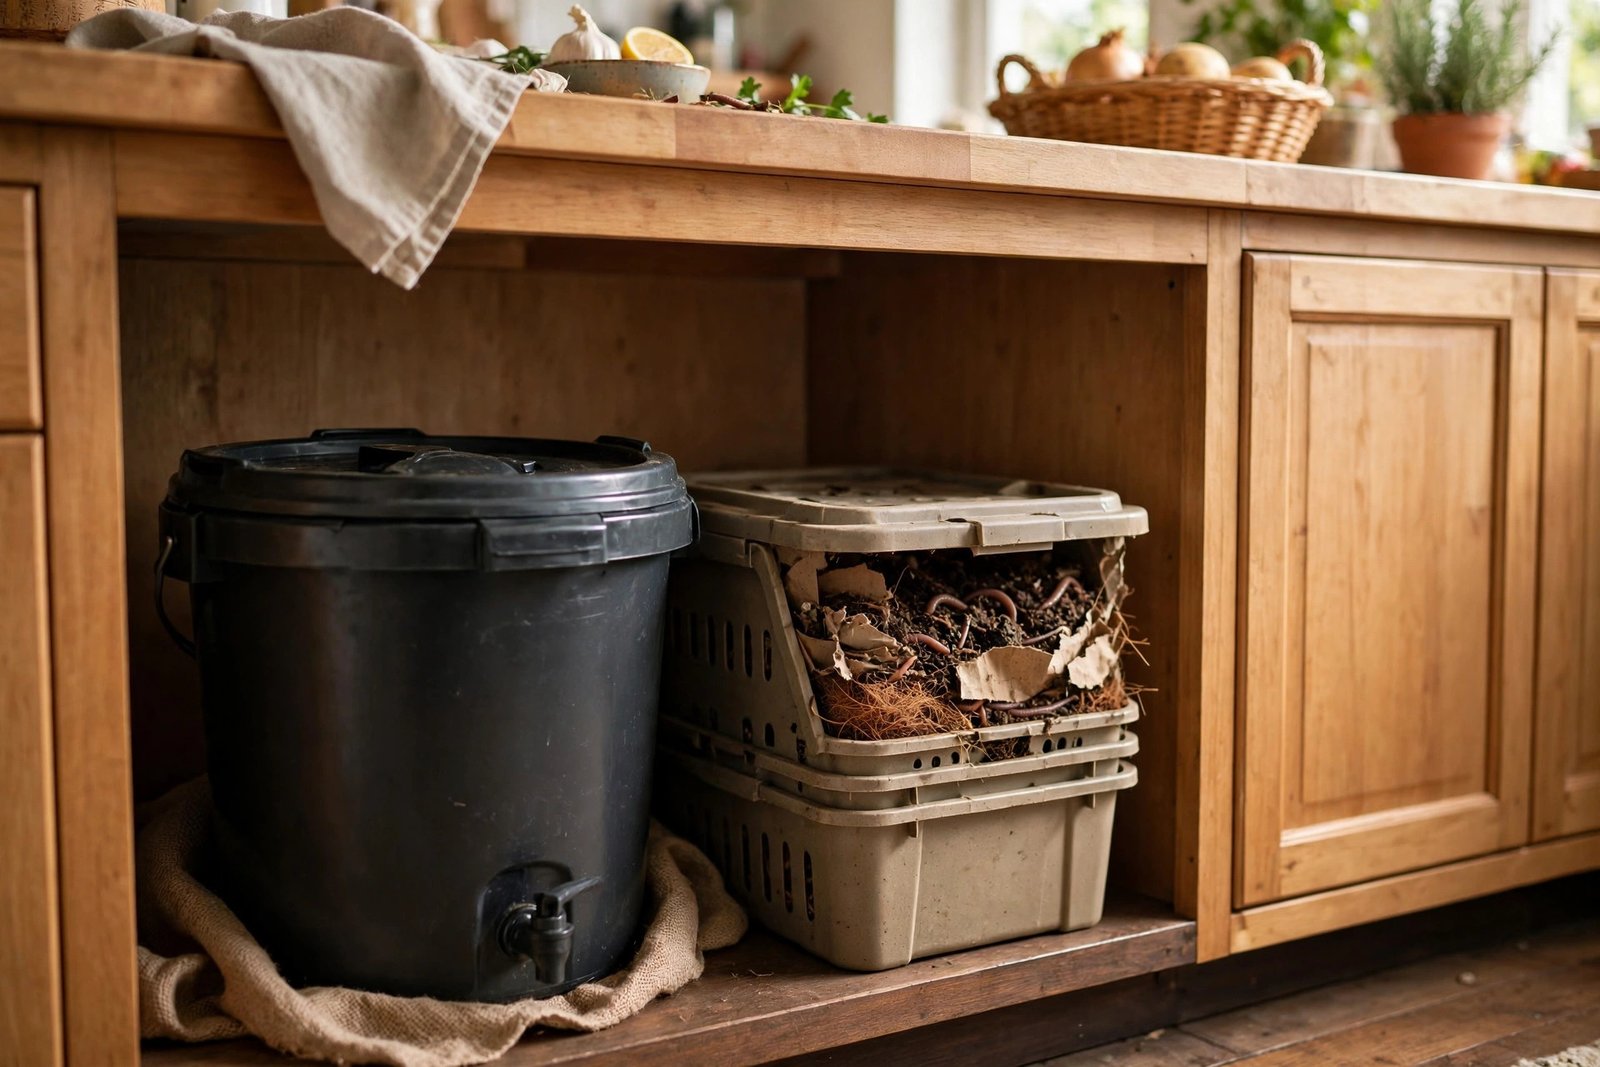
Feeding is light. A pot of chives in fresh compost needs nothing for the first couple of months. After that, a half-strength liquid feed once a month through the growing season keeps them lush — I use a seaweed feed or diluted wormery liquid. If you prefer homemade options, the natural fertilisers for container plants guide has my full routine. Don’t overfeed: too much nitrogen gives you soft, floppy growth with less flavour.
The Snip: How to Harvest Without Hurting the Plant
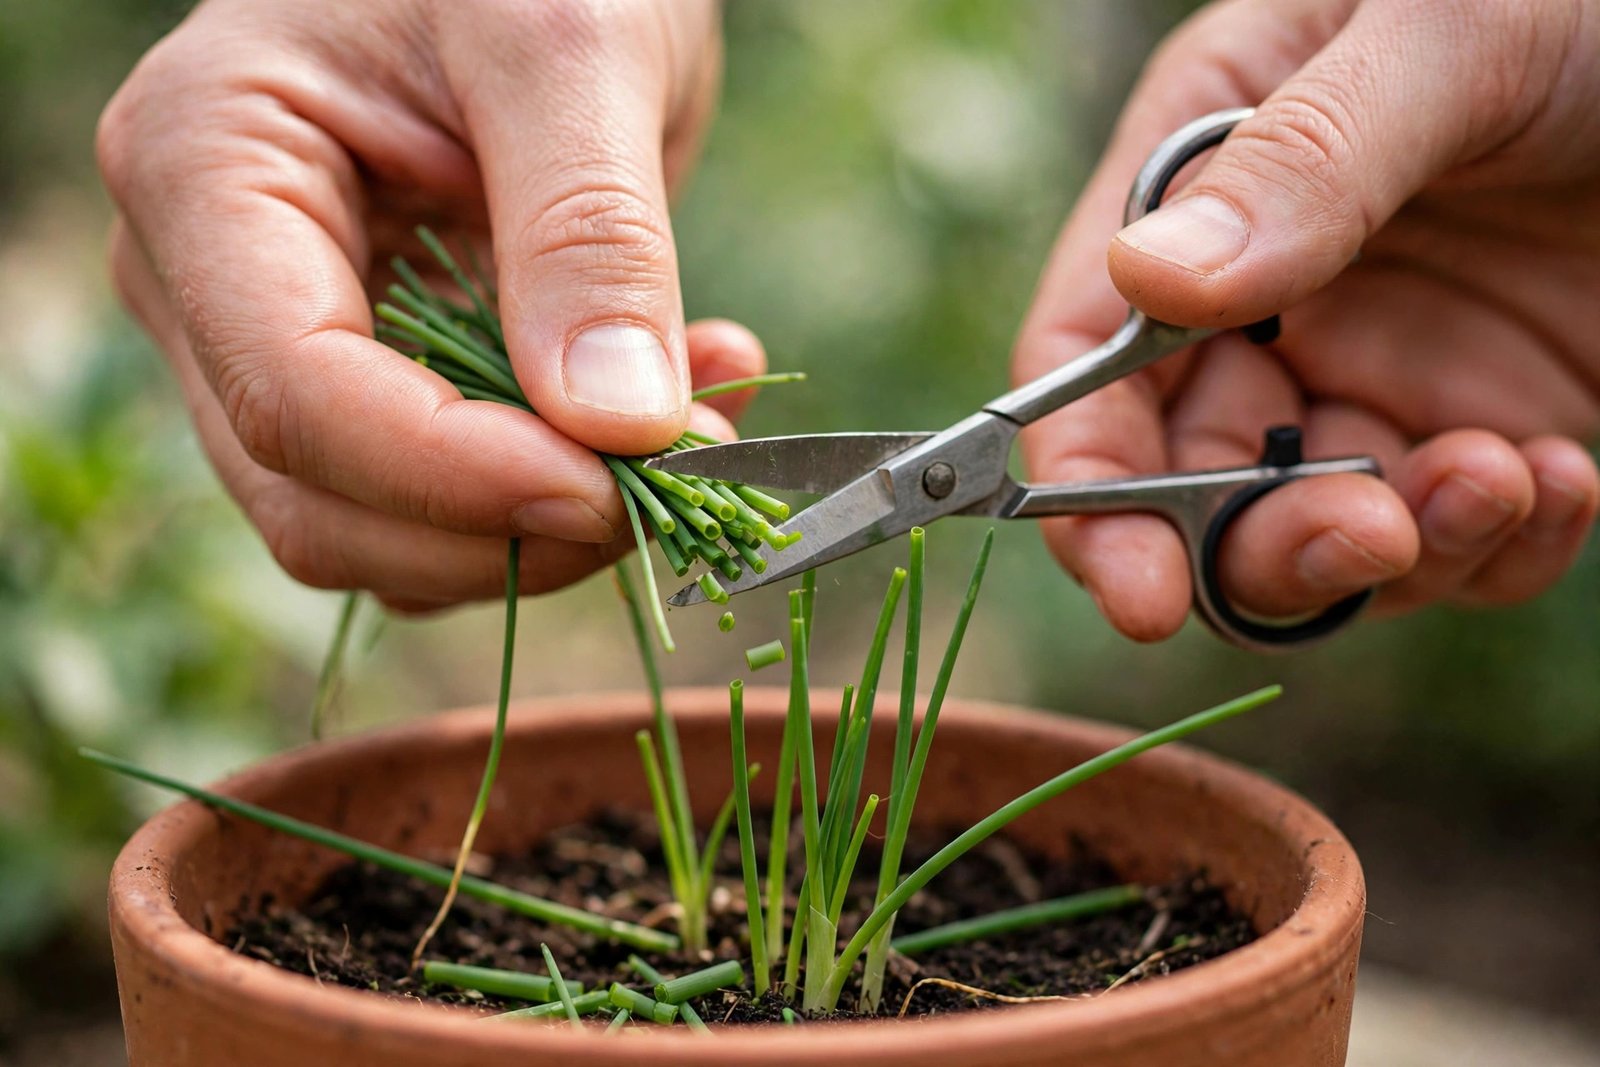
Here’s the technique: always cut the outer leaves first, snipping about 5 cm (2 inches) above the soil level with clean scissors. Never take more than a third of the clump in one go, and the plant will keep pushing up new growth from the centre. This is classic cut-and-come-again harvesting — the same principle behind cut-and-come-again salad greens — and a healthy clump can be harvested weekly from April to October.
Snip in the morning if you can; that’s when the flavour oils are strongest. And use scissors rather than tearing — clean cuts heal faster and don’t yank the neighbouring leaves. One mistake I made in year one: cutting individual leaves halfway down, leaving sad little stubs all over the clump. Cut low, near the base, and the clump stays tidy.
In early summer your chives will try to flower, sending up stiff stalks topped with purple pom-poms. For maximum leaf production, snip the stalks as they appear. But I always leave a few: the flowers are beautiful, the bees adore them, and the blooms are edible, with a mild oniony bite that looks spectacular over a salad. Deadhead before they set seed, or you’ll have chive seedlings in every pot on the balcony. (Ask me how I know.)
Dividing: Free Plants Forever
After two or three years, a chive clump gets congested: growth slows, the centre goes thin, and the whole pot looks tired. This isn’t a problem — it’s an opportunity. In early spring, tip the whole clump out, and pull or cut it into two, three, or four pieces, each with roots and leaves. Replant each piece in fresh compost, water well, trim the leaves down to about 10 cm to reduce stress, and within a month each division is a vigorous new plant.
My original 2019 pot has been divided twice and is now three pots: balcony, kitchen windowsill, and one for my neighbour. One seed packet, seven years, countless breakfasts. That’s the economics of chives.
Overwintering: The Part Where You Do Nothing
Chives are hardy perennials, which means winter care is blissfully simple. In late autumn, cut the whole clump down to about 5 cm. The leaves will yellow and die back — this is normal, not a crisis. Leave the pot outside; chives survive freezing solid in their pots. If you’re in a very cold spot, tuck the pot against the house wall or wrap it in bubble wrap for insulation. Then ignore it until spring, when green spikes will push up through the old stubble, usually weeks before anything else in the garden wakes up. That first green of spring, when everything else is still brown, is one of my favourite moments of the gardening year.
Your Questions, Answered
Can I really grow chives from a supermarket living-herb pot?
Yes — it’s one of the best beginner shortcuts. The pot is overcrowded, which is why it looks half-dead within days. Tip it out, divide into three or four clumps, pot each into fresh compost in its own 6-inch pot, water deeply, and keep out of harsh midday sun for a week. Most divisions recover and start growing within two weeks.
Why are my chives floppy and falling over?
Almost always too little light, or they need a haircut. Chives in dim spots grow long, pale leaves that can’t support themselves. Move the pot somewhere brighter and cut the whole clump back to 5 cm — it feels brutal, but regrowth comes back stockier. Persistent floppiness in an old pot means it’s congested: divide it in spring.
Should I let my chives flower or cut the buds off?
For maximum leaf harvests, snip stalks as they appear. But let at least a few bloom: the pom-poms are beautiful, bees love them, and the flowers are edible with a delicate onion flavour. Just deadhead before they set seed unless you want chive babies everywhere. I do a bit of both on different pots.
How long will one pot of chives actually live?
Years — mine are on year seven. The clump is effectively immortal if you divide it every two to three years; undivided, the centre slowly congests and declines. Think of dividing as resetting the clock, and refresh the compost each time — years of watering leach the nutrients out.
Can I grow chives indoors on a windowsill year-round?
You can — they’re one of the better herbs for it. Give them your brightest windowsill, south or west-facing ideally, and accept softer, slower growth than outdoors, especially in winter. They may not die back indoors; just snip lightly and water less in the dark months. My kitchen pot gives me snippings all winter, which feels like a small miracle in February.
The tips of my chives are turning yellow. What’s wrong?
Usually simple underwatering — chives show thirst at the leaf tips first. Give a deep soak and trim the yellowed ends (they won’t green up again). If watering is consistent and tips still yellow, the pot is root-bound and hungry: divide, refresh the compost, and feed lightly. It’s a care signal, not a death sentence — chives are very hard to kill.
So if there’s one herb I’d press into the hands of every new balcony gardener, it’s chives. They forgive the learning curve, they come back every spring like an old friend, and they turn the simplest scrambled eggs into something you grew yourself. Start with one pot — and don’t be surprised when it becomes three.