
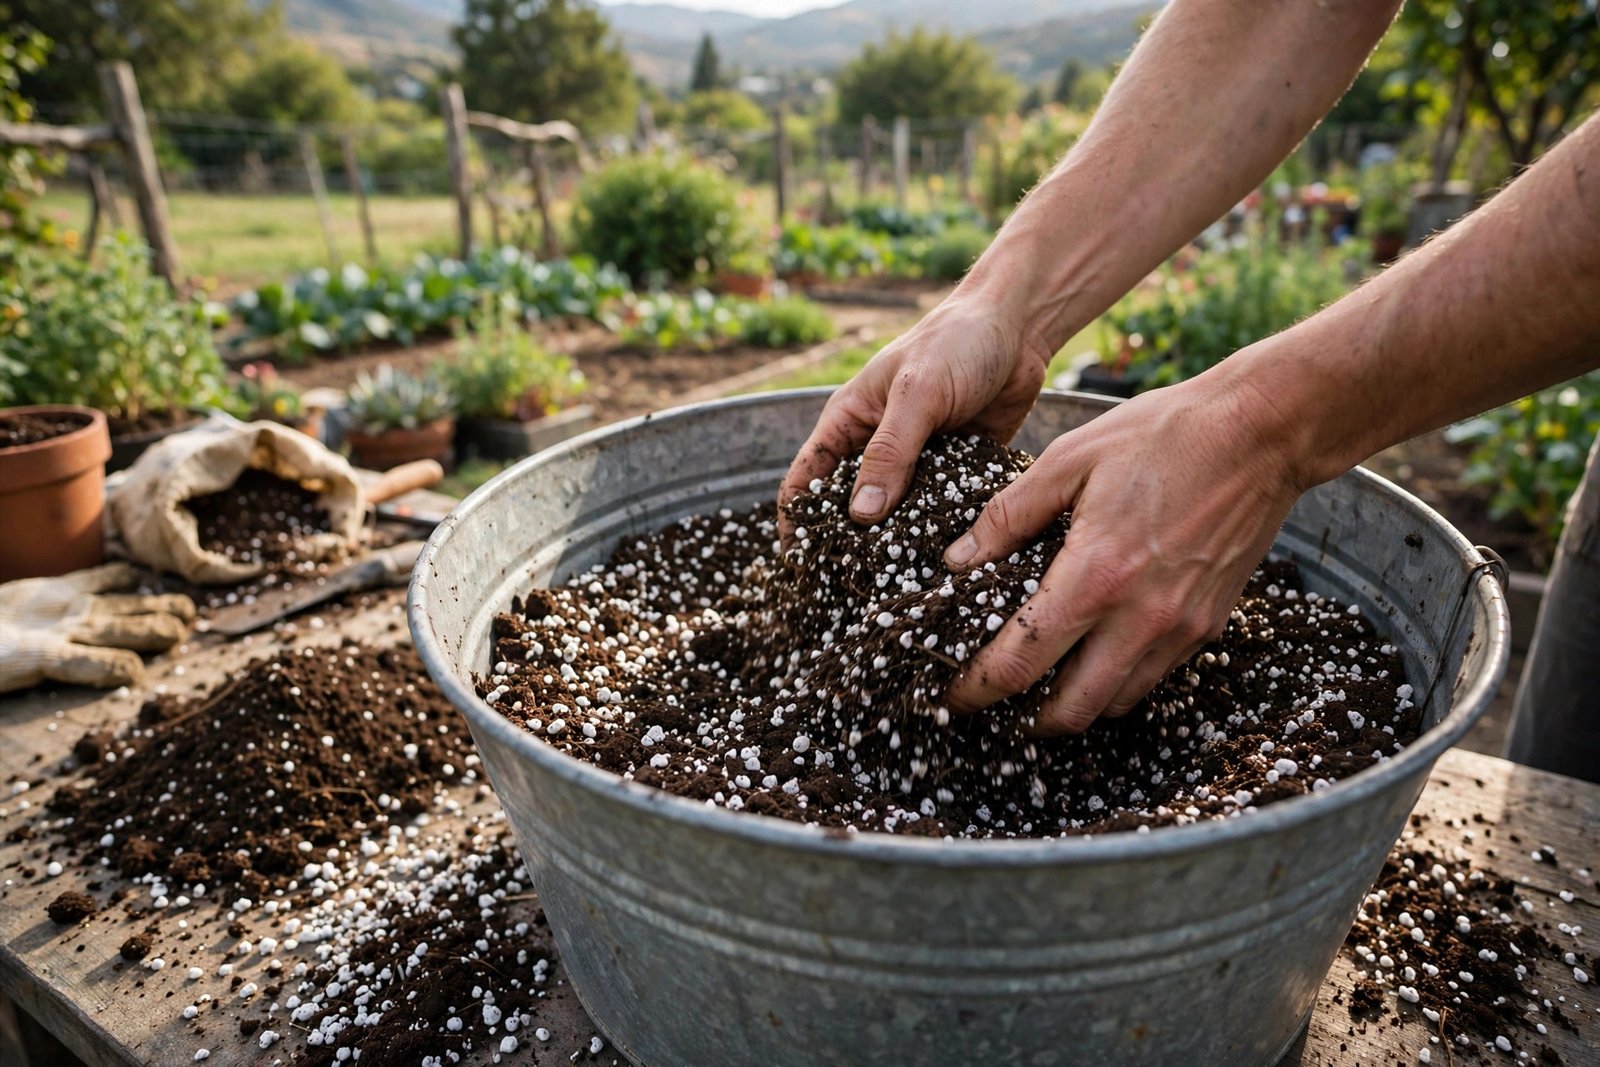
Here’s an opinion that gets funny looks at the garden centre: most bagged potting compost is mediocre. Not bad — mediocre. It’s designed to be cheap, lightweight, and “good enough” for everything from petunias to patio tomatoes, which means it’s ideal for nothing in particular. Many gardeners grow perfectly okay plants in perfectly okay bagged compost for years and assume that’s just how container gardening goes. But a side-by-side trial tells a different story: same variety, same pots, same balcony — the DIY-mix plants come out stockier, greener, and clearly out-yield the others.
This DIY potting soil mix is cheaper than premium compost, better than budget compost, and takes about fifteen minutes. Here’s the exact recipe, why each ingredient earns its place, and how to tweak it for different plants.
Quick Tips:
- The golden ratio to remember: roughly equal parts compost, drainage material, and moisture-holder.
- Perlite is the single best upgrade to any bagged compost — even just stirring in 20% transforms it.
- Never use garden soil in pots; it compacts into an airless brick.
- Mix in bulk and store dry — a sealed tub of mix means instant potting all season.
Why Bother? What’s Wrong with Bagged Compost?
Honestly, nothing fatal — and if you’re just starting out, a decent bag of multi-purpose compost is absolutely fine. The beginner’s guide says exactly that. But once you’ve got a season under your belt, here’s what you’ll notice about most bagged mixes:
They’re often heavy on fine peat or wood fibre, which holds water well at first but slumps over the season into a dense layer. Drainage is usually an afterthought. Nutrient levels vary wildly between brands and even between bags. And the premium bags that actually perform well cost a fortune when you’re filling a dozen pots.
A DIY mix fixes all of that: you control the drainage, the aeration, the nutrients, and the cost. A homemade mix costs roughly half what equivalent premium compost would, with full control over what’s in it. For a balcony gardener filling pots every spring, that saving adds up fast.
Our All-Purpose Potting Soil Mix (The Recipe)
This all-purpose mix suits roughly 80% of balcony plants: herbs, tomatoes, salad greens, beans, strawberries. Everything, basically.
Per 10 litres (roughly a standard bucket), combine:
- 4 litres multi-purpose peat-free compost — the nutrient and body base. Any decent brand; this is the one ingredient where “mid-range” is fine.
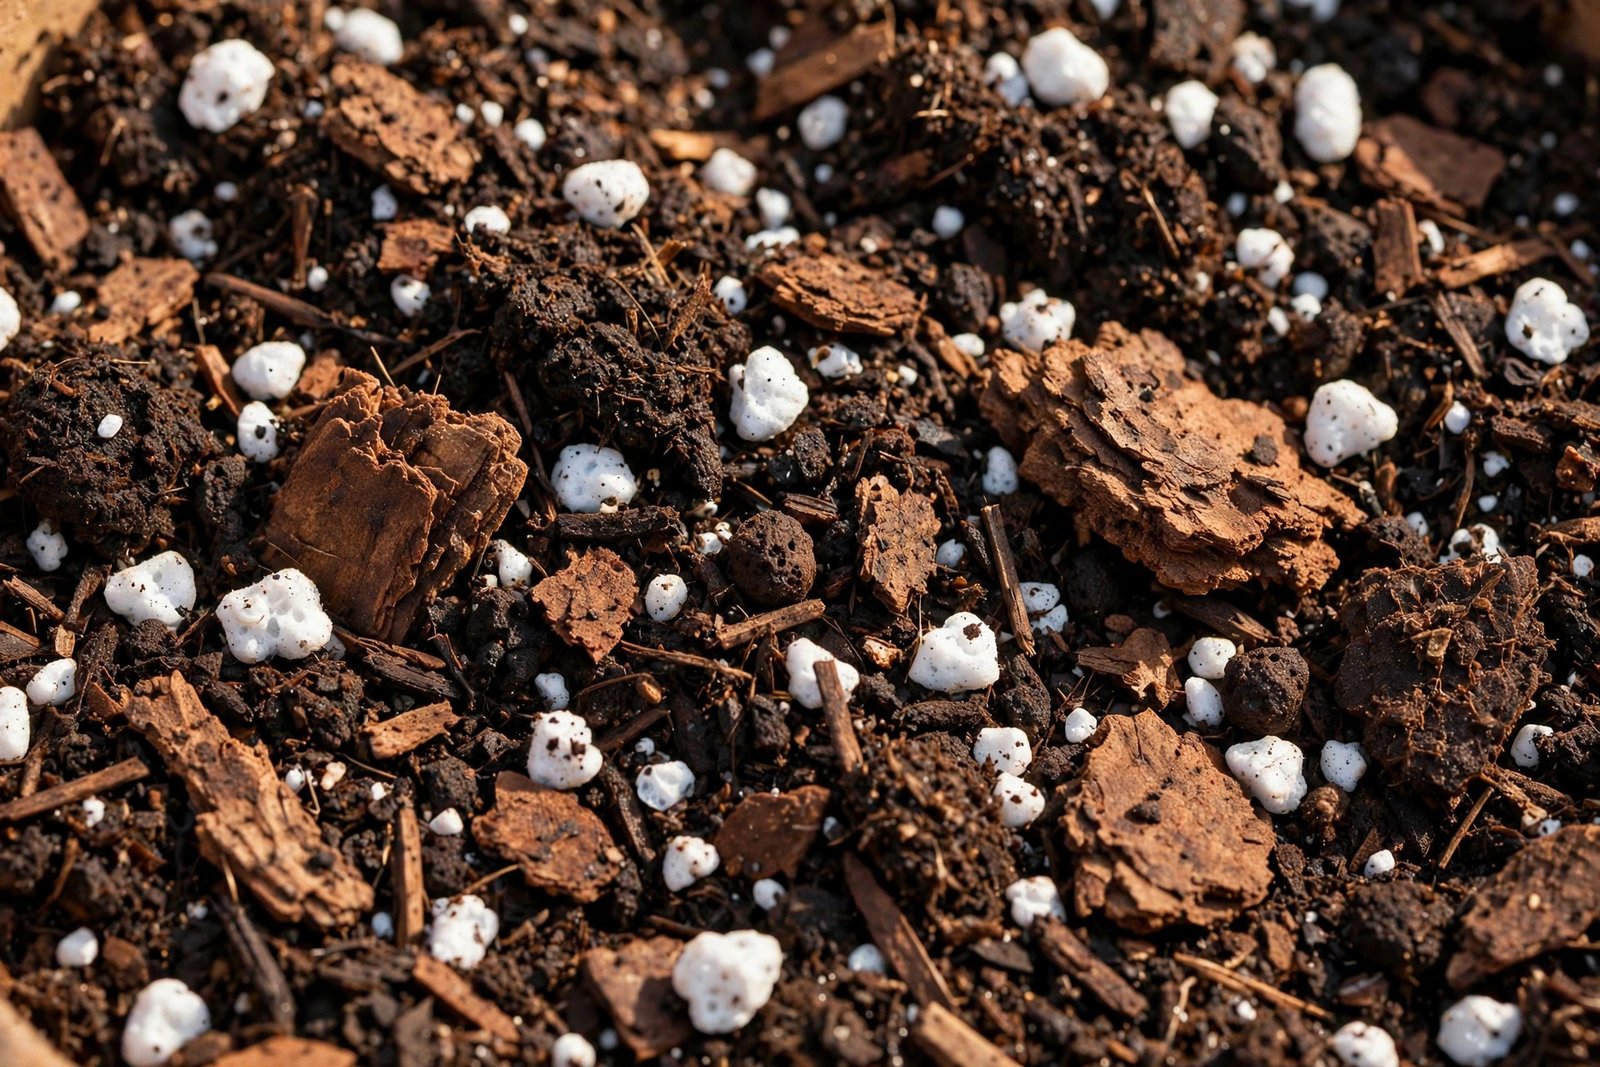
- 3 litres perlite — those little white volcanic-rock puffs. This is the drainage and aeration engine: it holds its structure forever, keeps the mix open, and stops compaction.
- 2 litres coco coir (rehydrated from a compressed brick) — holds moisture like a sponge and releases it slowly, so pots don’t swing between swamp and desert. Peat-free and renewable.
- 1 litre worm castings — nature’s slow-release fertilizer. Gentle, impossible to overdo, and full of beneficial microbes. This is the ingredient that makes plants look visibly happier.
Then, per 10 litres of mixed base, stir in:
- 2–3 tablespoons of organic slow-release fertilizer (a balanced granular feed or pelleted chicken manure) — feeds plants for the first couple of months.
- A handful of horticultural grit if you’re potting Mediterranean herbs (more on variations below).
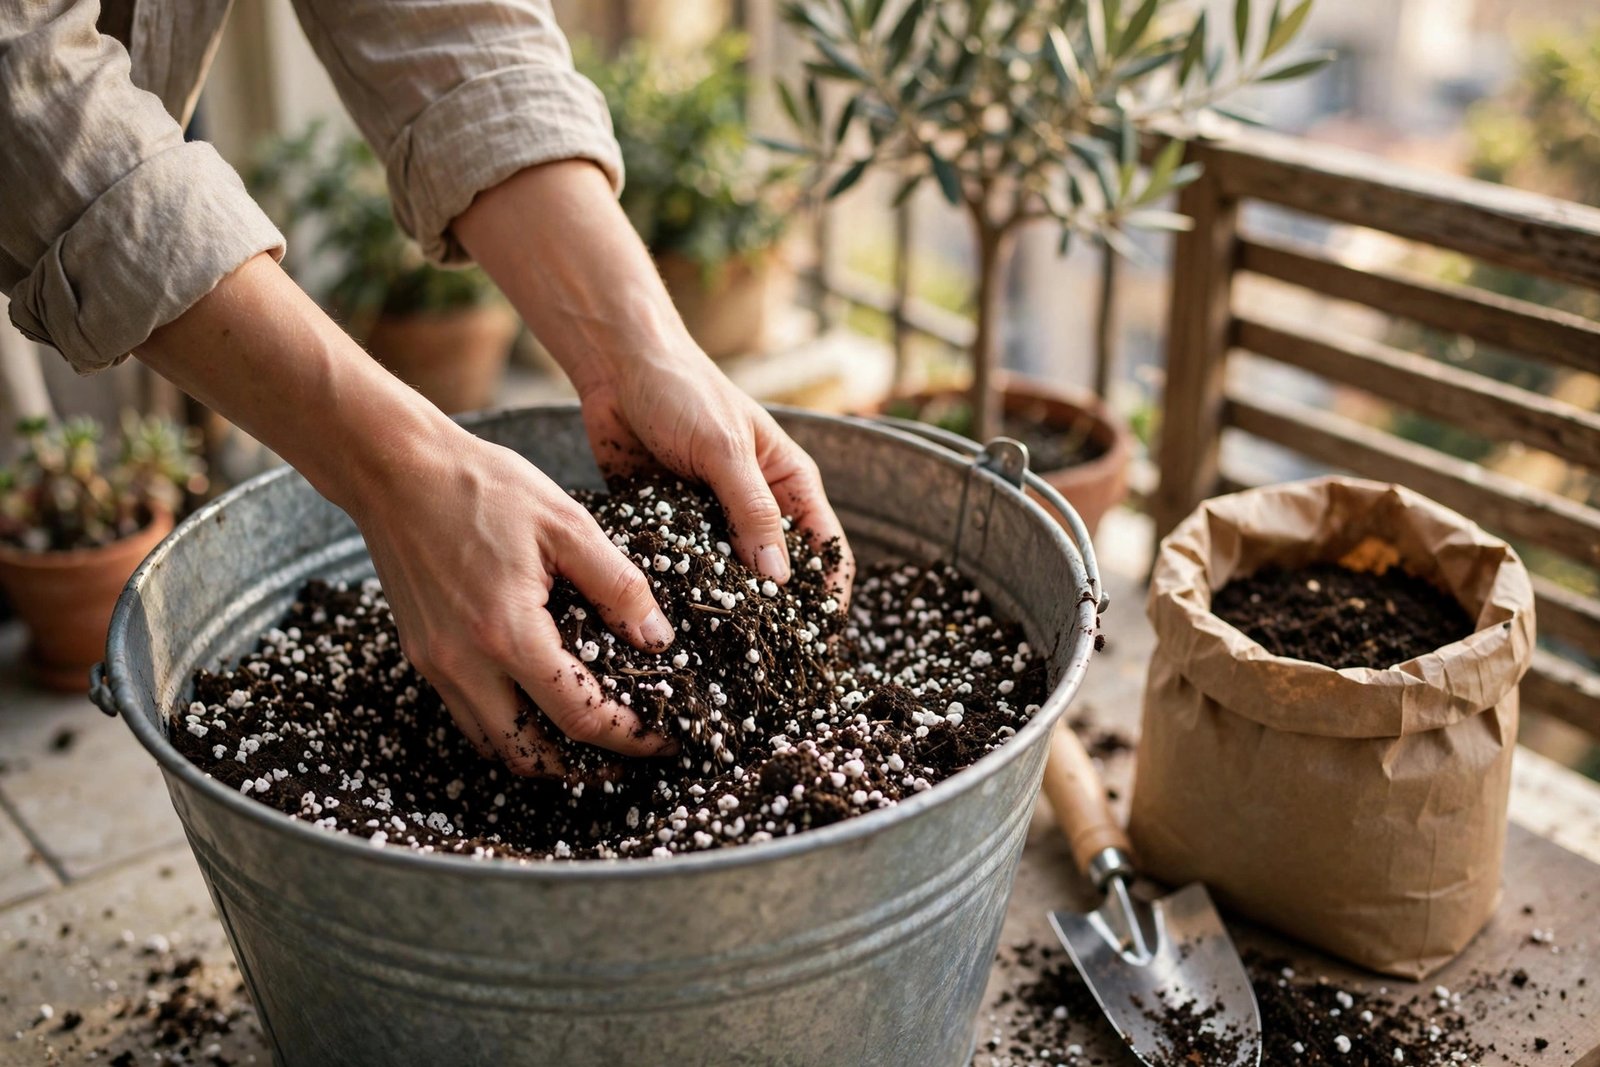
Method: Rehydrate the coir brick in a bucket of water first (takes 20 minutes — it expands to about 8–9 litres). Tip everything into a big tub, trug, or onto a tarp, and mix with your hands or a trowel until it’s uniform. It should feel light, springy, and smell earthy-sweet. If you squeeze a handful, it should clump loosely then crumble apart — not drip water, not fall to dust. Done. That’s the whole process.
What Each Ingredient Actually Does
Understanding the roles helps you improvise when you run out of something:
Compost (the base, 40%) provides nutrients, beneficial microbes, and the dark crumbly structure roots love. Peat-free matters — peat bogs are precious carbon stores, and modern peat-free composts based on coir, bark, and green waste perform brilliantly. Avoid the cheapest bags, which can be mostly shredded wood and go slimy.
Perlite (drainage/aeration, 30%) is expanded volcanic glass — sterile, pH-neutral, and permanent. Unlike organic matter, it never decomposes, so your mix stays open and airy all season. Roots need oxygen as much as water, and perlite is what delivers it. Vermiculite is the alternative: it holds more water, so it’s better for thirsty plants and seed-starting, slightly worse for drainage. Keeping both on hand works well: perlite for the main mix, vermiculite for seedlings.
Coco coir (moisture management, 20%) is the fibrous husk of coconuts, sold as compressed bricks that expand dramatically in water. It holds up to ten times its weight in water while still allowing airflow — the best of both worlds. It also rewets easily, unlike peat, which once bone-dry repels water infuriatingly. One brick (about £2–3) makes enough coir for several batches.
Worm castings (gentle nutrition, 10%) are worm manure — the finest slow-release fertilizer in existence. They won’t burn plants no matter how generous you are, they improve soil structure, and they’re teeming with beneficial biology. A 10-litre bag costs around £8–10 and treats many batches. If you can’t find them, well-rotted homemade compost from a small-space compost bin works similarly.
Three Variations for Different Plants
The all-purpose mix handles most things, but these tweaks make a real difference:
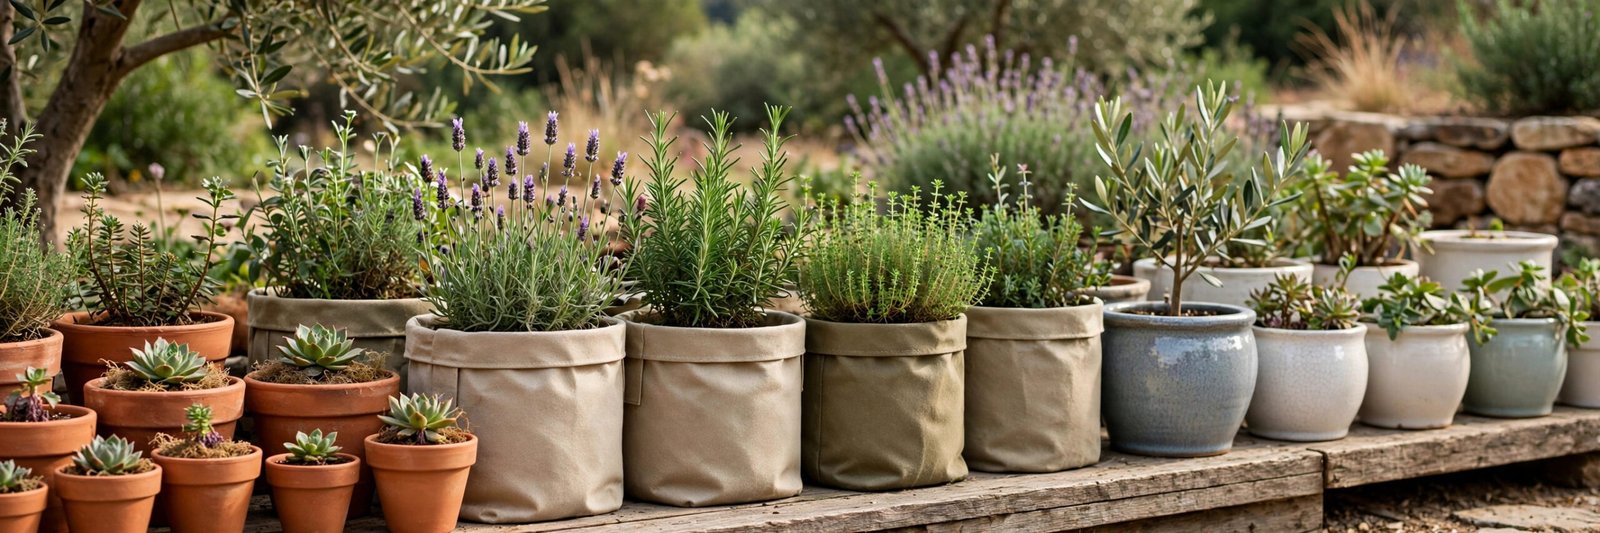
For Mediterranean herbs (thyme, rosemary, oregano, lavender): they hate wet feet. Use the base recipe but swap 1 litre of coir for 1 litre of horticultural grit or coarse sand, and plant in terracotta. Sharper drainage, happier herbs — thyme often goes from merely surviving to genuinely thriving with this change.
For hungry vegetables (tomatoes, peppers, courgettes): they want richness. Add an extra litre of compost or well-rotted manure per 10 litres, and double the slow-release fertilizer. Tomatoes in particular are greedy — top-dressing tomato pots with a fresh inch of compost mid-season keeps them going. The tomato-growing guide has the full feeding schedule.
For seed-starting: seedlings want a finer, gentler mix. Sieve the base mix to remove lumps, use vermiculite instead of perlite, skip the granular fertilizer (too strong for babies), and keep the worm castings — they’re gentle enough for seedlings. Start everything in this, then pot on into the regular mix.
The “Cheater’s Upgrade” (When You Can’t Be Bothered)
Let’s be honest: sometimes you just need to pot something up right now. The single highest-impact lazy improvement is stirring 20–30% perlite into any bagged compost. It takes two minutes, costs pennies per pot, and fixes the two biggest flaws of cheap compost — poor drainage and compaction. Doing this for a whole season before committing to full DIY mixing is a fine path — it alone noticeably improves most plants. If full DIY feels like too much, start here.
Mixing, Storing, and Reusing
Batch size: mixing 30–40 litres at a time in a big storage tub covers a spring potting session. The recipe scales linearly; just keep the ratios.
Storage: keep mixed soil dry in a sealed tub or tied bag. Damp-stored mix goes sour and grows things you don’t want. Properly stored, it keeps for a year easily.
Cost: roughly speaking, a 10-litre batch costs about £2.50–£3.50 in ingredients bought in reasonable quantities, versus £5–£8 for 10 litres of premium bagged compost. The savings scale with every pot you fill.
Reusing old mix: don’t throw it away! At season’s end, tip spent compost into a tub, pick out old roots, mix in fresh compost (about a third by volume), a fresh dose of slow-release fertilizer, and it’s good to go again. Refreshing rather than replacing every year works well — after three seasons of refreshing, the mix is dark, crumbly, and full of life. The only rule: if a plant died of disease in a pot, don’t reuse that soil for the same plant family. When in doubt, use it for flowers, not veg.
Mistakes I Made So You Don’t Have To
- Using garden soil “to bulk it out.” It compacted everything into concrete within weeks. Never again.
- Skipping the fertilizer because the compost “looked rich.” Six weeks later: pale, hungry plants. The slow-release feed is not optional.
- Mixing it too wet. Mix dry-ish; you can always water after potting. Soggy mix is miserable to work with and compacts in the pot.
- Eyeballing perlite at 50%+. More drainage isn’t always better — beyond about a third, pots dry out absurdly fast and nutrients wash straight through. Stick near the recipe.
- Forgetting coir needs rehydrating first. Dry coir brick chunks in a mix are useless lumps. Soak it, fluff it, then measure.
Frequently Asked Questions
Is DIY mix really cheaper than bagged compost?
Yes, once you’re filling more than a few pots a year. The ingredients bought in bulk (a big bag of perlite, a few coir bricks, worm castings) work out to roughly half the cost of premium bagged compost per litre. The savings are modest for three herb pots but significant for a full balcony. Plus the results are better, which is the real point.
Can I make this without worm castings?
Absolutely. Substitute well-rotted garden compost or leaf mould 1:1. Castings are a reliable choice because they’re consistent and weed-free, but any good homemade compost does the same job. In a pinch, just increase the slow-release fertilizer slightly and skip the castings entirely — the mix still outperforms plain bagged compost.
Perlite vs vermiculite — which should I buy?
For general container growing, perlite — it prioritises drainage and aeration, which is what most potted plants need most. Buy vermiculite too if you start lots of seeds (it holds moisture better for germination) or grow very thirsty plants. If you can only buy one, make it perlite.
How do I know if my mix has the right texture?
The squeeze test: grab a moist handful and squeeze. It should hold together loosely, then crumble when poked. If water drips out, it’s too wet or too heavy — add perlite. If it won’t hold any shape at all, it needs more compost or coir. After one batch you’ll know the feel by heart.
Does homemade mix need sterilising?
For general potting, no — the ingredients are clean and the biology is beneficial. For seed-starting, some gardeners microwave small batches to kill damping-off fungi, but seedlings do fine without it given good airflow and careful watering. Don’t overthink it.
Mix a Batch This Weekend
That’s the whole recipe — four ingredients, one bucket, fifteen minutes, and a homemade potting soil mix that will quietly outperform everything your neighbours are growing in straight bagged compost. Start with the cheater’s upgrade if full DIY feels like a leap; graduate to the full mix when you’re ready.
There’s something deeply satisfying about potting a plant into soil you made yourself. It connects you to the growing in a way that tearing open a bag never quite does. And when your tomatoes are twice the size of last year’s, you’ll know exactly why.

6 Comments on “The Perfect Potting Soil Mix for Container Gardens (DIY Recipe)”