
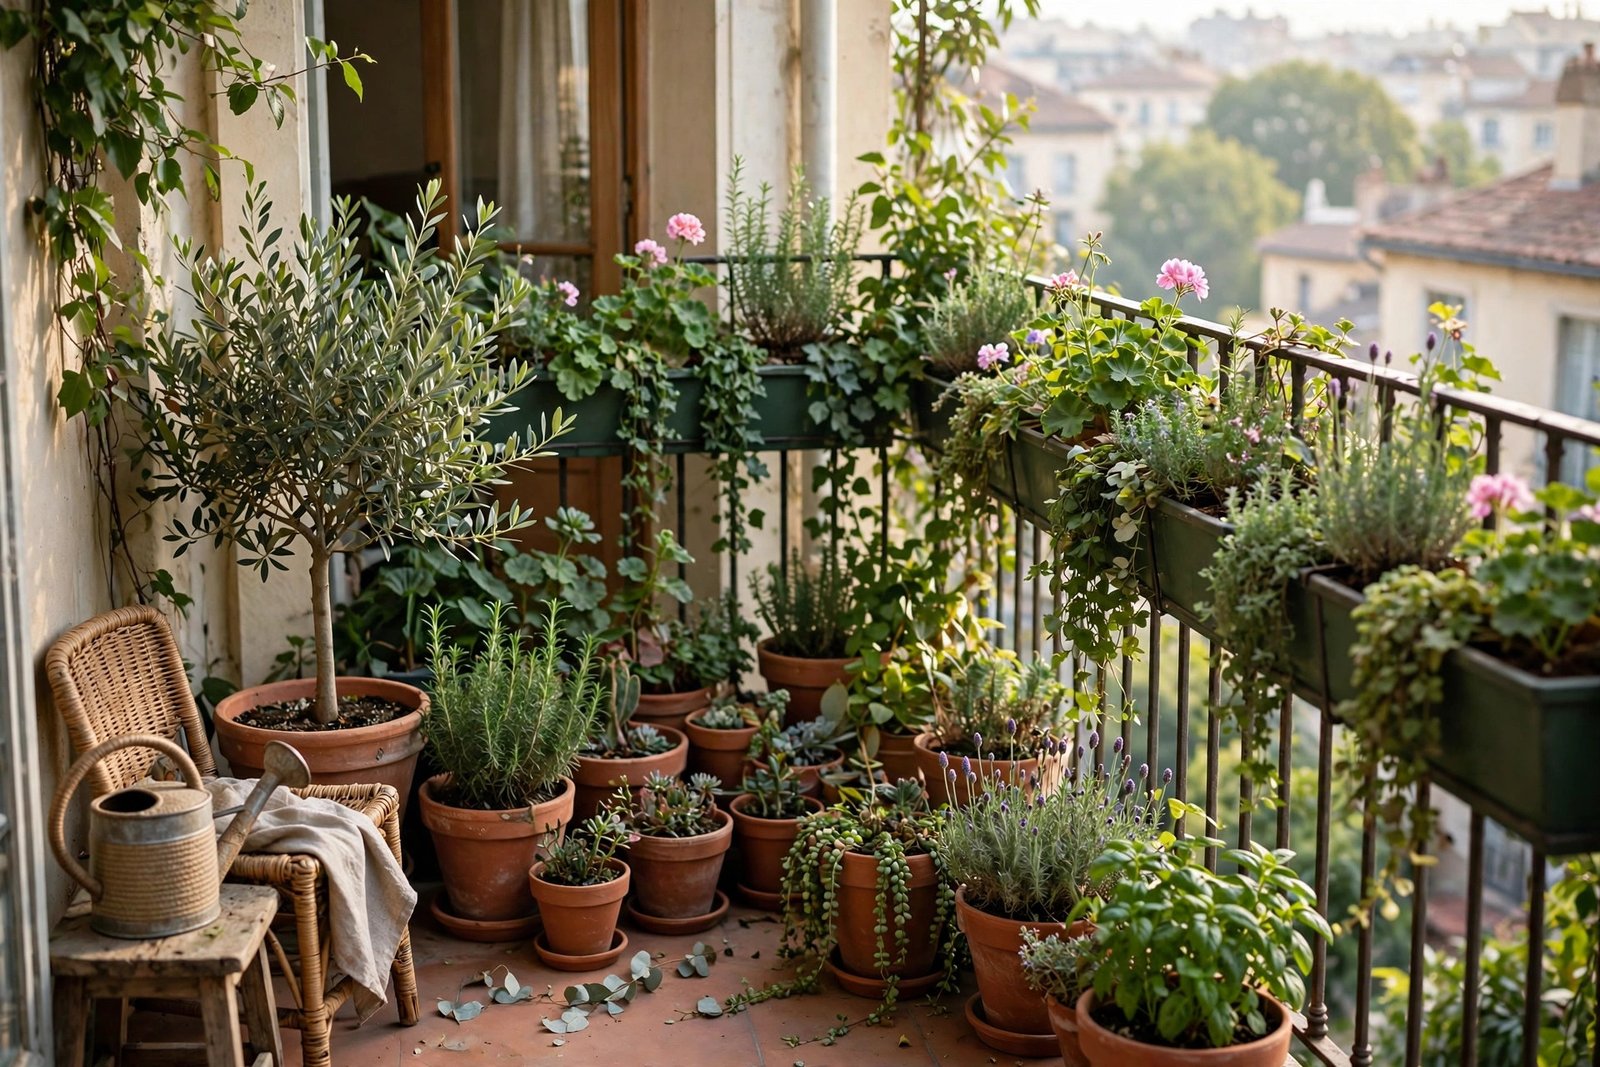
Picture a tiny rented balcony, two sad leggy supermarket basil plants, and a brand-new gardener thinking: this is going to be easy. You just water them, right?
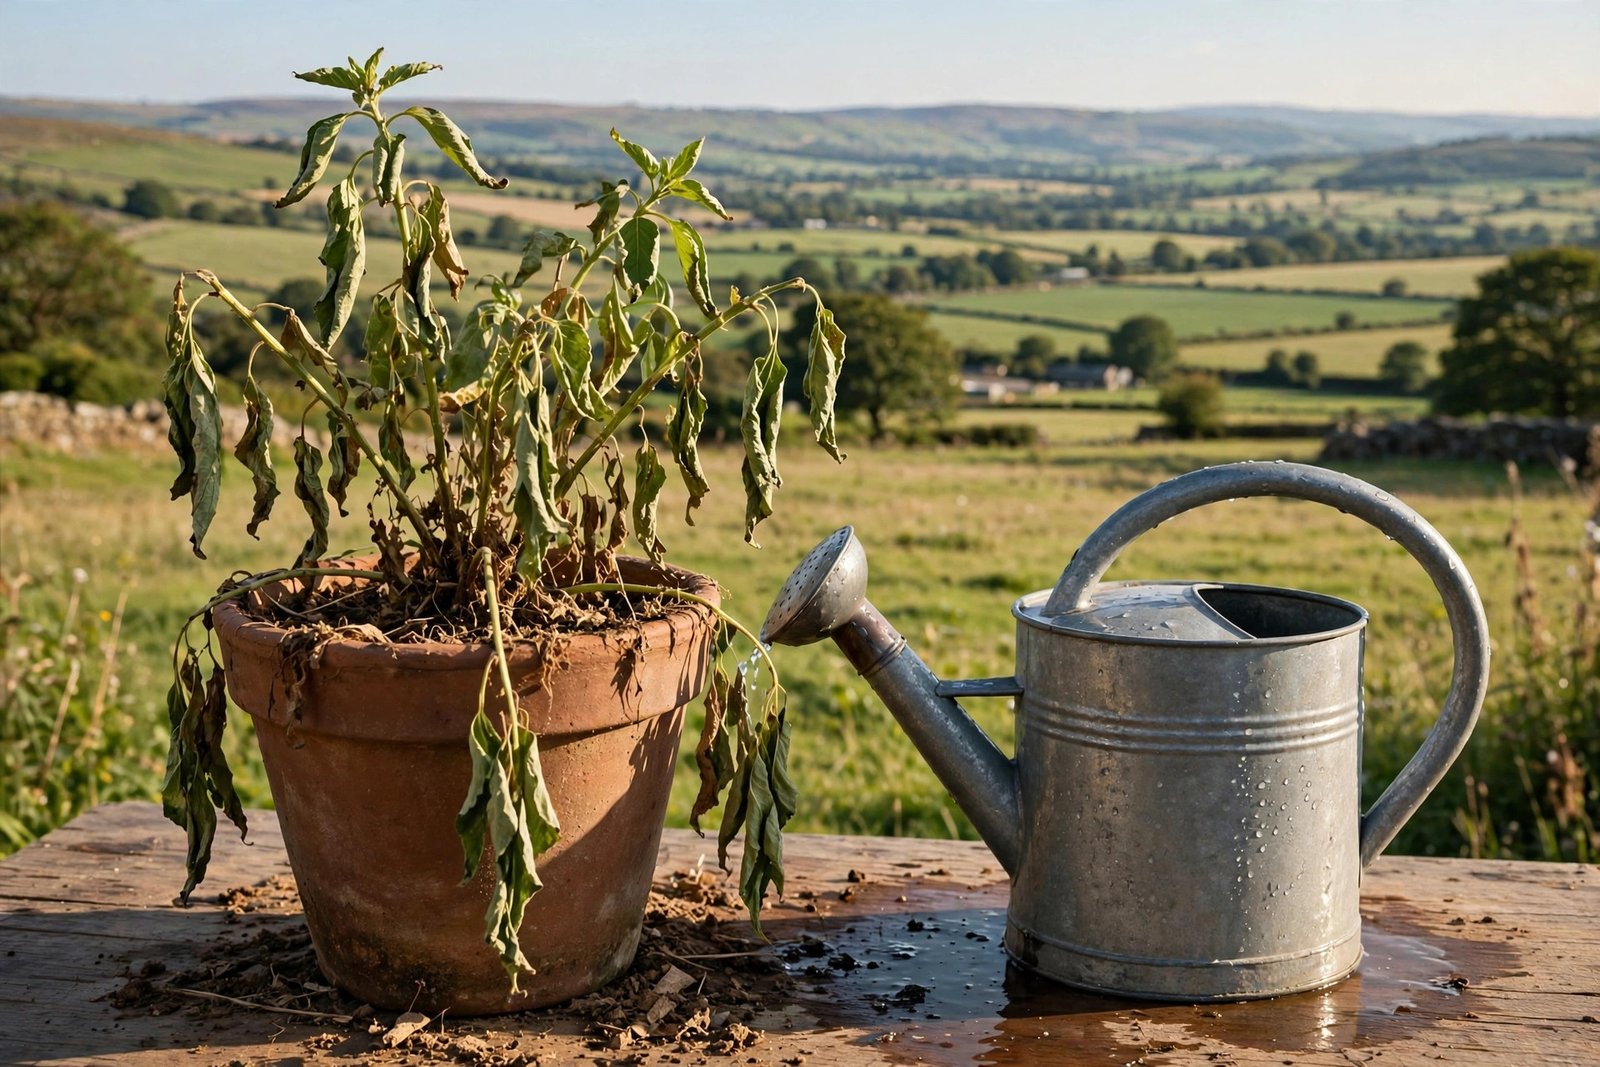
Three weeks later, both plants were dead — one drowned by overwatering, the other scorched by too much sun. It’s the classic beginner outcome, and it’s genuinely baffling the first time: how do two plants that seem so easy to keep alive both die? Nobody tells you this when you start a balcony garden: it’s simple, but it’s not obvious. There are a few basics — light, drainage, soil, timing — and once you understand them, everything gets dramatically easier.
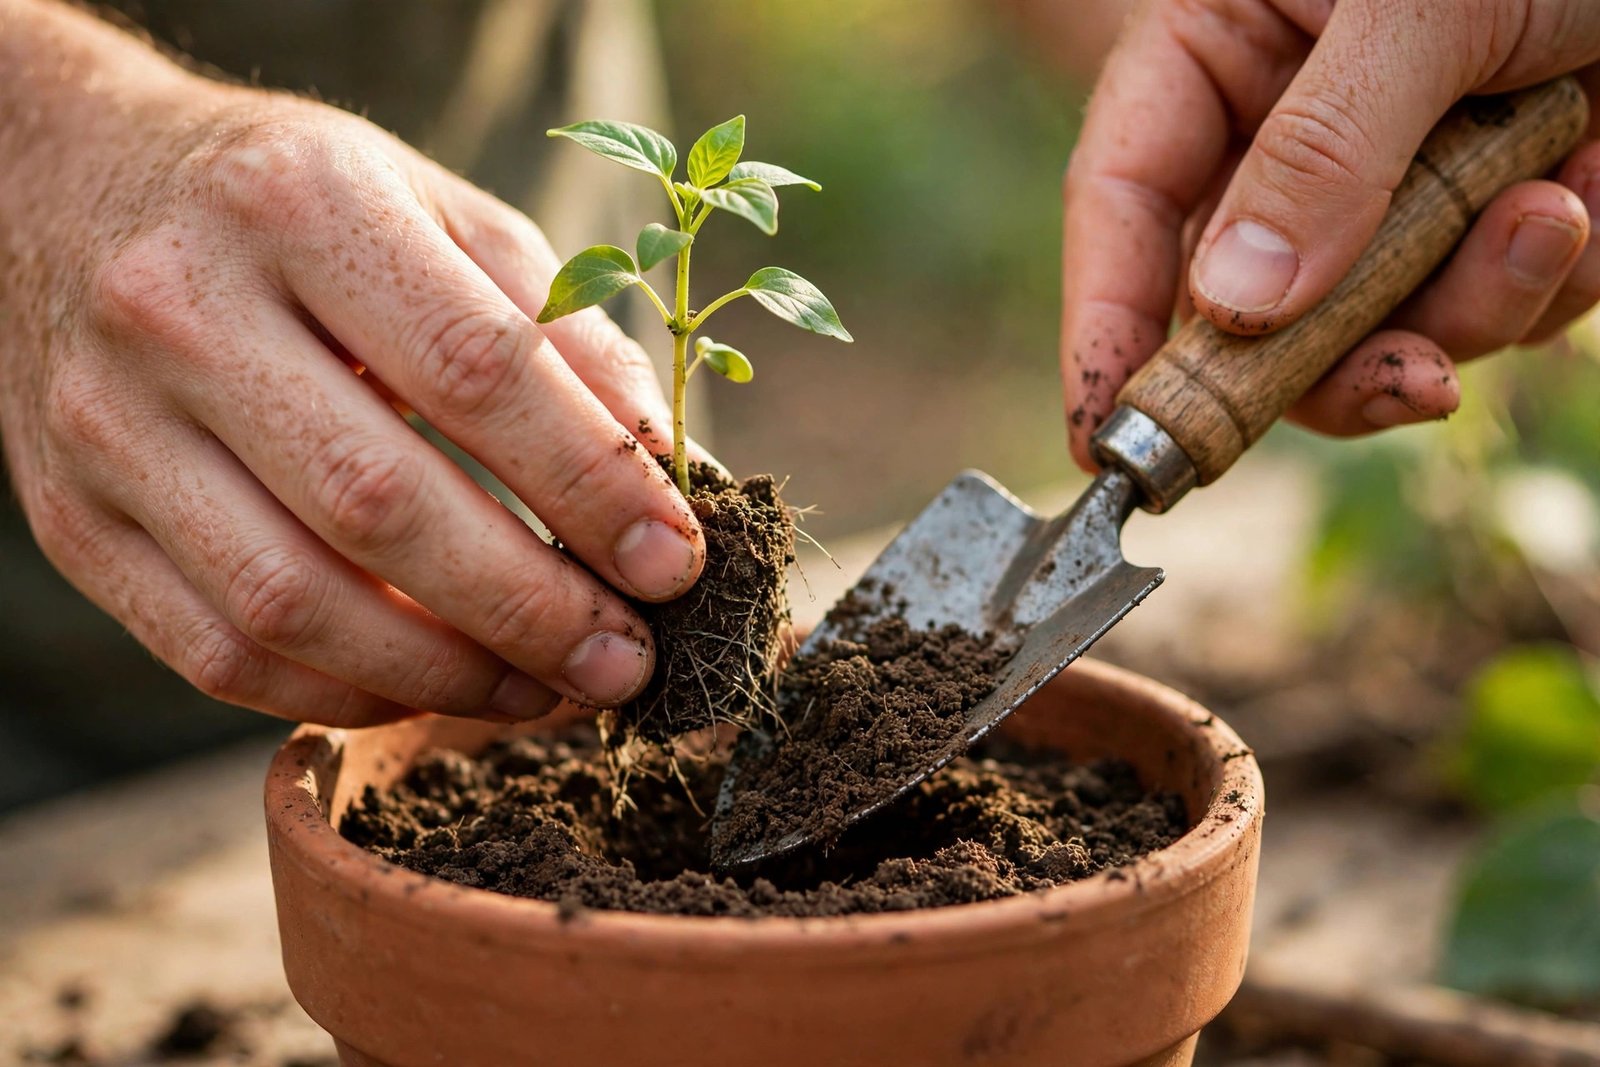
So this guide packs in a first season’s worth of beginner mistakes — so you don’t have to make them all yourself. This is the guide every beginner wishes someone had handed them on day one: everything you need to start a balcony garden from absolute zero, even if you’ve never kept a plant alive in your life.
Quick Tips:
- Start with 3–5 plants, not 15. Small and successful beats big and overwhelming.
- Every pot needs a drainage hole. No exceptions.
- Buy seedlings (starter plants), not seeds, for your first season — you get to the fun part months sooner.
- Spend your first weekend watching your balcony’s sunlight before buying a single plant.
Step 1: Get to Know Your Balcony Before You Buy Anything
This is the step most beginners skip, and it’s the step that matters most. Your balcony is a microclimate, and the plants that thrive on it depend entirely on what that microclimate looks like. So before you spend a penny, do some reconnaissance.
Measure it. Write down the length, width, and railing height. A typical balcony railing handles hanging planters fine, but an older wooden deck railing might not — when in doubt, ask your landlord before you load it up.
Watch the sun. This is the single most important piece of information you’ll gather. On a day you’re home, check your balcony every two hours and jot down whether it’s in full sun, partial shade, or full shade. A south-facing balcony gets blazing sun most of the day; a north-facing one might get almost none. East-facing gets gentle morning sun (lovely for most plants), west-facing gets intense afternoon heat. A north-east-facing balcony, for example, is exactly why sun-hungry basil stretches into leggy stems reaching for the light. There’s a whole article on how much sunlight your balcony garden really needs if you want to go deeper.
Check the wind. Upper-floor balconies can be shockingly windy. If your laundry dries sideways out there, your plants will need shelter: a cheap bamboo screen, a small trellis, or just grouping pots together makes a huge difference.
Read your lease. Many rentals have balcony rules: no drilling into walls, no pots hanging over the railing, limits on water usage. A quick scan of your tenancy agreement now avoids a heartbreaking clear-out order later. Free-standing pots and clamp-on railing planters are usually fine.
Step 2: Pick Your First Plants (The Easy Wins)
Here’s a firm rule, earned through plenty of beginner failure: your first garden should be built around plants that are hard to kill and rewarding to use. There’s a special magic in snipping herbs into your dinner that keeps you going through the learning curve. Save the fussy stuff for year two.
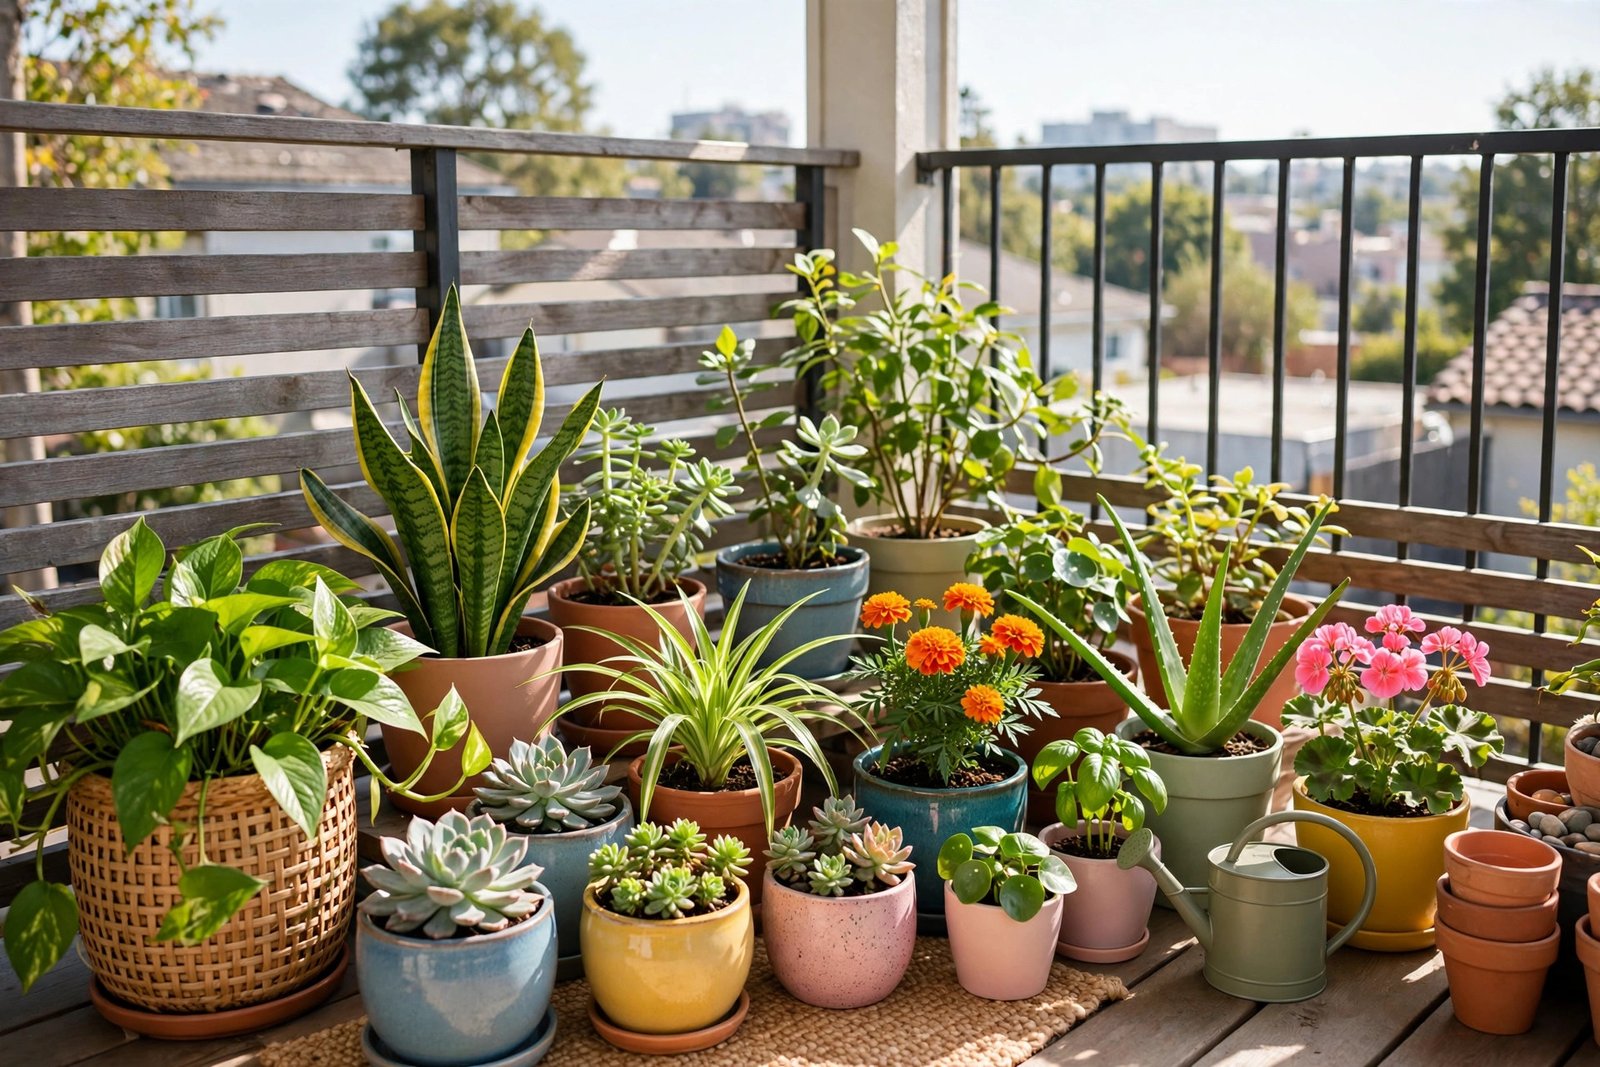
A recommended starter lineup for a first balcony:
- Basil — specifically ‘Genovese’ basil from a seedling, not the supermarket potted kind (those are grown in greenhouses and often collapse in real-world conditions). One plant in a 6-inch (15 cm) pot gives you pesto all summer.
- Mint — nearly indestructible, but always in its own pot because it will colonize everything else.
- Chives — buy as a seedling or small clump; snip what you need and they bounce back. Tolerate neglect beautifully.
- Cherry tomatoes — ‘Tiny Tim’ or ‘Tumbling Tom’ are bred for pots and need no staking. One plant in a 12-inch (30 cm) pot produces a surprising amount of fruit.
- Lettuce or salad mix — cut-and-come-again varieties let you harvest outer leaves while the plant keeps growing. ‘Saladin’ and ‘Lollo Rosso’ are forgiving choices.
- Radishes — the instant-gratification vegetable. Sow, water, harvest in 25–30 days. Perfect for impatient beginners.
If you want the full breakdown with pot sizes and light needs for each, read the 15 easiest plants for first-time balcony gardeners — it’s basically a shopping list you can take to the garden centre.
A word about seeds versus seedlings: for your very first season, buy seedlings (small starter plants). Seeds are cheaper, but they add weeks of waiting and a whole extra skill set — get one successful season under your belt with seedlings first. The only exception is radishes and salad greens, which are genuinely easy from seed — sprinkle, water, done.
Step 3: Get the Right Pots (And Fewer Than You Think)
Most beginners chronically underestimate pot size. A tiny 4-inch (10 cm) decorative pot looks adorable in the shop and is a death trap for anything but a succulent. Small pots dry out in hours on a hot day and give roots no room to grow. Here’s a handy rule of thumb:
- Herbs (basil, mint, chives, parsley): 6–8 inch (15–20 cm) pots, one plant per pot.
- Cherry tomatoes: minimum 12 inch (30 cm), ideally with some depth — tomatoes are hungry, thirsty plants.
- Salad greens: a wide, shallow trough or window box, 6 inches (15 cm) deep minimum.
Every single pot must have drainage holes in the bottom. Decorative pots without holes are plant coffins — water pools at the bottom, roots rot, the plant dies, and you blame yourself when it was the pot’s fault all along. If you fall in love with a hole-less pot, drill holes yourself or use it as an outer “cache pot” with a proper nursery pot inside. The detailed guide to choosing the right pots and containers covers materials, sizes, and the great plastic-versus-terracotta debate.
And get saucers. Your downstairs neighbours will thank you, and so will your balcony floor.
Step 4: Soil Matters More Than You Think
Your first year, just buy a bag of good-quality multi-purpose potting compost (not garden soil — it’s too heavy and compacts in pots). Cheap compost will cause you grief; a decent mid-range bag is one of the best investments a beginner can make.
Fill your pots to about an inch (2–3 cm) below the rim — this gap is your watering reservoir. Firm the compost gently around the seedling’s root ball, but don’t pack it down like a sandcastle. Roots need air.
Once you’re hooked (and you will be), mixing your own potting soil is cheaper and better. The DIY potting soil recipe covers a reliable mix: compost, perlite, and a few extras that make container plants genuinely thrive. But don’t feel you need it on day one.
Step 5: Watering — The Skill That Kills Most Beginner Plants
Overwatering kills more beginner plants than underwatering. The classic beginner basil drowns because it’s watered on a schedule — every morning, rain or shine — instead of checking whether the soil actually needs water.
Here’s the only watering rule that matters: stick your finger into the soil up to the second knuckle. If it’s dry, water. If it’s damp, wait.
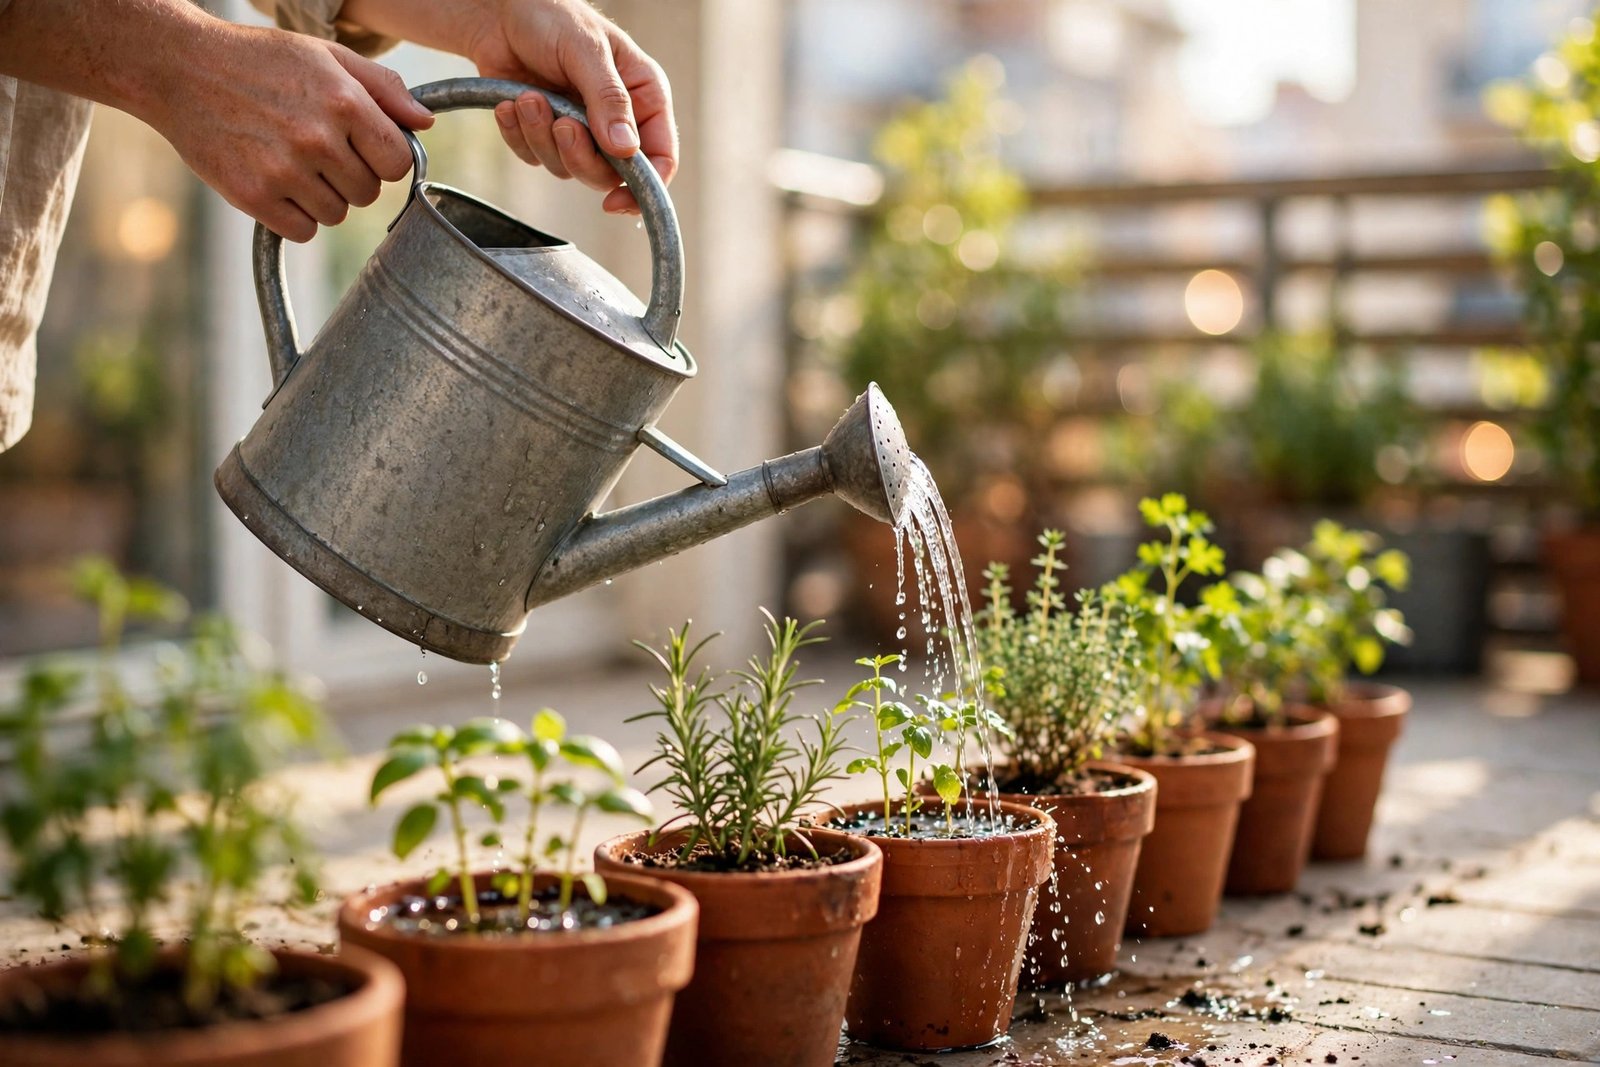
Then water properly: pour slowly until water runs out of the drainage holes, then empty the saucer after 20 minutes so the pot isn’t sitting in a puddle. In a heatwave, big pots in full sun might need this daily; in a cool cloudy week, maybe twice a week.
Morning watering is best — leaves dry during the day, which discourages fungal problems. If you can only water in the evening, water the soil, not the leaves.
Step 6: Feed Your Plants (But Not Too Much)
Potting compost contains enough nutrients for the first 4–6 weeks. After that, container plants need feeding because watering washes nutrients out of the pot. A liquid tomato feed every week or two during the growing season works for almost everything on a beginner balcony. Follow the dilution on the bottle — overfed plants grow soft and leggy. A basil plant fed too enthusiastically can shoot up a foot tall and taste of nothing: the classic beginner cautionary tale.
Your First-Weekend Shopping List to Start a Balcony Garden
Here’s what I’d buy for a starter balcony garden if I were starting over today:
- 3–5 seedlings: basil, mint, chives, a cherry tomato (‘Tiny Tim’), and a lettuce or two
- Pots: one 12-inch (30 cm), three 6–8 inch (15–20 cm), saucers for all
- One bag of multi-purpose potting compost (35–50 litres is plenty for this lot)
- A small bag of perlite or grit for drainage (optional but helpful)
- A watering can with a rose head (gentle on seedlings)
- One bottle of liquid tomato feed
That’s it. No fancy tools, no grow lights, no greenhouse. You can start a balcony garden for the price of a nice dinner out, and the herbs alone will pay for themselves by midsummer if you were buying those sad plastic packets at the supermarket.
Frequently Asked Questions
How much does it cost to start a balcony garden?
Less than most people assume. A starter setup like the one above runs roughly £40–£70 (or $50–$90) depending on where you shop — plants and compost are the big costs, and charity-shop pots work fine. The ongoing costs are tiny: a bag of compost and a bottle of feed per season.
When is the best time to start?
Late spring, after your last frost date — for most of the UK and northern US, that’s May. Starting in high summer is fine too, especially for herbs and salad greens. If you’re reading this in autumn, start with a couple of hardy herbs and plan properly for spring; there’s no shame in a slow start.
Do I need permission from my landlord?
Check your lease. Most landlords are fine with a few pots, but some buildings have rules about weight, drainage, or things hanging off railings. A quick polite email now beats a removal notice later — most landlords are perfectly fine with free-standing pots.
Can I garden on a north-facing balcony with almost no sun?
Yes, but choose your plants accordingly. Shade-tolerant herbs like mint, chives, and parsley cope with 3–4 hours of indirect light, and lettuce actually prefers it in summer. What won’t work: tomatoes, basil, and anything that fruits — they need real sun. Work with your light, not against it.
How do I keep my balcony garden from making a mess?
Saucers under every pot catch drainage water. Water slowly so it soaks in rather than running off. Sweep fallen leaves weekly before they blow into the neighbour’s space. And if you’re above another balcony, be considerate about when you water — nobody loves a surprise shower while they’re having their morning coffee.
Your Turn
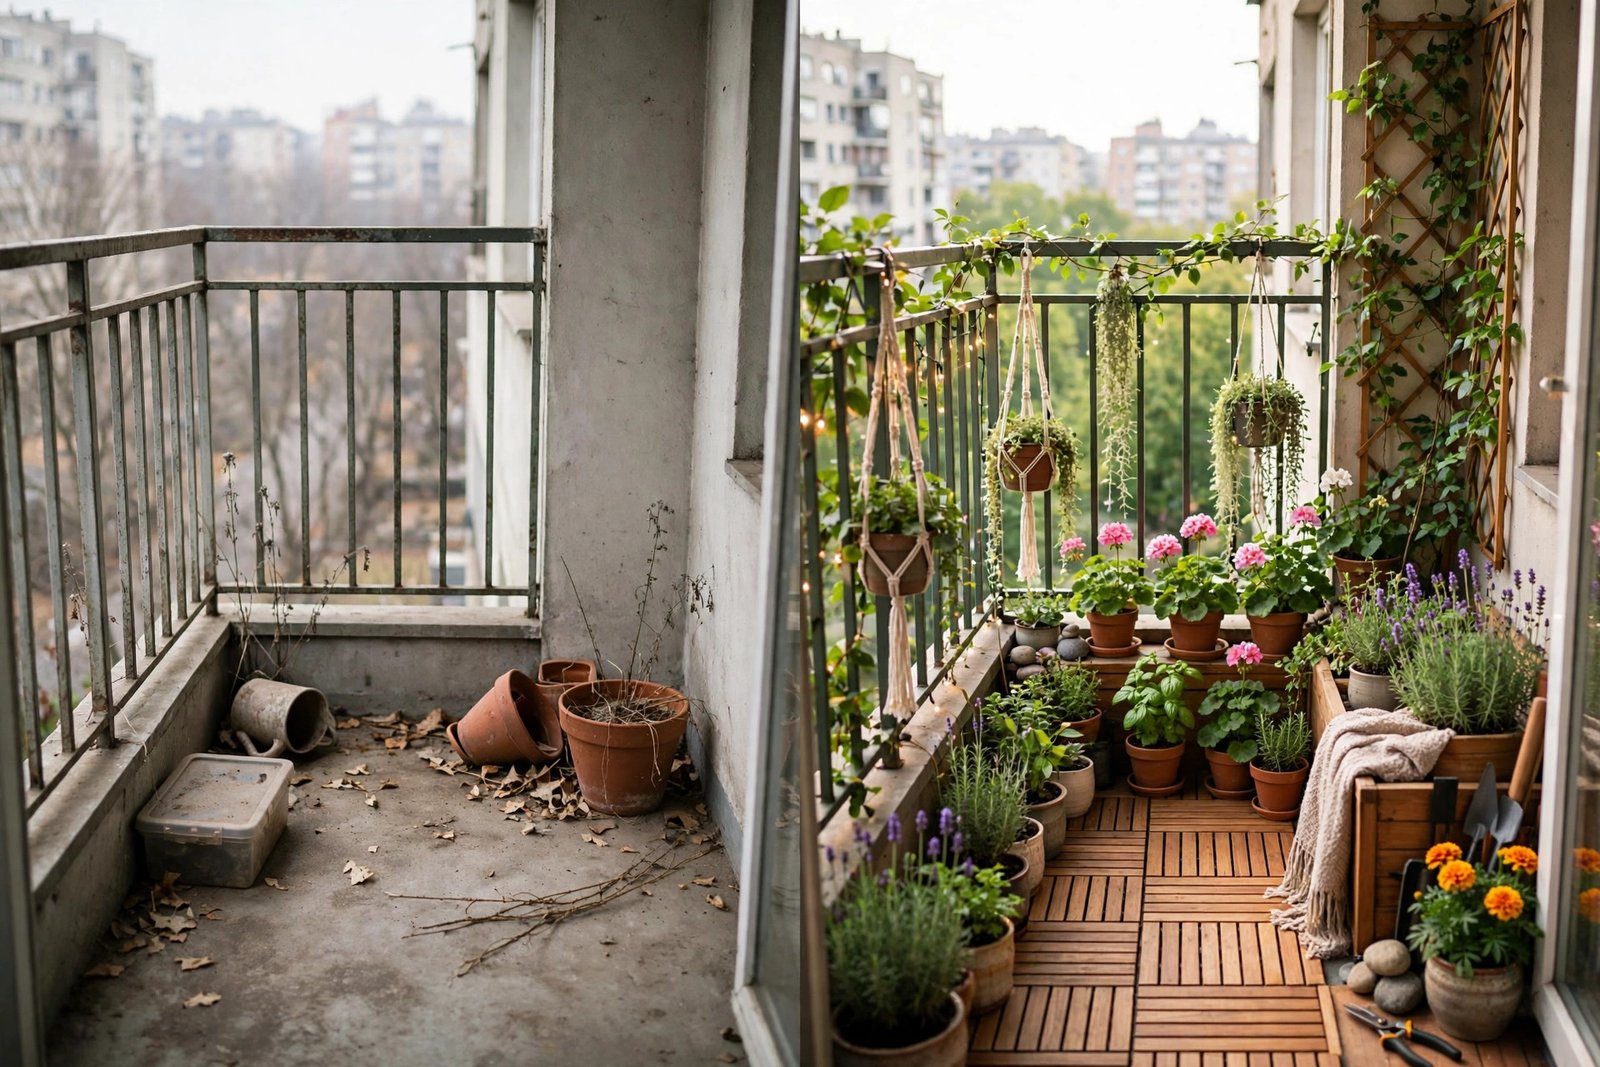
That’s genuinely everything you need to begin. You don’t need a course, a greenhouse, or a green thumb — you just need a few pots, decent compost, and the willingness to check the soil with your finger before you water. Plenty of gardeners start with two dead basil plants and a bruised ego and end up with a balcony producing salad from May to October — you absolutely can too.
Start small, pick the easy plants, and give yourself permission to learn as you go. Your first season won’t be perfect — nobody’s is — but there’s nothing quite like eating something you grew yourself, three floors up, in a pot you chose.

2 Comments on “How to Start a Balcony Garden from Scratch: A Beginner’s Complete Guide”