
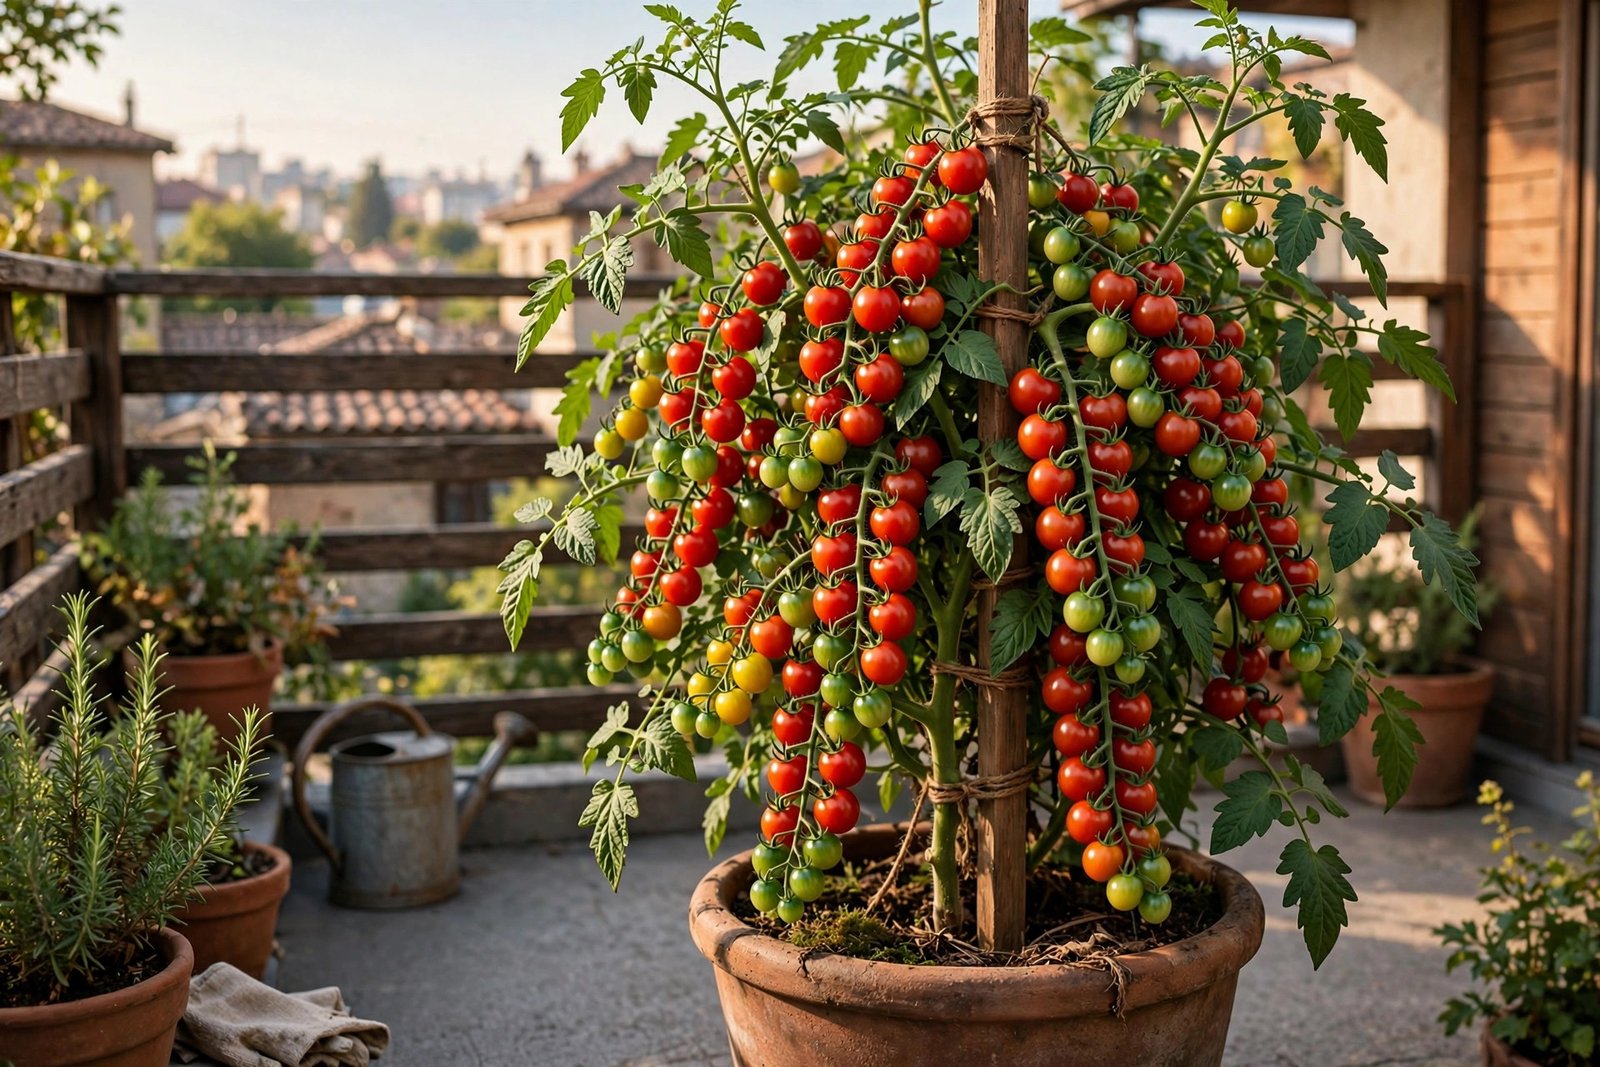
To say it plainly: a sun-warmed tomato picked off your own balcony plant and eaten within seconds tastes better than anything you’ll ever buy in a shop. Not slightly better — embarrassingly better, the kind of better that ruins supermarket tomatoes permanently. One cherry tomato handed over a railing has converted more than one neighbour — like some kind of produce dealer. If you grow one vegetable in a pot this year, make it this one.
That said, tomatoes are also the container vegetable beginners mess up most often. They’re hungry, they’re thirsty, and they sulk dramatically when their needs aren’t met. But learning how to grow tomatoes in containers is mostly about getting water and feeding right — and once those click, a balcony tomato plant is one of the most rewarding things you can grow. Here’s everything that seven seasons of trial, error, and eventually quite a lot of tomatoes can teach.
Quick Tips:
- Choose compact or dwarf varieties (‘Tiny Tim’, ‘Tumbling Tom’, ‘Vilma’) for pots — not full-size indeterminate types.
- Use a 5-gallon (12–14 inch / 30–35 cm) pot minimum per plant, with drainage holes.
- Give 6–8 hours of direct sun and water consistently — never let pots swing between bone-dry and soggy.
- Feed every 1–2 weeks once flowers appear; support stems before they flop.
Picking the Right Variety (This Matters More Than Anything)
The single biggest mistake beginners make when learning how to grow tomatoes in containers is growing the wrong type of tomato in a pot. Tomatoes come in two growth habits, and the distinction matters enormously for containers.
Determinate (bush) varieties grow to a fixed size, fruit all at once over a few weeks, then fade. They’re compact, need little pruning, and suit pots beautifully. Indeterminate (cordon/vining) varieties keep growing and fruiting until frost — they’re the ones you see as six-foot monsters in greenhouses, and they’re a handful in containers unless you really know what you’re doing.
For balconies, stick with compact varieties. Proven favourites:
- ‘Tiny Tim’ — the classic dwarf, barely 12–18 inches tall, covered in sweet red cherries. Perfect for a windowsill or small pot.
- ‘Tumbling Tom’ — bred to cascade, superb in hanging baskets and railing planters. Red and yellow forms both exist.
- ‘Vilma’ — a sturdy dwarf with excellent flavour, very forgiving of beginner mistakes.
- ‘Terenzo’ F1 — a trailing cherry that shrugs off a lot of abuse and fruits heavily.
- ‘Bush Early Girl’ — if you want bigger slicing tomatoes, this compact bush type gives you proper tomato flavour in a 5-gallon pot.
Avoid full-size indeterminate varieties like ‘Gardener’s Delight’ or beefsteaks unless you have a very large pot (10+ gallons), a serious support structure, and the willingness to prune suckers weekly. They can work, but they’re advanced mode.
Pots, Soil, and Planting
One tomato plant per pot — always. Two plants in one pot compete, and both do badly. For dwarf varieties, a 3-gallon (12-inch / 30 cm) pot is the workable minimum; for anything larger, go 5 gallons (14 inches / 35 cm) or more. Bigger pots buffer against the watering mistakes beginners tend to make in year one. Starting with 3-gallon pots and upgrading to 5-gallon within two seasons is the classic arc — skip the learning curve and start big.
Every pot needs drainage holes — tomatoes hate wet feet. Fill with a rich, moisture-retentive potting mix — multipurpose peat-free compost with a couple of handfuls of perlite mixed in works well — or follow the DIY potting soil recipe and add extra compost. Mix a generous handful of slow-release organic fertiliser into the bottom half of the pot at planting time — your plant will thank you in August.
Plant seedlings deep. Tomatoes are unusual: they grow roots all along a buried stem, so strip off the lower leaves and bury the stem up to the first healthy leaf pair. A leggy seedling planted deep becomes a stocky plant with a massive root system — and if your seedlings are stretching, the piece on why plants go leggy explains the light side of it.
After planting, water thoroughly and add a support immediately — a bamboo cane, a small tomato cage, or a spiral stake. Dwarf varieties still flop under the weight of fruit, and retrofitting support to a tangled plant in July is miserable.
Sun, Position, and the Balcony Microclimate
Tomatoes want 6–8 hours of direct sun daily, minimum. A south- or west-facing balcony is ideal — a south-west-facing balcony gets blasted all afternoon, and tomatoes love it — though in heatwaves above 95°F (35°C), fruit set can pause and a bit of afternoon shade cloth helps. (More on surviving extreme heat in the summer heatwave guide.)
Wind is the balcony factor most beginners underestimate. High balconies are windy, and wind dries pots fast and can snap stems. A windbreak — even a simple bamboo screen on the windward side — makes a real difference, and grouping pots together creates a calmer, more humid microclimate. If your balcony is a wind tunnel, trailing varieties in heavy pots are safer than tall ones.
Watering: The Make-or-Break Skill
Here’s the truth about container tomatoes: inconsistent watering causes more problems than any pest or disease. Letting the soil swing between bone-dry and soggy leads to blossom end rot (black sunken patches on the fruit bottoms), split skins, and dropped flowers. The goal is steady, even moisture.
In midsummer, a 5-gallon pot in full sun typically needs watering once a day, sometimes twice in a heatwave. Water at the base — never overhead, since wet foliage invites blight — until water runs from the drainage holes. Mulch the surface with 1–2 inches of straw, bark, or even shredded newspaper to slow evaporation; it genuinely halves how fast pots dry out.
The finger test is your best tool: stick a finger two inches into the soil. Dry at that depth means water now. If you’re constantly unsure, read the guide to overwatering vs underwatering — learning to read your plants here pays off across your whole garden.
Self-watering pots are worth considering for tomatoes if you’re away from home during the day. The comparison of watering cans vs self-watering pots walks through the trade-offs honestly.
Feeding for a Real Harvest
Tomatoes are hungry plants, and containers are a closed system — every watering flushes nutrients out. That slow-release fertiliser you mixed in at planting runs out after about six weeks, right when fruiting kicks into gear. From the first flowers onward, feed every 1–2 weeks with a liquid tomato feed (high in potassium, which drives fruit production and flavour) — an organic seaweed-based tomato feed at the label rate works well.
A few hard-won feeding rules: don’t feed a bone-dry plant (water first, then feed, or you’ll burn roots); ease off nitrogen-heavy feeds once fruiting starts or you’ll get magnificent leaves and no tomatoes; and more is not better — overfed plants grow soft, disease-prone foliage. The guide to natural fertilisers for containers has the full rundown of options.
Pruning, Training, and Tying In
For dwarf and determinate varieties, pruning is minimal: remove yellowing lower leaves (they’re disease magnets once they touch soil), and pinch out any suckers — the little shoots that appear in the leaf axils — if the plant looks overcrowded. Don’t go overboard; every leaf is a solar panel feeding your fruit.
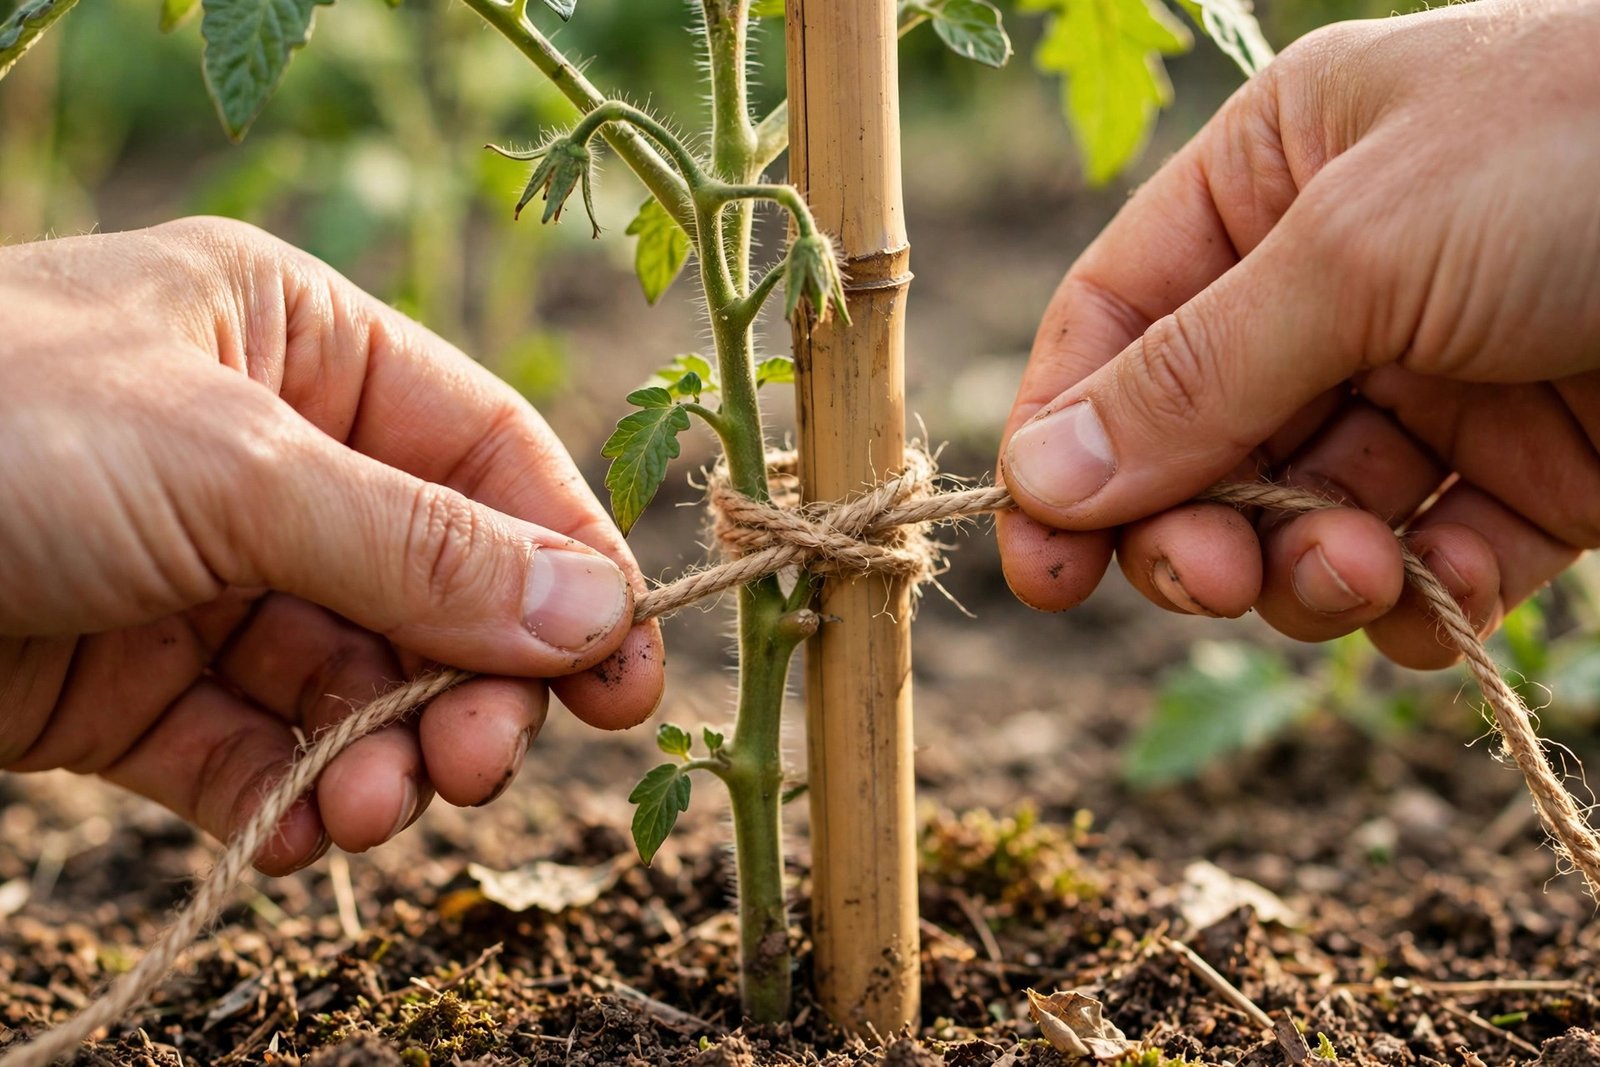
Tie stems to their support with soft twine in a loose figure-eight so the stem has room to thicken. Check ties monthly — a tie that’s fine in June can strangle a stem by August. A ‘Tumbling Tom’ that nearly decapitates itself on a forgotten twist tie is the classic lesson here.
Blight, Pests, and Other Dramas
Late blight is the big scary one: brown-black patches on leaves and stems, spreading fast in warm, wet weather, eventually rotting the fruit. There’s no cure once it takes hold. Prevention is everything: water at the base, space plants for airflow, remove lower leaves, and choose blight-resistant varieties like ‘Crimson Crush’ or ‘Mountain Magic’ if blight is common in your area. At the first sign, remove affected leaves immediately (bin them — never compost), and if it reaches the stems, the plant is done. Losing plants to blight stings, but resistant varieties and better spacing keep it away in most seasons.
Aphids and whitefly love tomato foliage. A strong jet of water dislodges most; insecticidal soap or neem oil handles the rest. The houseplant pest guide covers the same natural remedies.
Blossom end rot — black leathery patches on the fruit’s base — looks like disease but is actually a calcium uptake problem caused by inconsistent watering. Fix the watering and new fruit will be fine; the affected fruits won’t recover, so pick them off.
Harvesting and End of Season
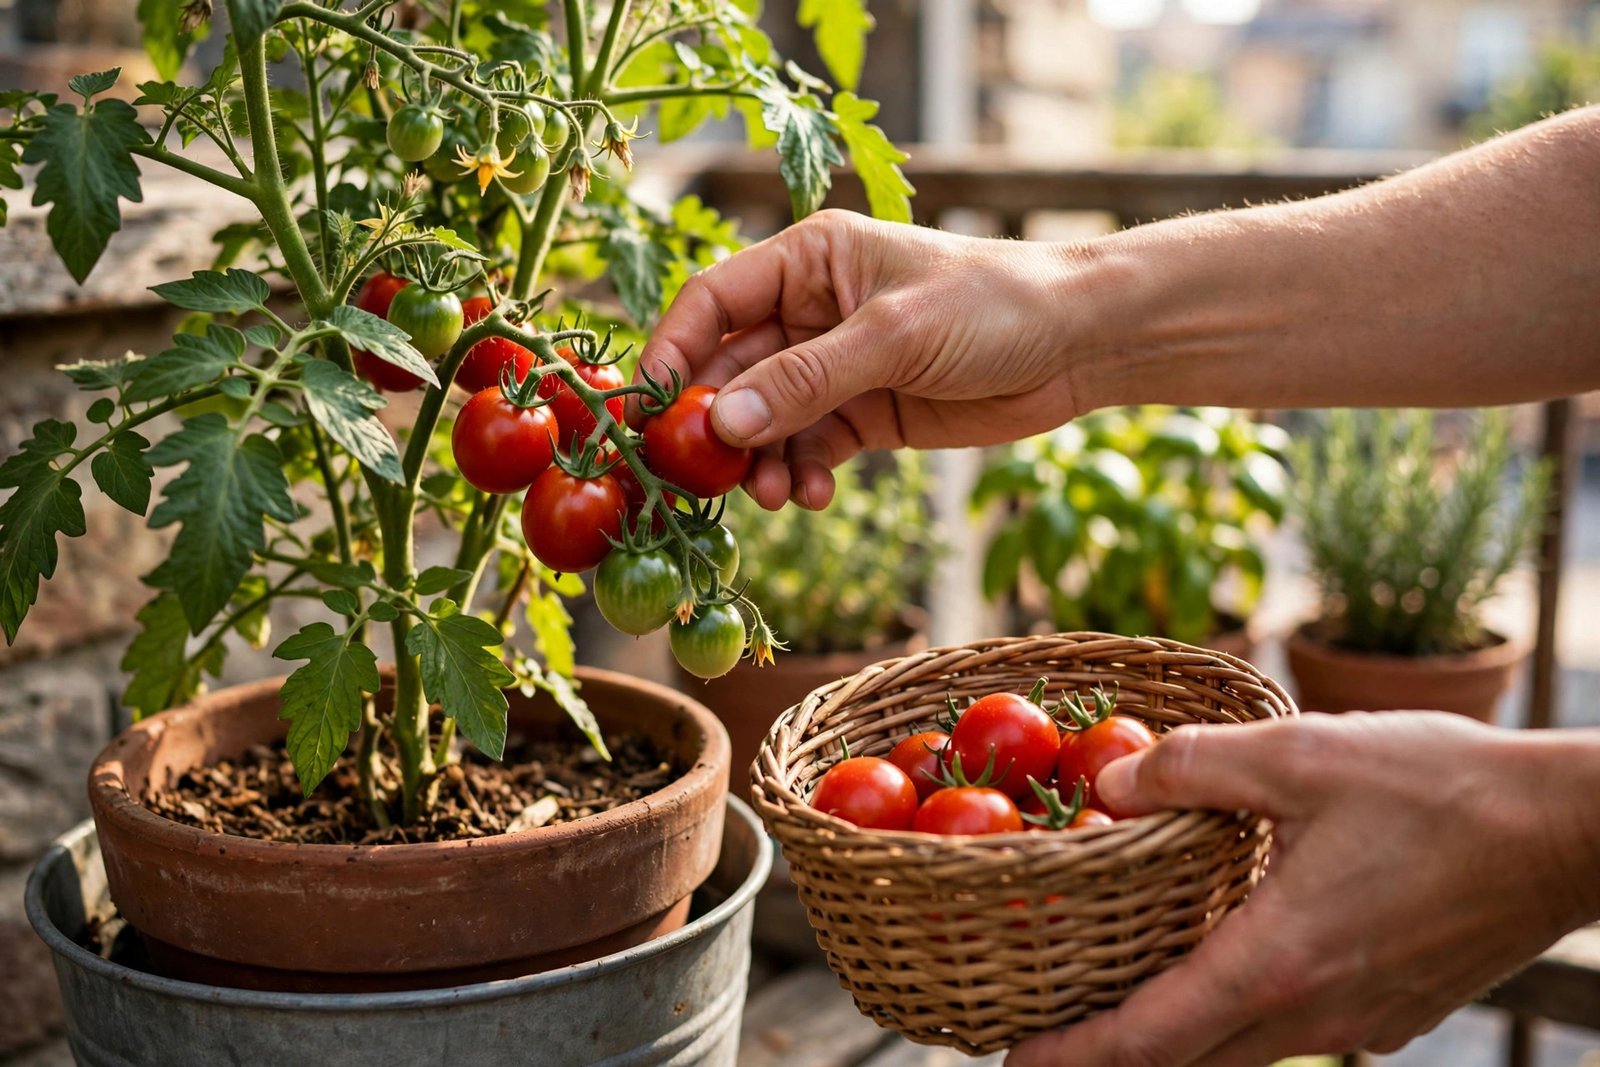
Pick cherry tomatoes when they’re fully coloured and come away with a gentle tug. Morning picking gives the best flavour. Eat them fast; homegrown tomatoes don’t keep like shop ones, which is rather the point.
As autumn cools, pick all remaining fruit before the first frost — green ones ripen indoors in a paper bag with a banana (the ethylene does the trick). Then pull the plants, and don’t reuse the soil for tomatoes next year; rotate to something unrelated. For what to do with your containers as the season turns, see the autumn container garden guide.
How to Grow Tomatoes in Containers: Your Questions, Answered
How many tomato plants do I need?
For one person who likes tomatoes, two cherry tomato plants in 5-gallon pots will keep you well supplied through summer — expect a handful every couple of days at peak. A family of keen tomato eaters might want four to six plants. Start with two; you can always add more next year once you know your balcony’s rhythm.
Can I grow tomatoes from supermarket tomato seeds?
You can, but it’s not recommended. Supermarket tomatoes are usually F1 hybrids, so saved seeds won’t grow true — you’ll get unpredictable offspring, often with poor flavour. Worse, you don’t know the variety’s growth habit or disease resistance. A packet of ‘Tiny Tim’ seeds costs very little and gives you a variety actually bred for pots. It’s the cheapest upgrade in gardening.
Why are my tomato flowers dropping without setting fruit?
Usually heat, inconsistent water, or lack of pollination. Above about 90°F (32°C), pollen becomes less viable and flowers drop — shade cloth during heatwaves helps. Drought at flowering time has the same effect. On high balconies with few insects, give flower trusses a gentle shake daily to release pollen; tomatoes are self-fertile, so a little vibration does the job.
Do tomatoes need pollinators on a balcony?
Not strictly — tomato flowers self-pollinate, and wind or a daily shake is usually enough. But bumblebees do improve fruit set noticeably through buzz pollination. Planting some basil or marigolds nearby helps attract them. If your balcony is very high and enclosed, hand-shaking the flowers is your reliable backup.
My plant is huge but has no fruit — what went wrong?
Almost always too much nitrogen or not enough sun. Nitrogen-heavy fertiliser (or very rich compost) pushes leafy growth at the expense of flowers. Switch to a high-potassium tomato feed and make sure the plant gets 6–8 hours of sun. Also check you’re not over-pruning — removing too many leaves starves the developing fruit of energy.
There’s a particular joy in stepping onto your balcony in August — warm air, the smell of tomato leaves on your fingers, popping a cherry tomato straight into your mouth. It’s the moment container gardening stops being a hobby and becomes a habit. Start with one ‘Tiny Tim’ in a 5-gallon pot, water it like you mean it, and supermarket tomatoes may be ruined forever.

4 Comments on “How to Grow Tomatoes in Containers on a Balcony”