
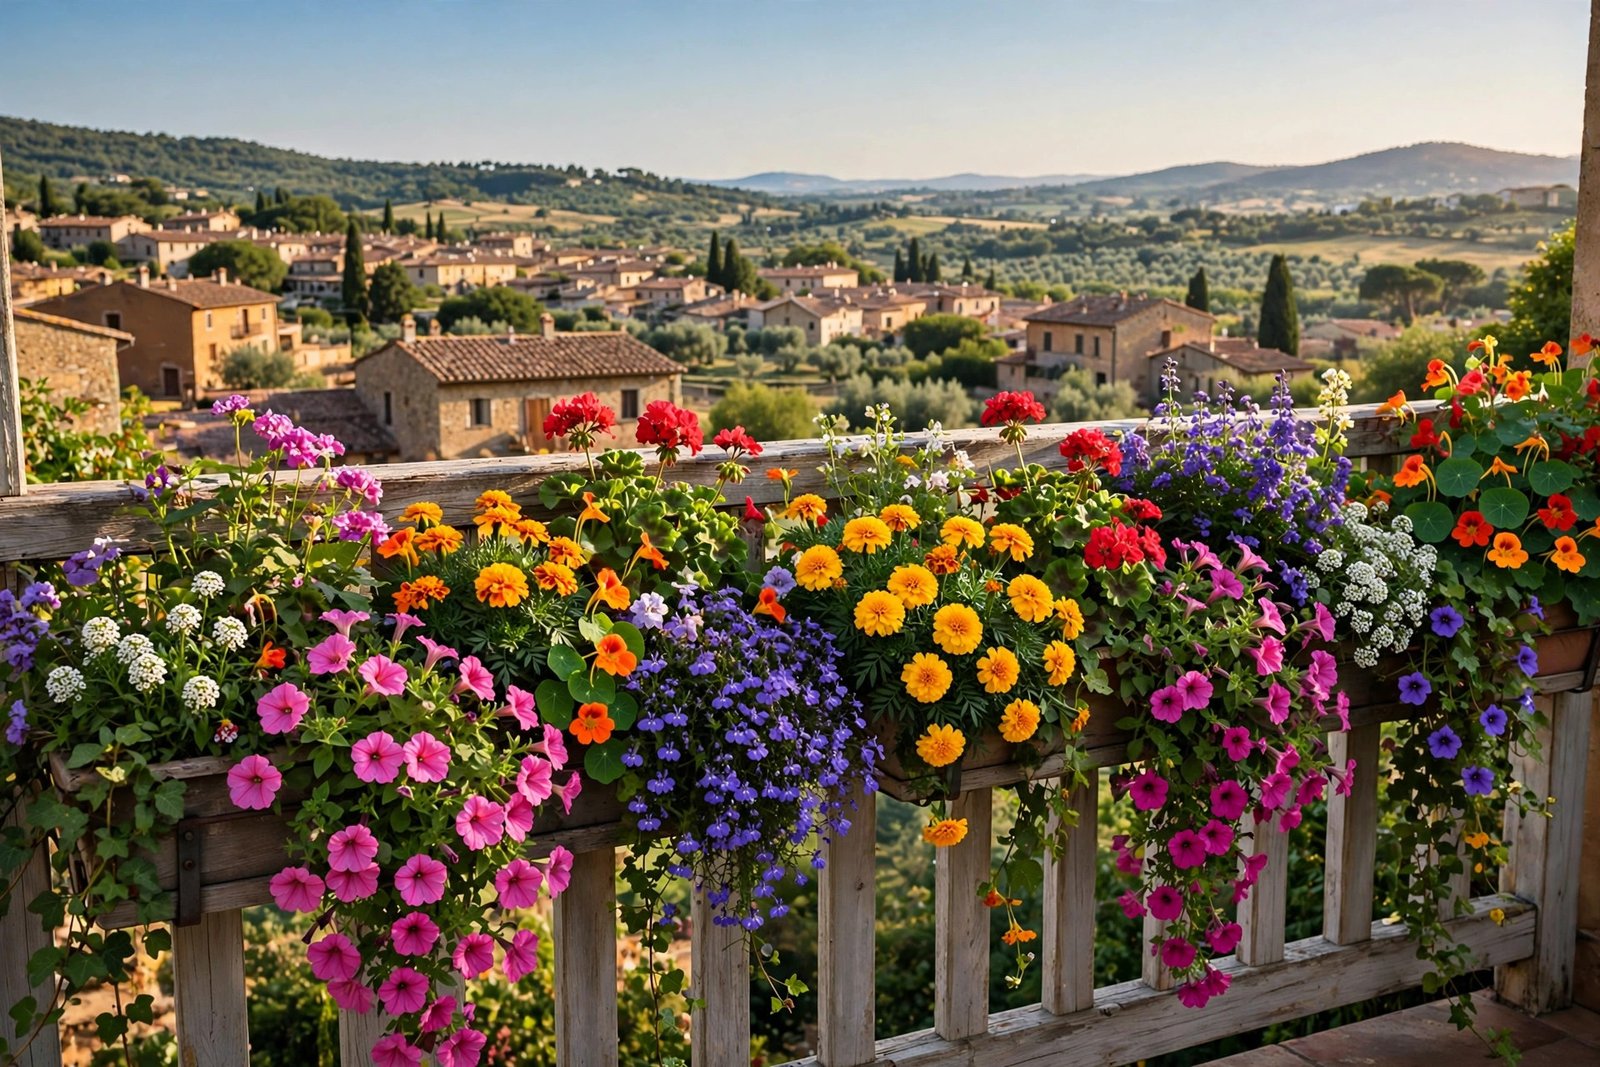
A first railing planter can nearly kill a pigeon. Not in a cartoon way — in the slow, horrible way where a gardener comes home from work, looks at the balcony, and finds a brand-new railing trough dangling at a forty-five-degree angle by one remaining bracket, soil dribbling onto the pavement below and the pigeon in question glaring from the opposite railing. Wedged onto the railing without fastening, filled with soil, planted with petunias, and called done. Gravity has other plans.
That kind of disaster teaches everything worth knowing about railing planters — and once mounted properly, they become the single most productive square footage on a balcony. The railing is dead space — you can’t put a pot on it, you can’t stand on it, and most of us just let it sit there holding nothing. A railing planter turns that useless strip into a full row of growing space, right at hand height, with excellent light and airflow. Here’s how to do it without the pigeon incident.
Why the Railing Is Prime Real Estate
Think about the light on your balcony. The floor gets whatever sun clears the railing; the railing itself sits above the shadow line for most of the day. That means a railing planter often gets one to two more hours of direct sun than the floor pots below it — a meaningful difference for sun-hungry plants like basil, tomatoes, and peppers. If you have been wondering how much sunlight your balcony garden really needs, the railing is frequently the sunniest spot you own. It also sits at waist height, so you harvest without bending — and slugs mostly can’t reach it.
One caveat before you start: check the rules. Some buildings and rental agreements restrict what can hang on or over railings, mainly for safety reasons — nobody wants a planter dropped onto the street. Many buildings allow them as long as they sit inside the railing line rather than hanging outside it. A quick email to your landlord or building manager saves a lot of grief later.
The Main Types of Railing Planters (and Which One to Buy)
They come in three basic styles. Saddle or over-the-rail planters straddle the railing like a saddlebag, with troughs on both sides. They are stable by design and use both the inner and outer faces of the railing, effectively doubling the planting area. The drawback: they only fit railings of a certain width, and on wide modern railings they may not sit properly.
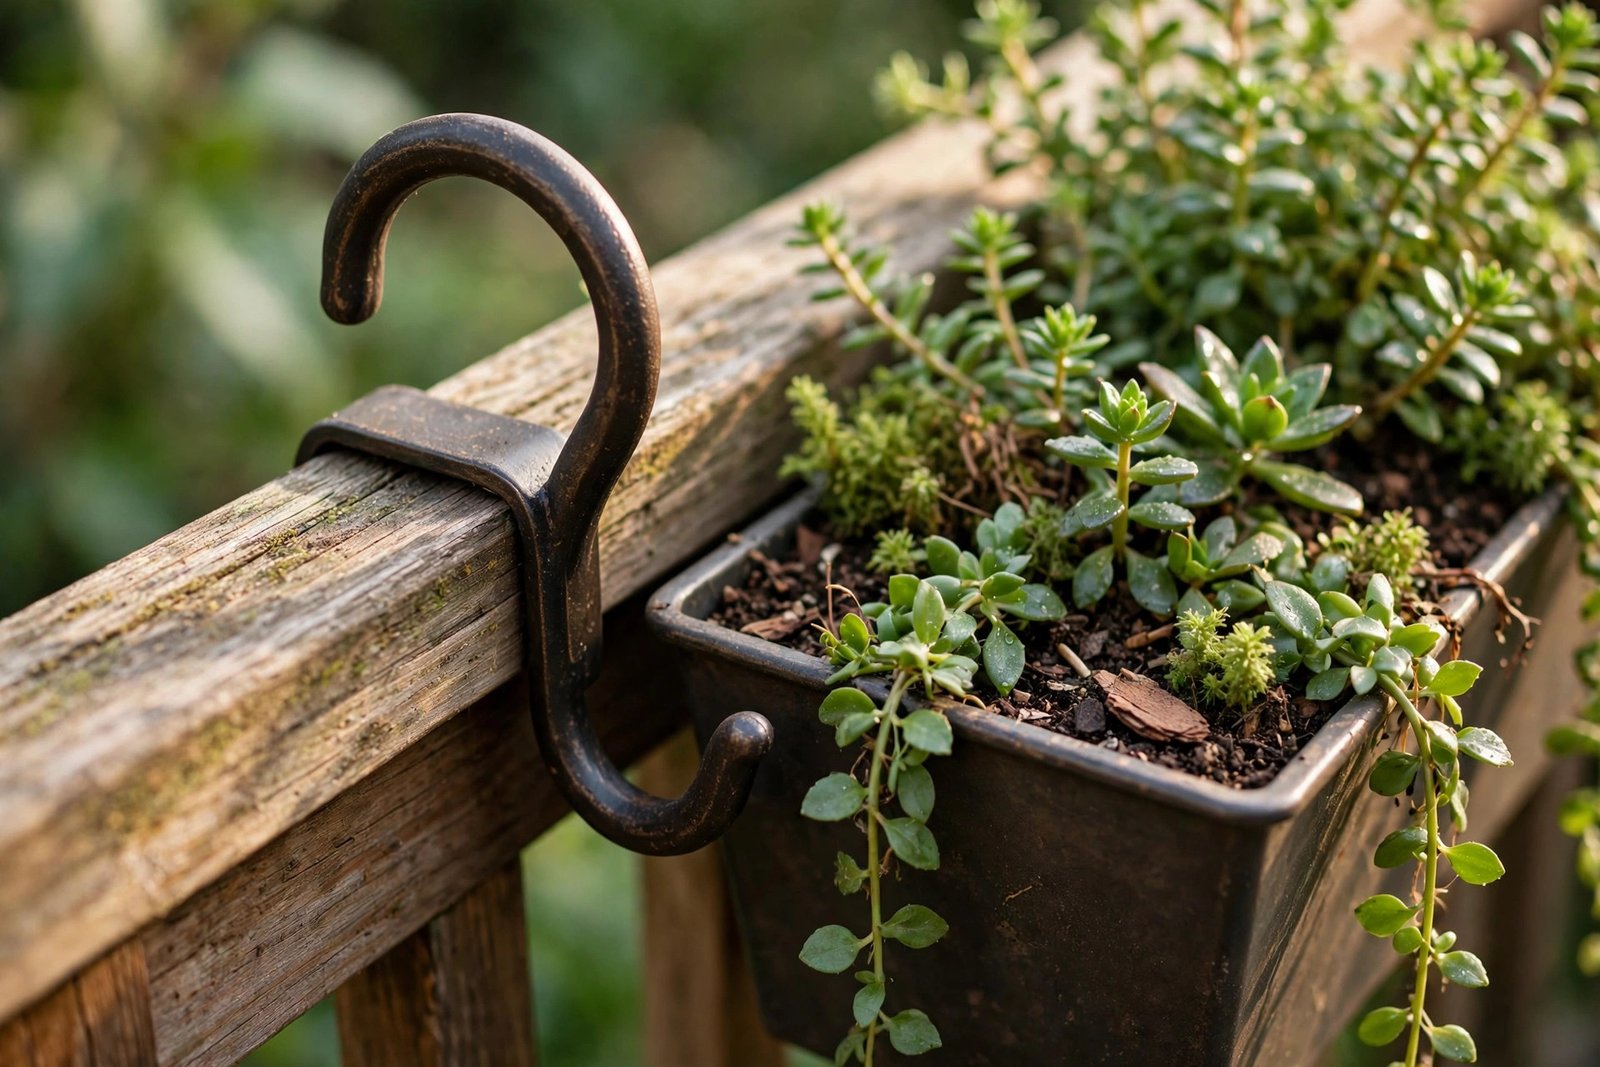
Bracket-mounted planters hang from adjustable brackets that hook over the railing and hold a standard rectangular trough. These are the most flexible — they fit almost any railing width, and you can slide them along to rearrange. They are also the style involved in the pigeon incident, because the brackets only work if they are tightened properly and matched to the railing’s shape.
Strap or clamp planters use fabric straps or screw clamps to attach a trough directly to the railing uprights. They are cheap and simple, and they work well on vertical-bar railings. On solid glass or panel railings they are useless.
Whatever style you choose, buy for your railing’s measurements. Measure the width of the top rail, the spacing of the uprights, and the total length you want to fill. Keep these numbers in your phone — twice-bought planters that don’t fit are a common story. For more on matching containers to plants, see choosing the right pots and containers.
Quick Tips:
- Measure your railing’s width and upright spacing before buying anything — fit matters more than looks.
- Saddle planters use both sides of the railing for maximum growing space per inch.
- Always mount planters on the inside of the railing line unless your building explicitly allows outside.
- Use lightweight potting mix, not garden soil — a filled 24-inch trough can weigh 30 lbs (14 kg).
- In windy spots, choose deeper planters and add a brick in the bottom for ballast.
Mounting Them So They Actually Stay Put
Mounting is the whole game. A railing planter that isn’t properly secured is a hazard, not a garden. Start by test-fitting the empty planter and giving it a hard tug in every direction. If it wobbles, shifts, or slides, fix that before adding a single handful of soil.
For bracket-mounted planters, tighten every bolt and then tighten them again after the first week — new brackets settle and loosen slightly. Check monthly with a quick tug test.
Weight distribution matters. Spread the load along the railing rather than clustering all your planters in one spot, and keep the heaviest planters near the railing’s support posts.
And please: put the planter on the inside of the railing, not hanging off the outside face. Even where buildings allow outside mounting, wind loads are dramatically higher on the outside, and anything that falls lands on someone else’s property. Inside mounting is safer, easier to water, and honestly looks better from your side of the railing.
Soil, Drainage, and Watering
Railing planters are shallow, narrow, and fully exposed to sun and wind — which means they dry out faster than almost any other container on a balcony. Standard potting mix works, but amending with extra water retention helps: a handful of coco coir mixed through, or a few gel water crystals per trough. Mulch the surface with bark chips or even a layer of pebbles to slow evaporation.
Drainage is non-negotiable. Every railing planter needs drainage holes, and if yours didn’t come with them, drill some — use a 1/4-inch (6 mm) drill bit and put a hole every 6 inches (15 cm) along the bottom. Without drainage, a railing trough becomes a bathtub, and bathtub soil grows root rot, not basil. A saucer or drip tray underneath protects the railing and the balcony below from muddy drips; on a metal railing it also prevents the planter from sitting in its own runoff and rusting. The full explanation of why this matters is in drainage explained: pots, holes, and saucers.
Watering frequency will surprise you at first. In a heatwave, they need water every single day, sometimes twice. Poke a finger into the soil each morning — if the top inch is dry, water thoroughly until it runs from the drainage holes.
What to Plant in Them
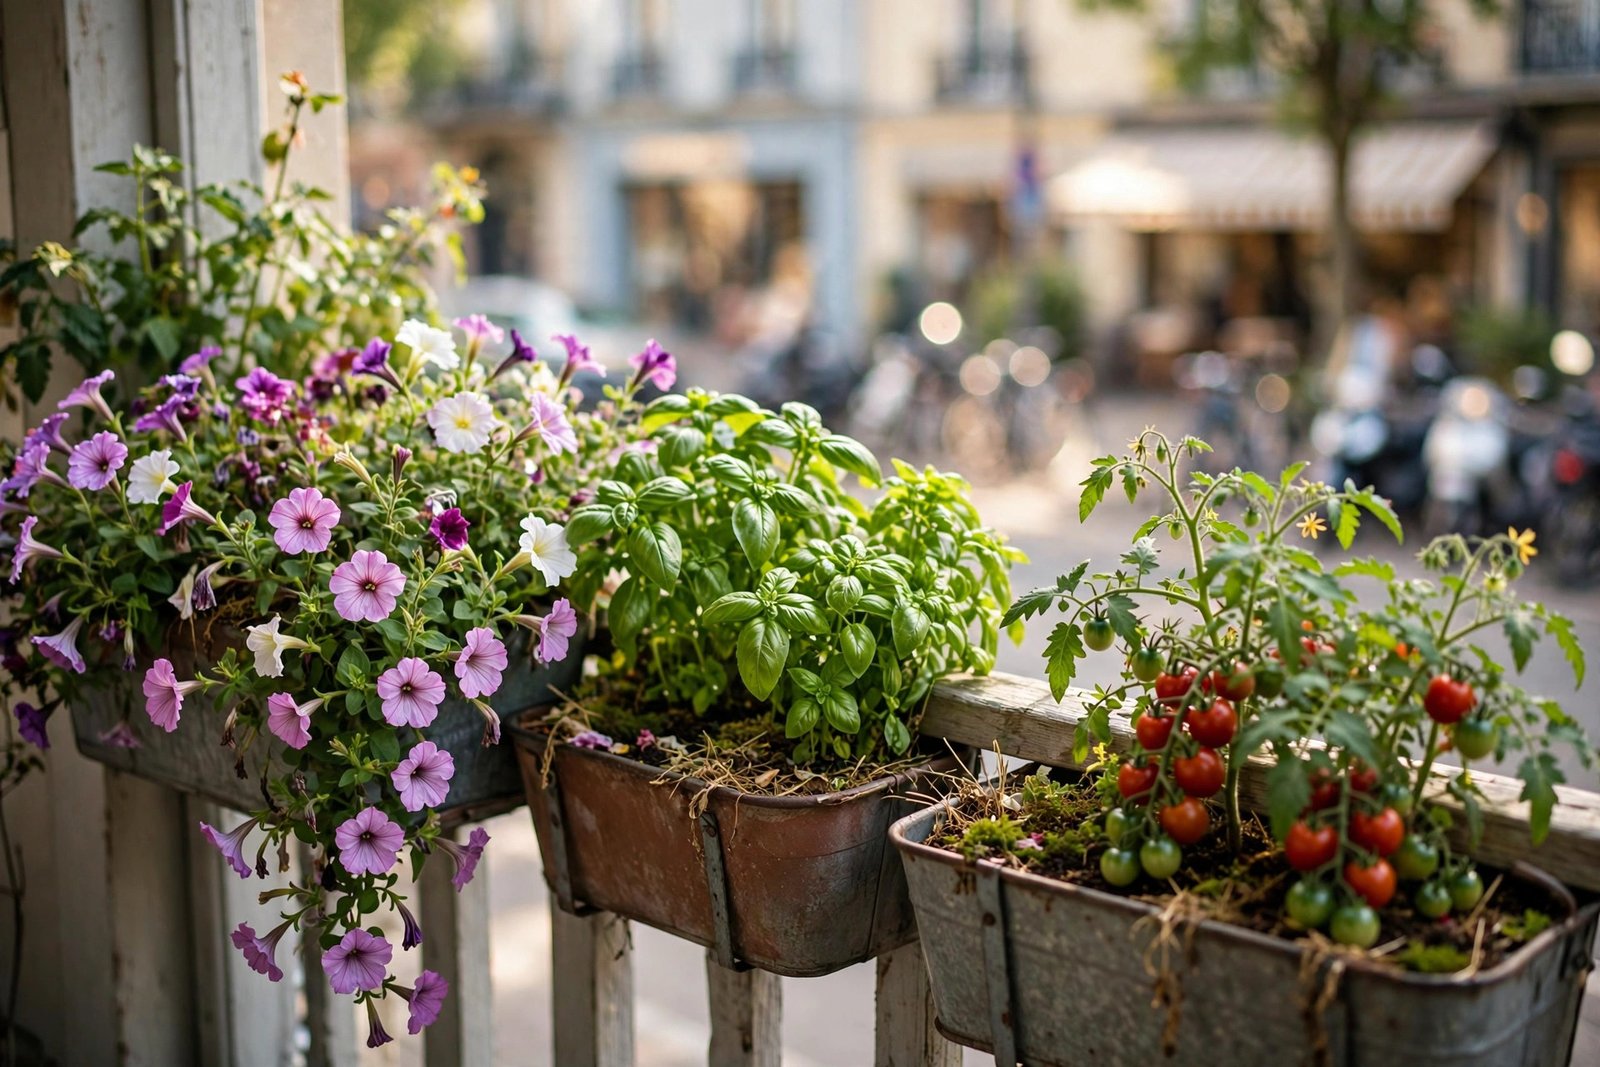
The ideal railing planter plant is compact, shallow-rooted, and happy to be watered often. Herbs are the obvious winners: basil, parsley, chives, thyme, oregano, and mint all thrive in a 6 to 8-inch (15–20 cm) deep trough. A dedicated “cooking trough” of basil, parsley, and chives right by the balcony door saves a small fortune in supermarket herbs over the summer.
Salad leaves are the second great choice. Cut-and-come-again lettuce, rocket, and spinach do beautifully in the shallow depth of a railing planter, and harvesting at waist height is genuinely pleasant. Sow a pinch of seeds every two to three weeks from spring onward for a continuous supply — the cut-and-come-again salad greens routine was basically designed for this setup.
Trailing plants use the vertical drop below the railing: trailing cherry tomatoes like ‘Tumbling Tom’, strawberries (especially everbearing ‘Mara des Bois’), and nasturtiums that spill over the edge. For color, compact marigolds, lobelia, and trailing petunias are reliable and cheerful. What to skip: deep-rooted vegetables like full-size carrots, heavy plants that need big soil volume like standard tomatoes, and anything tall that will catch the wind and act as a sail.
Succession planting keeps a railing trough productive all season. When the spring lettuce bolts in the heat, pull it and plant basil. When the basil fades in autumn, sow winter-hardy rocket or plant garlic chives. A trough that gets replanted three times a year produces an absurd amount of food from about four square feet of railing.
Wind: The Railing’s One Real Enemy
Railings are exposed. Whatever wind your balcony gets, the railing gets it first and hardest, and a wind-battered plant grows stunted and miserable. You don’t need to abandon the railing — you just need to plant for it.
First, choose wind-tolerant plants for the most exposed positions. Herbs with small, tough leaves — thyme, rosemary, chives — handle wind far better than big-leafed, tender plants like basil, which tears and bruises. Second, consider a windbreak: a piece of horticultural fleece, a reed screen, or even a row of taller pots on the windward side takes the edge off. Third, accept that railing plants in windy spots will need more water, since wind strips moisture from leaves and soil alike.
In a first windy spring, a trough of seedlings can get shredded in one April gale. Moving the delicate stuff to the sheltered wall and putting thyme and chives on the windward railing lets everything thrive. Wind isn’t a reason to skip railing planters — it’s just a design constraint to respect.
Questions I Get Asked a Lot
How much weight can my railing hold?
Most metal and concrete railings are built to withstand a person leaning on them, so a few planters are well within tolerance — but check what your railing is actually made of. A filled 24-inch (60 cm) trough weighs roughly 25–35 lbs (11–16 kg). Spread planters along the railing, keep the heaviest near support posts, and use lightweight potting mix instead of dense garden soil. If your railing is wood, inspect it for rot first; a rotten rail should hold zero planters until it is repaired.
Will railing planters damage the railing?
They can mark it. Metal brackets can scratch paint or powder coating, and trapped moisture can stain or corrode over time. Slip a strip of old inner tube or rubber matting between the bracket and the railing — it protects the finish and actually improves grip. Take planters down once a year, clean the contact points, and check for any rust or damage. If you want truly zero-contact options, look at freestanding vertical gardening ideas for tiny balconies instead.
Can I grow vegetables in railing planters, or just herbs?
Real vegetables, within the depth limit. Leafy greens, radishes, spring onions, bush beans like ‘Provider’, and compact herbs all work in a 6 to 8-inch (15–20 cm) deep trough. Trailing cherry tomatoes and strawberries love the edge position. What doesn’t work: anything needing deep roots (carrots, parsnips) or big soil volume (standard tomatoes, courgettes). See vegetables that grow well in pots for the full list of container-friendly crops.
Do railing planters need saucers?
Yes, if there is anyone or anything below you. Without a saucer or drip tray, watering sends muddy water straight down onto the neighbor’s balcony, the pavement, or your own balcony floor. Shallow boot trays cut to length under the troughs work well — cheap, effective, and they catch the runoff that would otherwise stain the concrete. Empty them after heavy rain so plants aren’t sitting in water.
What if my railing is glass or solid panels?
Bracket and saddle planters won’t work, but you still have options. Freestanding troughs on the floor right against the railing get nearly the same light. Suction-cup or adhesive-mounted planters exist for glass, though they’re only trustworthy for very light plantings like small herbs. Or go vertical on the nearest wall instead — a pocket planter beside a glass railing gives you the same growing area with none of the mounting anxiety.
So yes, a first railing planter can nearly kill a pigeon. But properly mounted ones grow hundreds of salads, endless herbs, and enough strawberries to make the pigeons reconsider their opinions. Measure your railing, mount things properly, water often, and that dead strip of metal becomes the hardest-working part of your whole balcony.

3 Comments on “Railing Planters: Doubling Your Growing Space”