
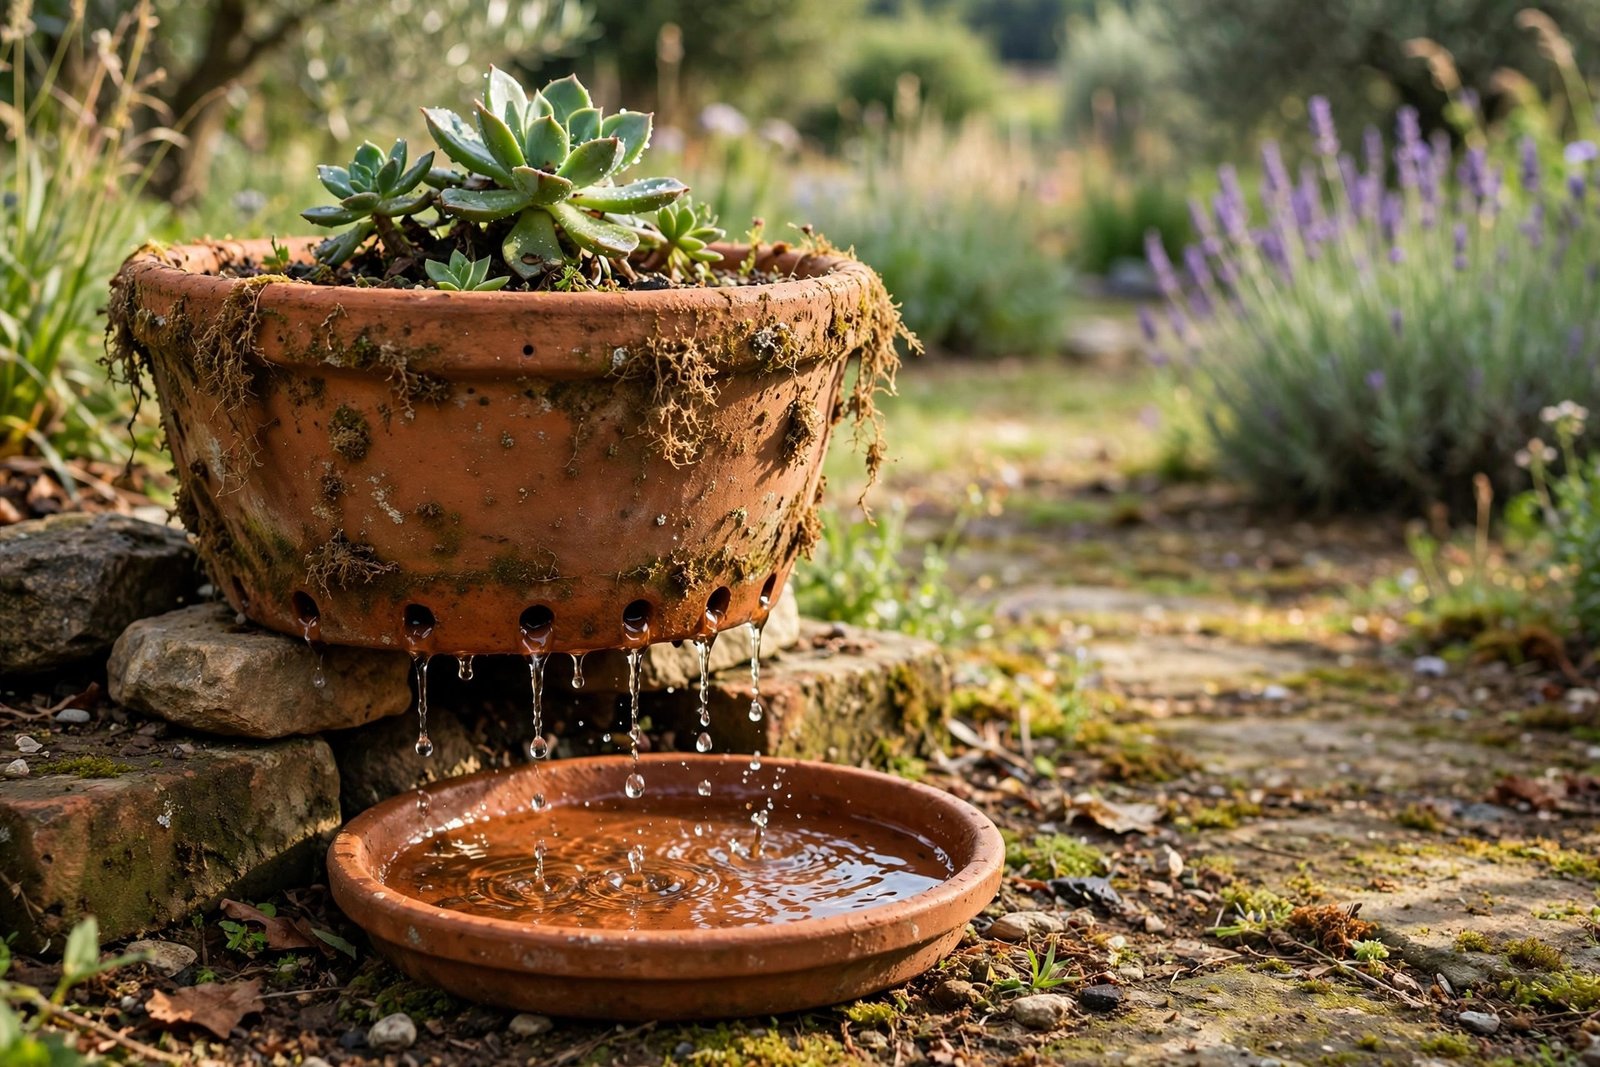
The classic first drowning: a little succulent in a gorgeous matte ceramic pot with no drainage holes, watered the same careful amount every week. It still turned to mush — and the gardener decided they were just “bad with succulents.” They weren’t. The pot was a bathtub being filled weekly.
If you take one thing away from this post, let it be this: every pot you plant in needs drainage holes. Not “would be nice.” Needs. Roots need air as much as they need water, and without a way for excess water to escape, the bottom of your pot becomes a cold, airless soup where roots rot and plants quietly give up.
Why drainage holes matter so much
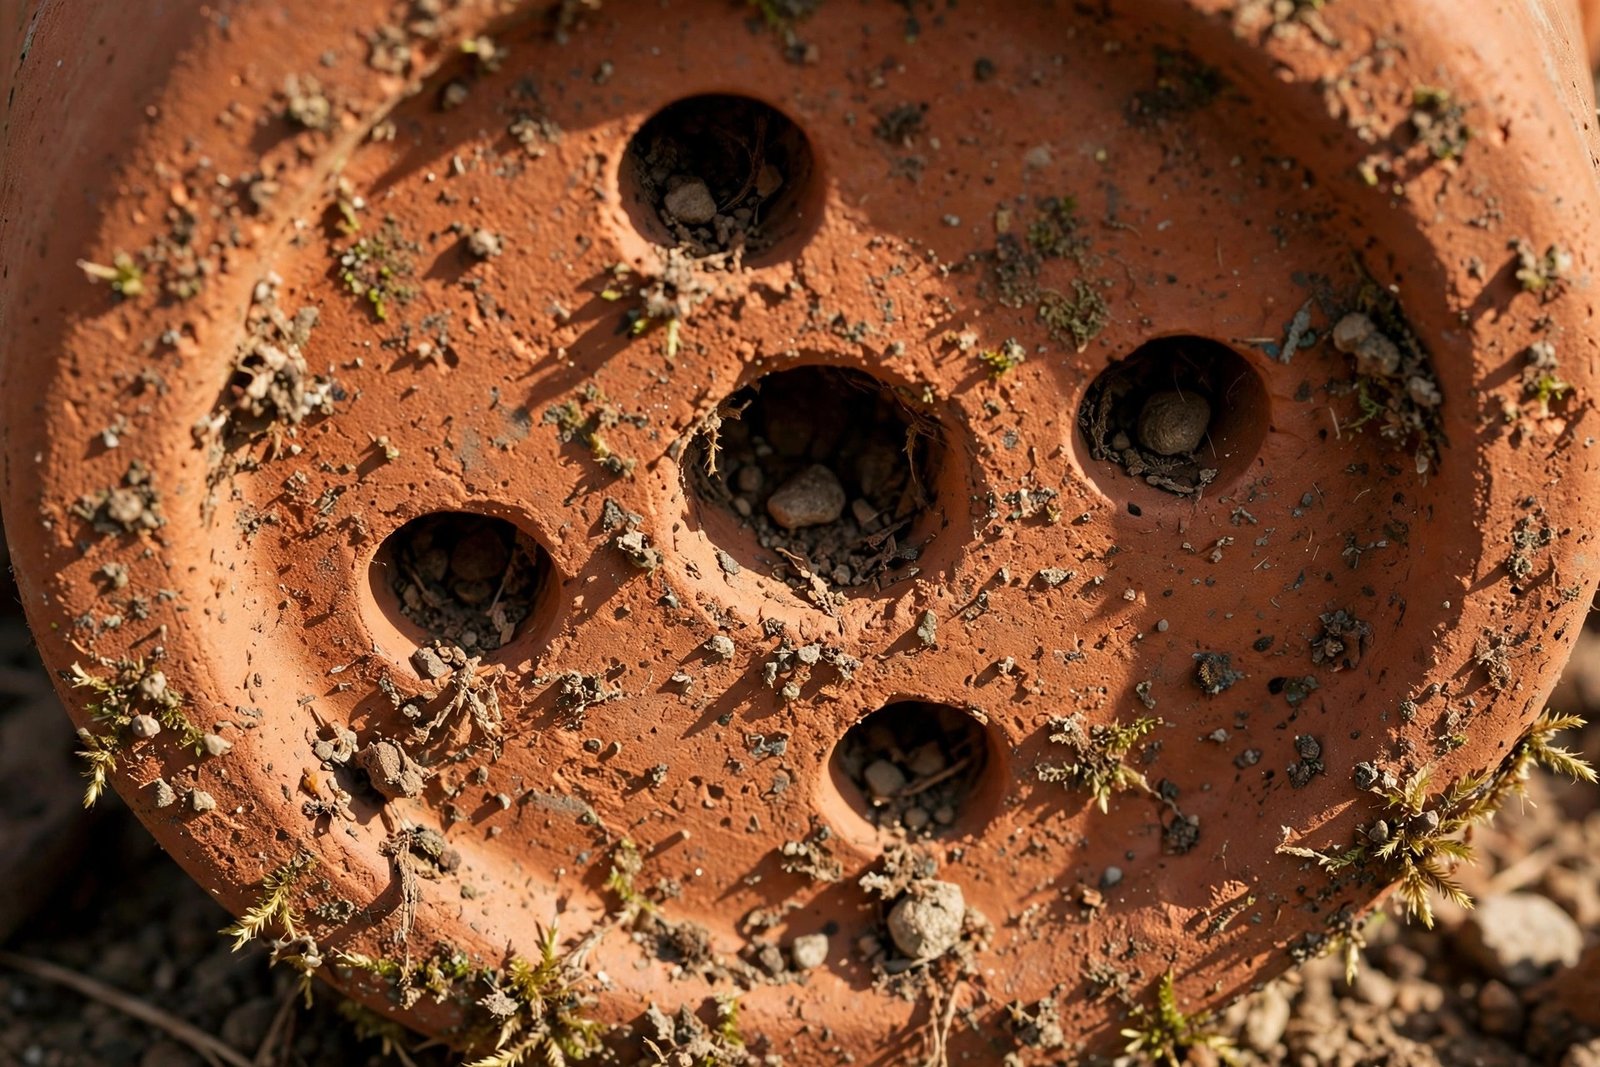
Roots are living tissue, and like most living things, they breathe. In healthy potting mix, the little pockets between soil particles hold a balance of water and air. When you water, water fills the pockets, then gravity pulls the excess out through the drainage holes, and air rushes back in behind it. That drain-and-refill cycle is what healthy root growth depends on.
Without holes, water sinks to the bottom and stays there. The air pockets stay waterlogged, and roots in that soggy zone start to suffocate. Within a week or two the fine feeder roots begin to rot. The plant can’t take up nutrients properly, leaves yellow, growth stalls, and eventually the whole thing collapses. It looks like underwatering — droopy, sad, yellowing — which is why so many beginners “helpfully” water more, speeding up the funeral.
Check the bottom of every pot before buying it. If it has no holes and the pot is loved anyway, either drill holes (more on that below) or use it as a decorative outer pot with a proper nursery pot tucked inside. There is no third option. Not rocks. Not charcoal. Not careful watering.
The gravel-at-the-bottom myth (and why it doesn’t work)
You’ve probably heard this one: put a layer of gravel, broken pottery, or pebbles at the bottom of a pot with no drainage holes, and it’ll act like drainage. It sounds logical. It’s also completely wrong, and I’ve seen it recommended in places that should know better.
Here’s the actual physics. Water moves through soil by capillary action, and it stops at the boundary where fine soil meets coarse material — a phenomenon called a perched water table. The water refuses to drip from the fine potting mix into the big air gaps of the gravel until the mix above is completely saturated. So the gravel just raises the soggy zone higher up, closer to the roots. You’ve made the bathtub shallower, not drained it.
Test it with a clear plastic cup, potting mix, and a gravel layer: the soil above the gravel stays dark and sodden for days. If a pot has no holes, a gravel layer is decoration, not drainage.
The same goes for a layer of sand, and for activated charcoal (which is useful for odor in terrariums, not for drainage). There is no shortcut material that replaces a hole in the bottom of the pot.
How many holes and how big?
One hole in the center is the minimum, but honestly, more is better. The best pots have four to six holes of about half an inch (1.2 cm) each. Big enough that water flows freely and soil doesn’t seal them shut, small enough that potting mix doesn’t pour out.
If your pot has one tiny hole that keeps clogging with roots or compacted soil, cover it with a small piece of mesh, an old window screen square, or a coffee filter. It keeps the soil in while letting water through. Keep a little bag of mesh squares in the potting kit.
For large pots — say 16 inches (40 cm) or bigger — holes spread across the bottom work better than a cluster in the center, so water doesn’t have to travel sideways through compacted soil to find an exit. If you’re drilling your own, three or four holes spread out is plenty.
What about saucers? Friend or foe?
Saucers are not the enemy. Saucers are how you keep your balcony floor, windowsill, and downstairs neighbor dry. The enemy is water that sits in the saucer for days.
Here’s a system that works: water the plant, let it drain into the saucer, and come back 20 to 30 minutes later to tip out whatever’s still sitting there. That half hour lets the pot reabsorb a little water from below, but isn’t long enough for roots to sit in standing water.
The plants that struggle most are the ones in deep saucers that never get emptied. Out of sight, out of mind — until the pothos starts yellowing and lifting the pot reveals a swamp with a smell. A cheap turkey baster in the watering kit sucks water out of hard-to-reach saucers. It looks ridiculous. It works brilliantly.
A few saucer rules worth living by:
- Outdoor pots in rainy climates: skip the saucer, or use one only in dry spells. Rain plus a saucer is a recipe for waterlogged roots — a lesson many learn during a wet July when balcony tomatoes sit through three days of rain in saucers and go droopy and sad.
- Indoor plants on wooden furniture: saucer plus a cork mat or felt pads underneath. Saucers sweat, and a ring stain on a rental flat’s windowsill is a special kind of heartbreak.
How to drill drainage holes in pots that don’t have them
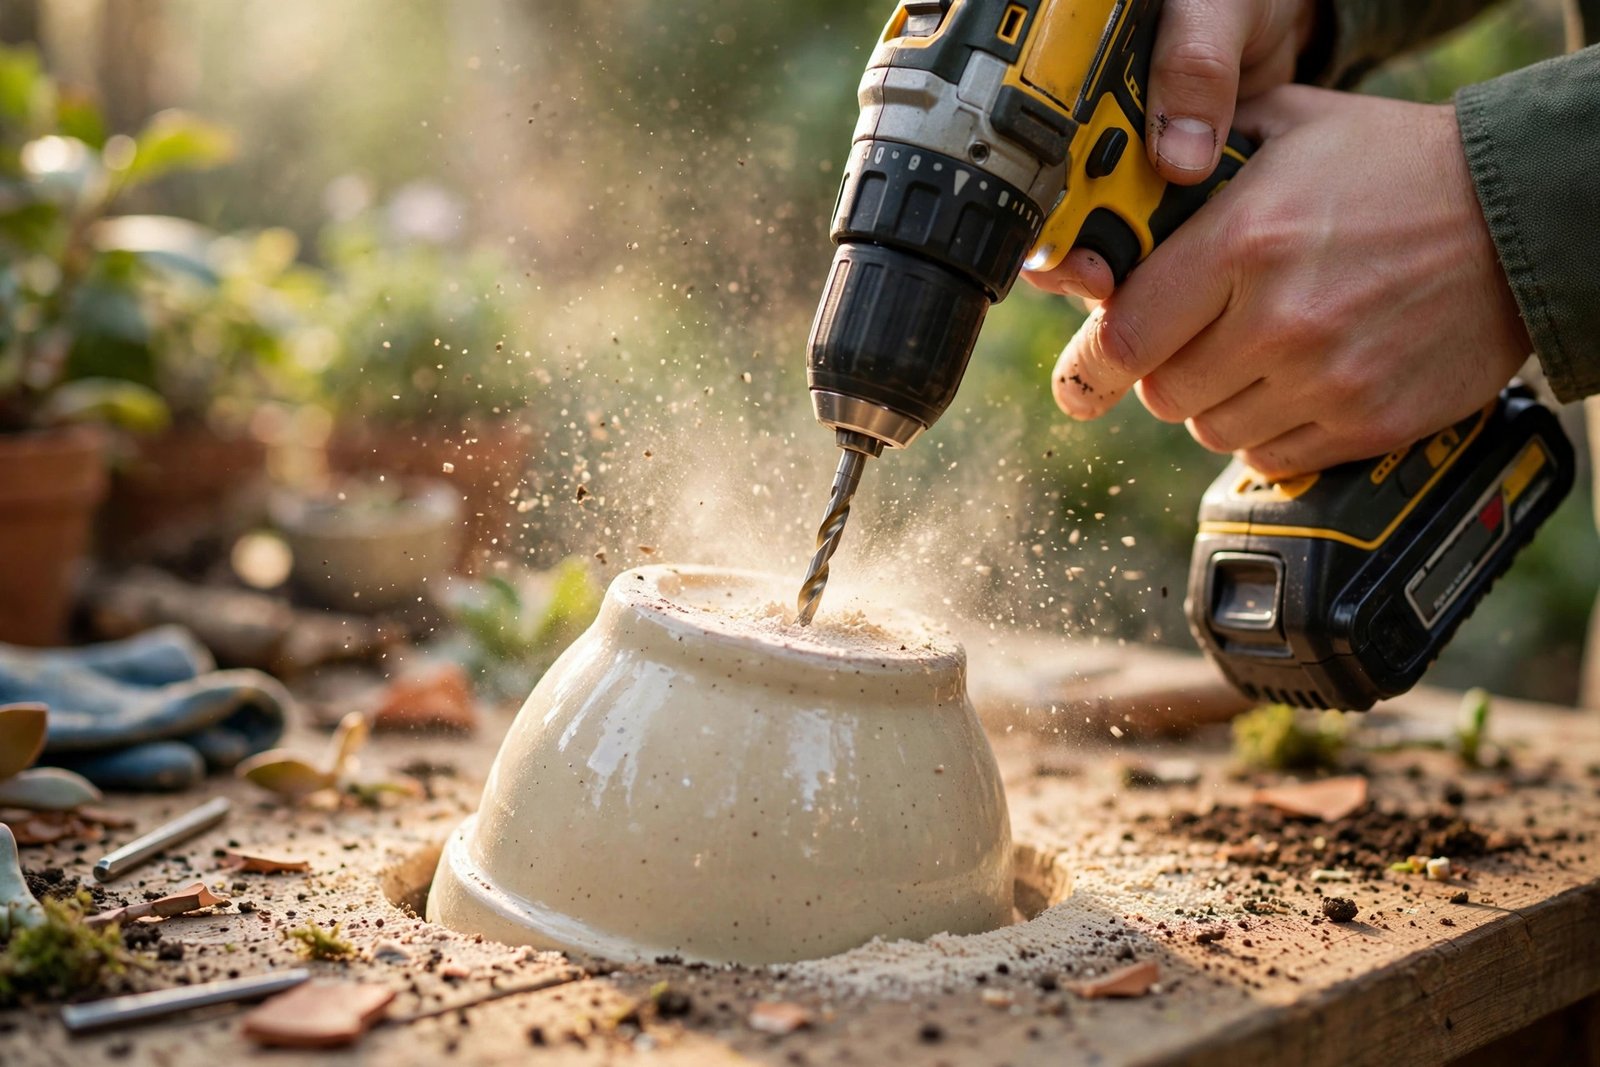
That gorgeous ceramic pot with no holes? You don’t have to give it up. You just need the right drill bit and a little patience — drilling a first pot takes about four minutes, even with shaking hands.
- Get a diamond or carbide-tipped masonry bit. A regular twist bit will skate across glazed ceramic and possibly crack it. For most pots, a 3/8-inch (about 1 cm) bit is ideal.
- Keep the pot wet. Soak it for 10 minutes beforehand or keep spritzing water on the drilling spot. This keeps the bit cool and reduces cracking.
- Mark your spots with tape. A small X of masking tape gives the bit something to grip. Three holes in a triangle for a 6-inch pot, more for bigger ones.
- Start at an angle, then straighten. Begin at about 45 degrees to carve a groove so the bit doesn’t wander, then slowly bring the drill upright. Light pressure — let the bit do the work. Pressing hard is how pots crack.
- Go slow at the end. Ease off the pressure as you break through — that’s where cracks happen.
Wear safety glasses, and drill on a folded towel so the pot doesn’t wobble. This method works for terracotta, glazed ceramic, and even a thick stoneware mug. Terracotta is the easiest — it drills like butter. Glazed ceramic needs the most patience.
One thing to avoid drilling: very thin, cheap ceramic from discount stores. It tends to shatter no matter how careful you are. Those pots become cachepots — pretty outer covers with a nursery pot inside.
Choosing pots with drainage in mind
When pot shopping, drainage is the first thing to check, before color, before size, before price. A hierarchy of pot materials, drainage-wise:
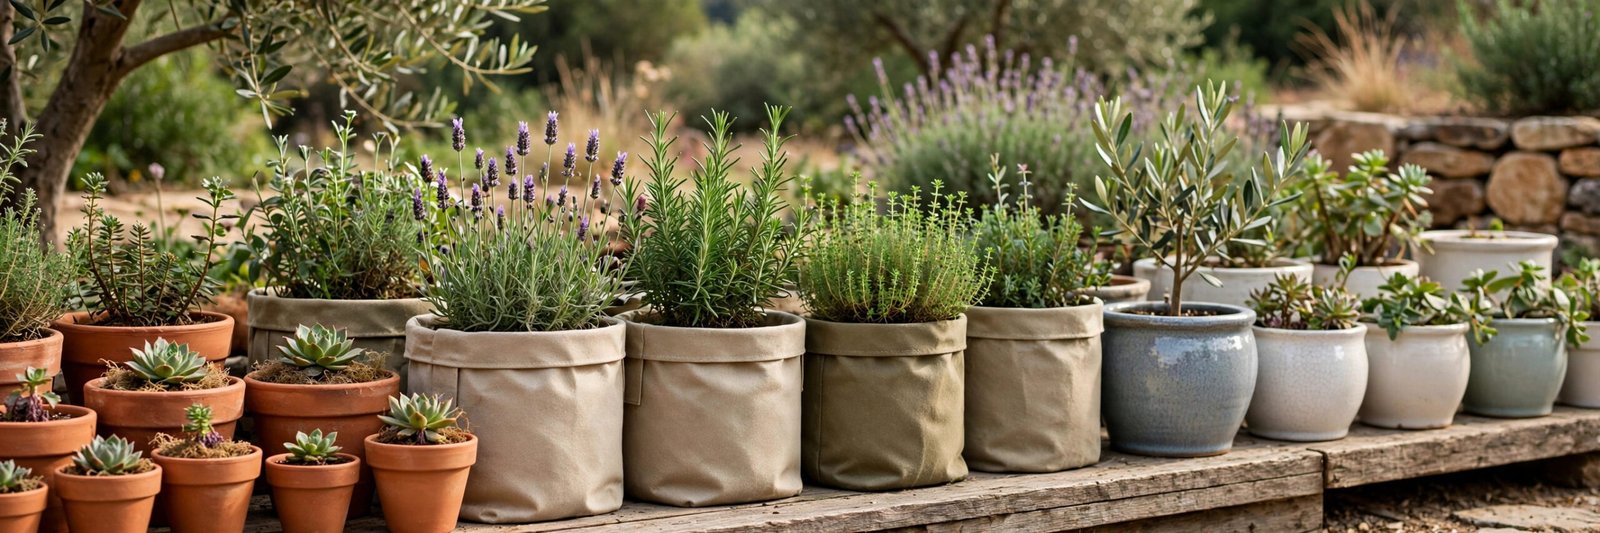
- Terracotta: a favourite. Porous, so it breathes and wicks away excess moisture through the walls as well as the holes. Plants are genuinely harder to overwater in terracotta. The downside is they dry out fast in summer — terracotta herbs can need watering twice a day in a heatwave. More on surviving those in the post on protecting balcony plants during summer heatwaves.
- Plastic nursery pots: ugly, unbeatable. Tons of drainage holes, lightweight, cheap. Half a balcony can grow in these, slipped into prettier outer pots.
- Glazed ceramic: beautiful, holds moisture longer, usually one small hole. Fine for plants that like steady moisture, less forgiving for succulents.
- Metal: looks great, usually has terrible drainage, and heats up in the sun like an oven. If you love the look, use a plastic liner pot inside.
And whatever the material, match the pot size to the plant. A tiny seedling in a huge pot is a drainage problem in disguise — all that extra soil holds water the small root system can’t use. Size up gradually, about 2 inches (5 cm) wider each time you repot. If your plant has outgrown its home, here’s a walkthrough on how to repot a plant step by step.
Quick Tips:
- Every planting pot needs drainage holes — no exceptions, no gravel-layer workarounds.
- Cover holes with mesh or a coffee filter to keep soil in, not gravel.
- Empty saucers 20–30 minutes after watering; never let pots sit in standing water for days.
- Skip saucers outdoors during rainy spells.
- Drill your own holes in hole-less ceramic with a masonry bit, water, and patience.
Frequently Asked Questions
Can I grow plants in a pot with no drainage holes if I’m just careful with watering?
It’s been tried many times, and it’s not recommended. Even careful watering builds up over time — salts accumulate, the bottom stays damper than you think, and one overenthusiastic watering can start a rot cycle you won’t notice until leaves yellow. If you love the pot, drill holes or use it as a cachepot with a nursery pot inside.
How do I know if poor drainage is killing my plant?
The classic signs: yellowing lower leaves, a musty or sour smell from the soil, soil that stays wet for days after watering, and a droopy look that doesn’t improve after watering. If you tip the plant out and the bottom roots are brown and mushy instead of white and firm, that’s root rot. Trim the mushy roots, repot in fresh mix, and fix the drainage.
Is one drainage hole enough?
It can be, if it’s a decent size (at least half an inch / 1.2 cm) and doesn’t clog. But three to five holes are better for anything 8 inches (20 cm) or wider. Redundancy matters — one clogged hole in a one-hole pot is the same as no holes at all.
Should I put anything over the drainage holes?
A small square of mesh, window screen, or even a coffee filter works well to keep potting mix from washing out. Don’t use gravel or stones — remember the perched water table problem. And don’t seal the holes with anything waterproof, obviously.
Do hanging baskets need drainage holes too?
Yes. Hanging baskets dry out faster because of air circulation, but excess water still needs an escape route. Most coconut-liner baskets drain naturally through the liner. Plastic hanging baskets should have several holes in the bottom — just hang them where drips won’t annoy anyone below.
That first succulent didn’t make it, but the lesson stuck. These days, pots that drain freely and saucers that get emptied lead to plants thriving in a way that still surprises. Drainage isn’t the glamorous part of gardening — nobody posts dreamy photos of pot bottoms — but it’s the foundation everything else sits on. Get the holes right, and half the mysterious plant deaths of your beginner years simply stop happening.
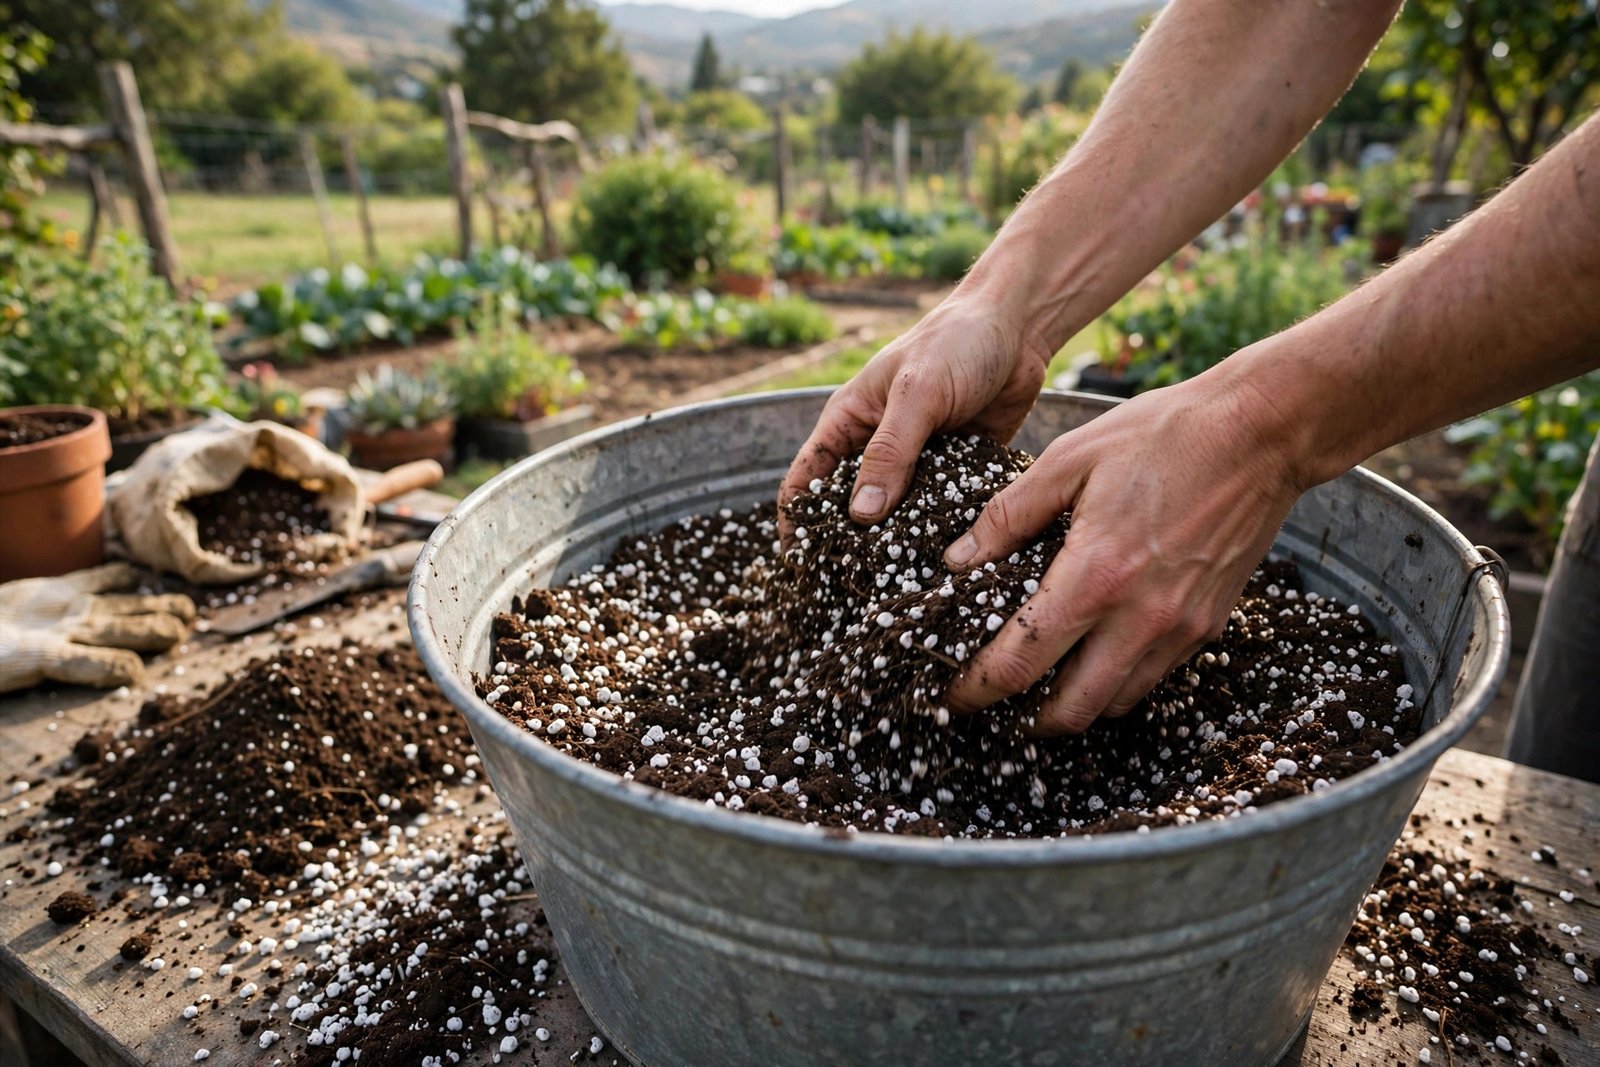
If you’re setting up containers for the first time, pair this with the guide to choosing the right pots and containers and the DIY potting soil mix recipe — drainage holes, the right pot, and the right mix together are the whole game.

3 Comments on “Drainage Explained: Why Your Pots Need Holes and What to Do About Saucers”