Spring 2021, my second year on the balcony, I made the kind of mistake you only make once. I had a gorgeous 10-inch (25 cm) terracotta pot — the one that had housed my basil the summer before. That basil had died a slow, brown-stemmed death I now recognise as root rot, but at the time I just thought basil was dramatic. I shook out the old soil, gave the pot a quick rinse under the tap, and planted a brand-new parsley start I’d been nursing for weeks.
Two weeks later the parsley flopped over with the exact same brown stems. And because I’d also topped up three neighbouring pots with the old soil from that pot, I got fungus gnats everywhere — a black cloud of tiny flies that took me a month of yellow sticky traps to beat. That one dirty pot cost me a parsley plant, a bag of compost, and about six weeks of smug “I know what I’m doing now” confidence.
Here’s what I learned: if you want to know how to clean plant pots for reuse, the honest answer is that it takes about fifteen minutes per pot, and it’s the cheapest insurance in gardening. Below is the routine I use now for every single pot I reuse — the scrub, the disinfect, and the point where I retire a pot for good.
Quick Tips:
- Always empty old soil first — never top up other pots with soil from a dead plant.
- Soak pots in hot, soapy water for 15–30 minutes, then scrub with a stiff brush.
- Disinfect with diluted bleach (1 part bleach to 10 parts water) for 10–15 minutes, then rinse well.
- Let pots dry fully in bright sunlight — sun does part of the sanitising for you.
- Retire cracked pots, flaking painted pots, and any pot that held a badly diseased plant.
What’s Actually Lurking in a Dirty Pot
It helps to know what you’re cleaning off, because “looks clean” and “is clean” are two different things. An old pot can carry fungal spores from last season’s root rot, fungus gnat eggs tucked along the soil line, bacterial slime in the drainage holes, and a whole history of fertiliser salts. None of that is visible, but all of it can move straight into your next plant — exactly what happened to my poor parsley.
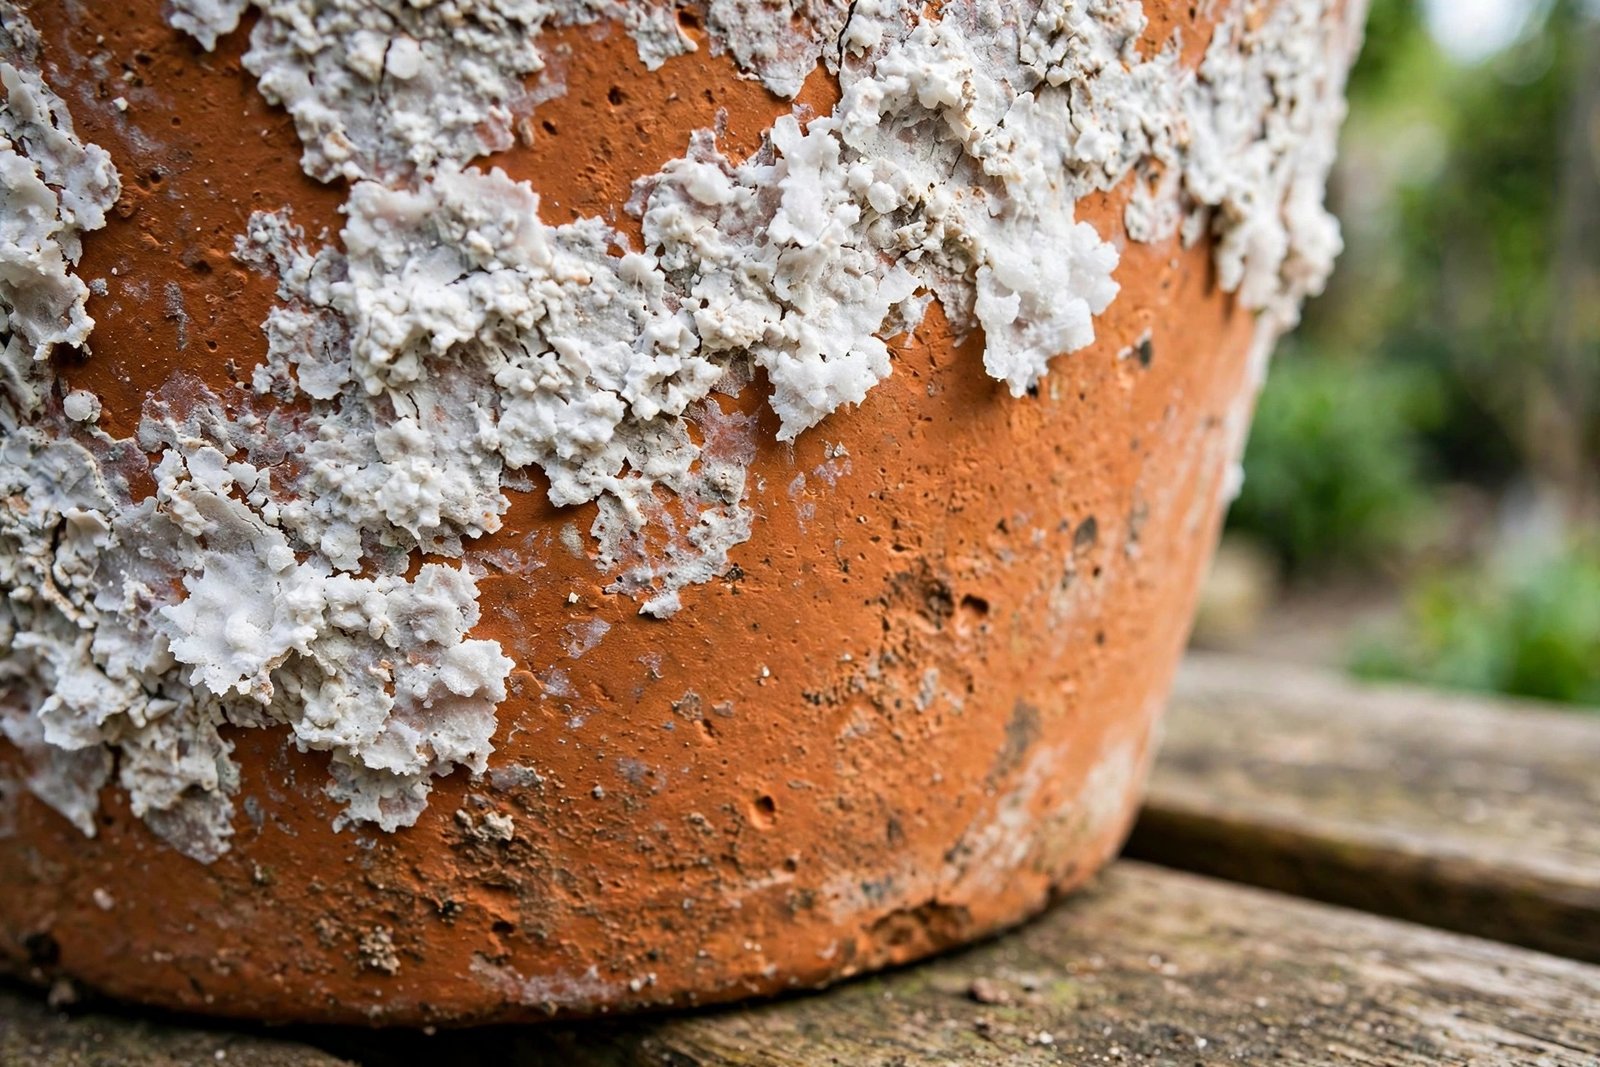
Then there’s the white crust — the chalky, flaky buildup you see on terracotta. That’s mineral salts from hard tap water and fertiliser, left behind as water evaporates through the porous clay. It’s mostly cosmetic, but a heavy crust clogs the pot’s pores, and in bad cases it can burn the tender roots of whatever you plant next. I’ve had a 6-inch pot so crusted the clay was white all the way round — that one needed a vinegar soak, not just a scrub.
The Scrub: My Step-by-Step Routine
This is the core of how to clean plant pots for reuse, and it’s deliberately boring. No gadgets, no special products — just hot water, washing-up liquid, and a brush.
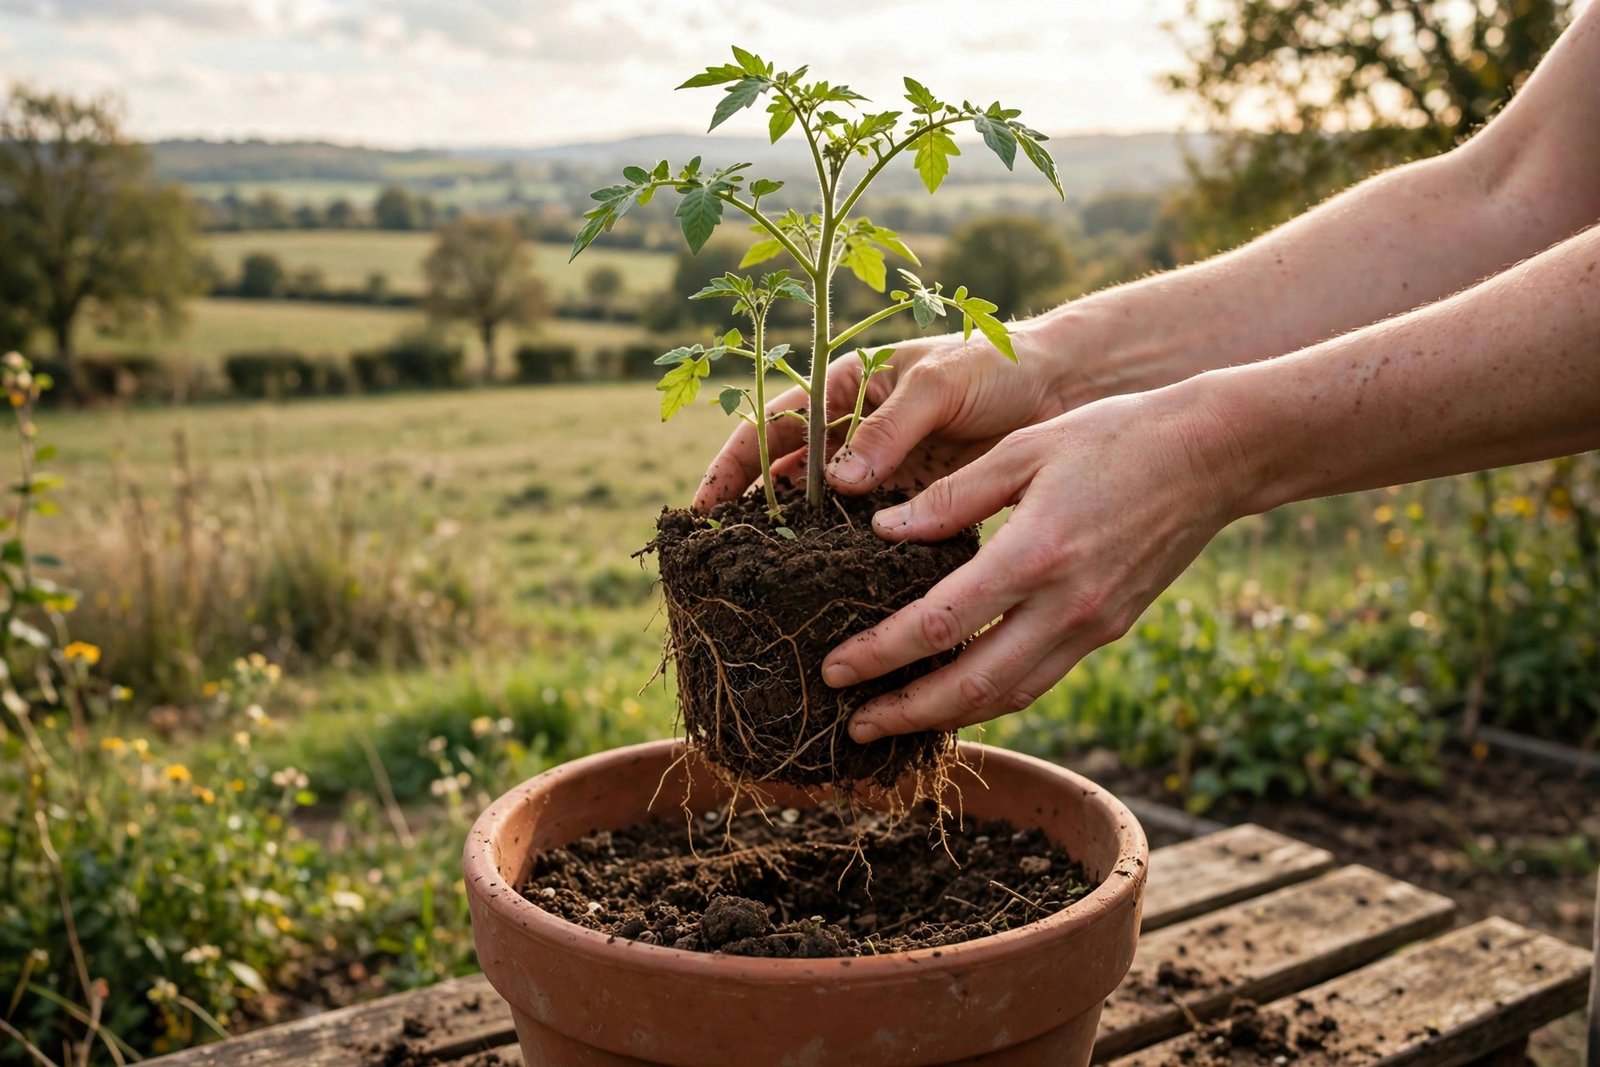
Step 1: Empty the old soil. Tip it into the bin or onto the compost heap — never into another pot. I know it feels wasteful, but old soil from a dead or finished plant is depleted and can carry pests. The one exception: soil from a plant that was perfectly healthy and simply outgrew its pot. That I’ll reuse, mixed half-and-half with fresh compost.
Step 2: Knock out the roots. Old root balls cling to the sides. Bang the pot firmly (terracotta: gently, on grass, not concrete) and pull out what you can. A chopstick or an old kitchen knife deals with the stubborn bits.
Step 3: Soak in hot, soapy water. Fill a bucket or the sink with hot water and a squirt of washing-up liquid, and leave the pots for 15–30 minutes. This loosens dried-on soil and algae far better than scrubbing dry ever could. In spring I do all my pots at once — it’s oddly satisfying, like a spa day for containers.
Step 4: Scrub everything, including the rim and drainage holes. A stiff brush for the inside, an old toothbrush for the rim and any decorative grooves where algae hides. Then poke a skewer through each drainage hole to clear it — a blocked hole turns any pot into a swamp, and I learned that one the wet way.
Step 5: Rinse well. A strong rinse under the tap, or the shower head for small pots. You want every trace of soap gone, because soap residue isn’t something roots enjoy either.
For pots that held a healthy plant, honestly, this is enough. The disinfecting step below is for the ones that worry me — pots that held a plant that died mysteriously, or anything with visible mould.
Disinfecting: The Step Most People Skip
Scrubbing removes dirt; disinfecting kills what you can’t see. I disinfect every pot that held a plant that died of anything other than obvious neglect (underwatering, frost — those don’t need it), plus every secondhand pot I pick up from neighbours or car boot sales. Brand-new pots from the shop don’t need it.
My method is the old nursery standard: one part household bleach to ten parts water. Submerge the pot for 10–15 minutes — I use the same bucket as the soak, rinsed out first. Then rinse thoroughly, twice, and leave the pot to dry in full sun. The sun’s UV does a surprising amount of extra sanitising, and it evaporates any lingering chlorine. Once a bleached pot is rinsed and sun-dried, it’s completely safe for edibles — chlorine breaks down fast in air and light.
Two safety notes, because I’d feel bad not saying them: never mix bleach with vinegar (the fumes are nasty), and wear gloves — bleach solution dries out skin something awful. If bleach makes you nervous, a 3% hydrogen peroxide soak works as a gentler alternative, though it costs more.
For that white salt crust on terracotta, bleach isn’t the answer — vinegar is. Soak the crusted pot in a bucket of half water, half white vinegar for an hour, then scrub. The crust fizzes and flakes off without harming the clay, and it leaves the pot’s pores open and breathing again. This trick alone rescued about six of my terracotta pots from the “too ugly to use” pile.
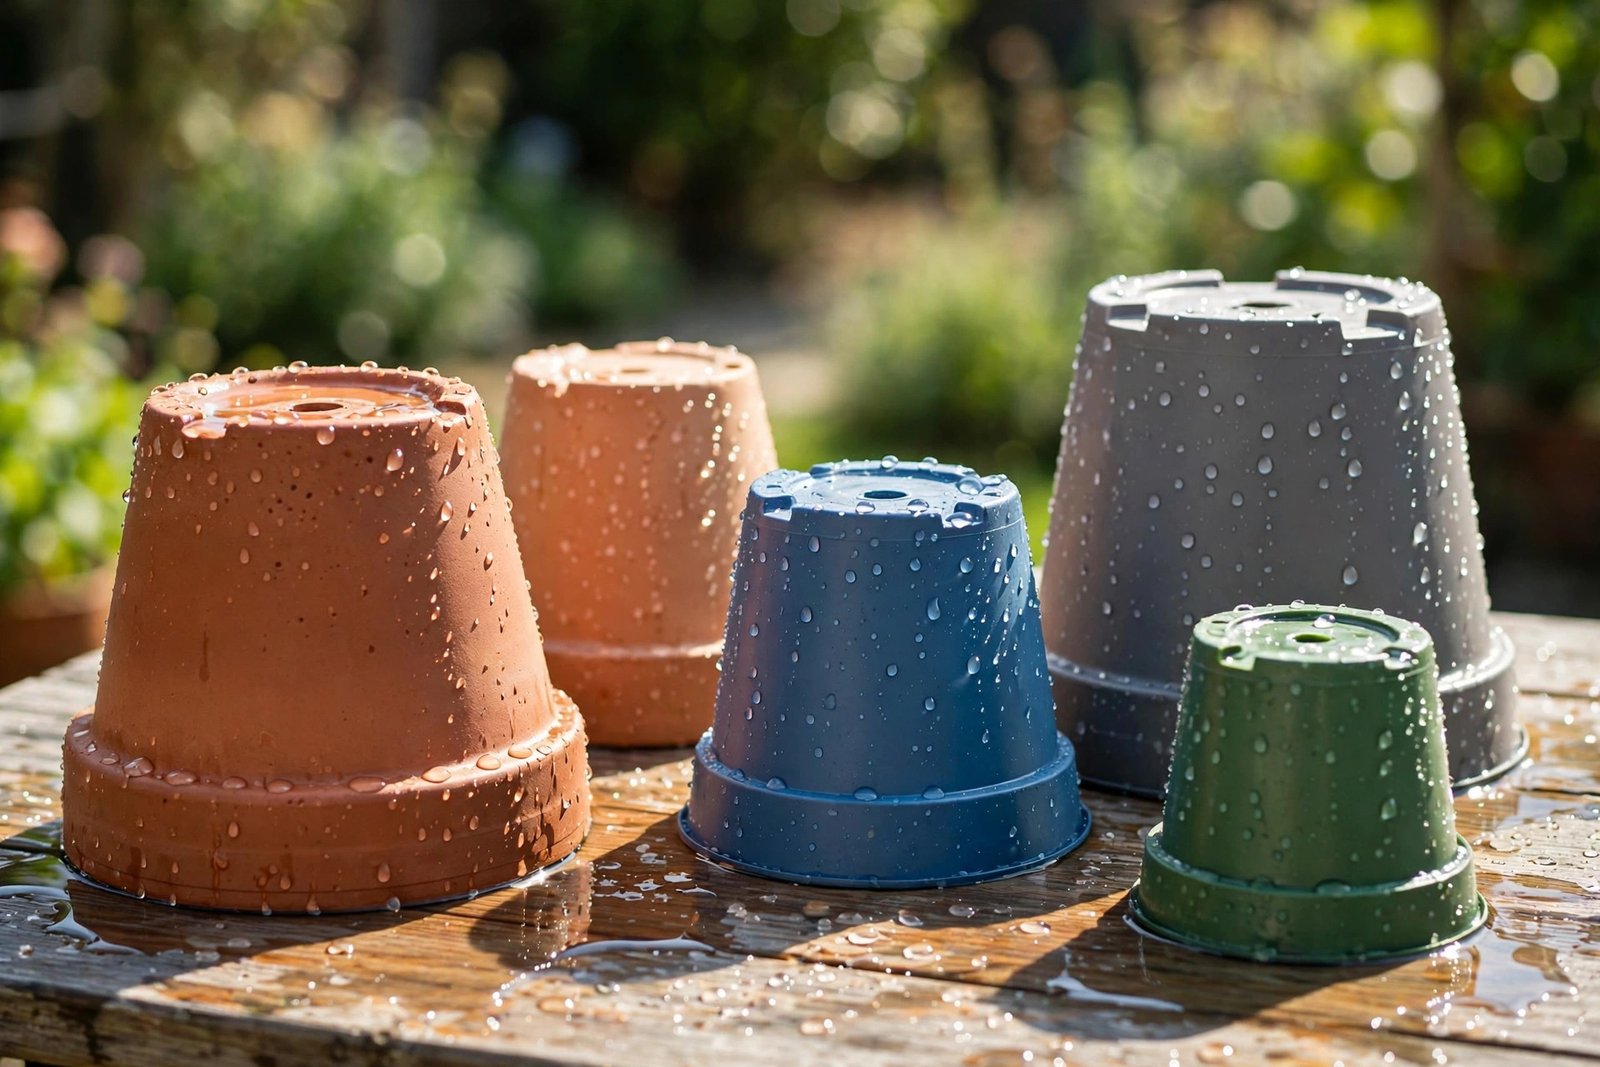
Terracotta, Plastic, and Ceramic Need Different Treatment
Not all pots are built the same, and it took me one cracked pot and one ruined glaze to learn the differences.
Terracotta is porous, which is its charm and its curse. It soaks up water — and everything dissolved in it — so it needs the longest soak and the most thorough rinse. The vinegar trick above was made for it. And never plunge a hot terracotta pot into cold water or vice versa; the thermal shock can crack it. I let mine come to the water’s temperature first.
Plastic is the easy one. Non-porous, so a quick scrub and a bleach soak does the job completely. It’s also the only pot I’d ever put through the dishwasher — top rack, hot cycle, no scented detergent pods. Terracotta in the dishwasher is a gamble I lost once: it came out with a hairline crack down the side.
Glazed ceramic sits in between. Treat it like plastic, but check the glaze for crazing — those fine cracks can harbour bacteria a surface scrub won’t reach. If the crazing is bad, I’ll use that pot for a hardy ornamental and skip edibles, just for peace of mind.
If you’re still building your pot collection, my honest breakdown of the materials is in the terracotta versus plastic pots comparison — it would have saved me from buying seven tiny terracotta pots in 2019 and then spending all summer watering them twice a day. The choosing the right pots and containers guide covers sizing, which honestly matters more than material for most beginners.
Don’t Forget the Saucers
While the pots are soaking, scrub the saucers too — they collect the same algae and salt, and they’re the bit your plant actually sits in. And check every drainage hole again once the pot is dry: a pot with a blocked hole drowns plants, full stop. The guide to drainage, holes, and saucers explains why this matters so much, especially for beginners who tend to love their plants a little too enthusiastically with the watering can.
When to Retire a Pot for Good
Some pots shouldn’t be reused, and knowing which ones saves heartbreak later. My rules:
- Cracked terracotta — a hairline crack might survive a season, but after a freeze it will split. Use it as a saucer, not a planter.
- Old painted pots with flaking paint — vintage pots can contain lead paint. Fine as decoration; I’d never grow herbs or salad in one.
- Crust you can’t shift — if two vinegar soaks and a hard scrub don’t clear it, the pores are done.
- Warped or sun-brittled plastic — cheap thin plastic goes brittle after a few summers. If it flexes and crackles, it’ll shatter mid-season with a plant in it.
- Pots that held a plant with serious disease — my personal line. A bit of root rot on a neglected plant? Bleach soak and it’s fine. But a plant that collapsed in days from something aggressive? That pot goes in the bin. Fifteen minutes of cleaning isn’t worth gambling a whole season’s plants.
Quick Answers to Common Questions
Can I just rinse a pot and reuse it?
If the last plant was healthy and you’re potting up something similar, a good scrub with hot soapy water is honestly enough. I only bring out the bleach for pots that held a plant that died mysteriously, anything with visible mould, or secondhand pots of unknown history. When in doubt, disinfect — it takes ten minutes and costs pennies.
Is bleach safe to use on plant pots?
Yes, with two conditions: dilute it (one part bleach to ten parts water) and rinse well afterwards. Chlorine evaporates quickly in air and sunlight, so a rinsed, sun-dried pot is completely safe — I use this method on pots I grow herbs and salad in, and I’ve never had a problem. Just never mix bleach with vinegar, and wear gloves while you work.
What’s the white crust on my terracotta pots?
Mineral salts from hard tap water and fertiliser, left behind as water evaporates through the porous clay. Mostly harmless and cosmetic, though a thick crust can clog the pores and irritate roots. Soak the pot in half water, half white vinegar for an hour and scrub it off. If your water is very hard, expect the crust to come back — it’s a sign, not a disease.
Can I clean pots in the dishwasher?
Plastic pots, yes — top rack, hot cycle, and skip the scented detergent. Glazed ceramic is usually fine too. I wouldn’t put terracotta in: the heat and the rattling can crack it, and a good soak in the sink works better anyway. Wooden planters and anything painted should stay out as well.
Should I reuse the old soil as well?
Generally no. Old soil is depleted of nutrients and can harbour pests or disease — the same reason we’re cleaning the pot. Tip it on the compost heap or into the bin, and start with fresh compost. The one exception is soil from a healthy plant that simply outgrew its pot; I’ll mix that half-and-half with fresh compost and it’s perfectly fine.
That’s the whole routine — fifteen minutes, a bucket, and a brush, and every pot on your balcony gets a fresh start. Your plants can’t tell you when something’s wrong with their pot, so a little cleaning goes a long way. And the parsley I planted in that properly cleaned pot the following spring? It grew like it had something to prove.