Mint was the first herb I ever killed. Not from neglect — from confidence. I’d read that mint was indestructible, so I planted a tiny nursery pot of spearmint directly into the soil of a shared garden bed, stood back, and admired my work — my first clumsy attempt at learning how to grow mint in pots. Then I tucked a second mint plant into the same big pot as my parsley, because it looked empty.
Both decisions were disasters in opposite directions. The ground-planted mint didn’t die — far from it. By the next summer it had sent underground runners two metres in every direction and was popping up through the lawn. Meanwhile, the mint in the shared pot murdered the parsley. By August the pot was wall-to-wall mint and the parsley was a ghost.
Here’s what I know now: mint is genuinely easy to grow — but its “impossible to kill” reputation is exactly what gets beginners into trouble. Own pot, right size, regular pinching: fresh leaves from spring to the first frosts.
Quick Tips:
- Mint always gets its own pot — never share, and never plant it in open ground.
- A 10–12 inch (25–30 cm) pot with drainage holes is the sweet spot for one plant.
- Pinch the top leaves regularly to keep it bushy; never take more than a third at once.
- Snip off flower buds the moment you see them — flowering dulls the flavour.
- Divide and repot every 2–3 years, or the centre turns woody and bare.
Picking Your Mint: Spearmint vs Peppermint
Mint isn’t one plant — it’s a big, unruly family. The first step in how to grow mint in pots is picking your variety — and for the kitchen, you really only need to know two.
Spearmint is the workhorse. Sweet and mild, the flavour you recognise from tabbouleh, raita, and a proper mojito. It’s the most forgiving — if you only grow one mint, grow this one.
Peppermint is stronger and sharper, with more menthol — the one for tea and for anyone who wants that proper cooling hit. Give it morning sun rather than a baking afternoon spot.
Beyond those two, nurseries love to tempt you: chocolate mint (brilliant in hot chocolate), apple mint (great with peas), and pineapple mint with its cream-edged leaves. Buy nursery plants, not seeds — mint seeds are slow and variable.
How to Grow Mint in Pots: Getting the Setup Right
Most mint mistakes happen at setup. Mint spreads by underground runners that can colonise several square metres of open soil — a pot isn’t cruelty, it’s containment.
Pot size and material
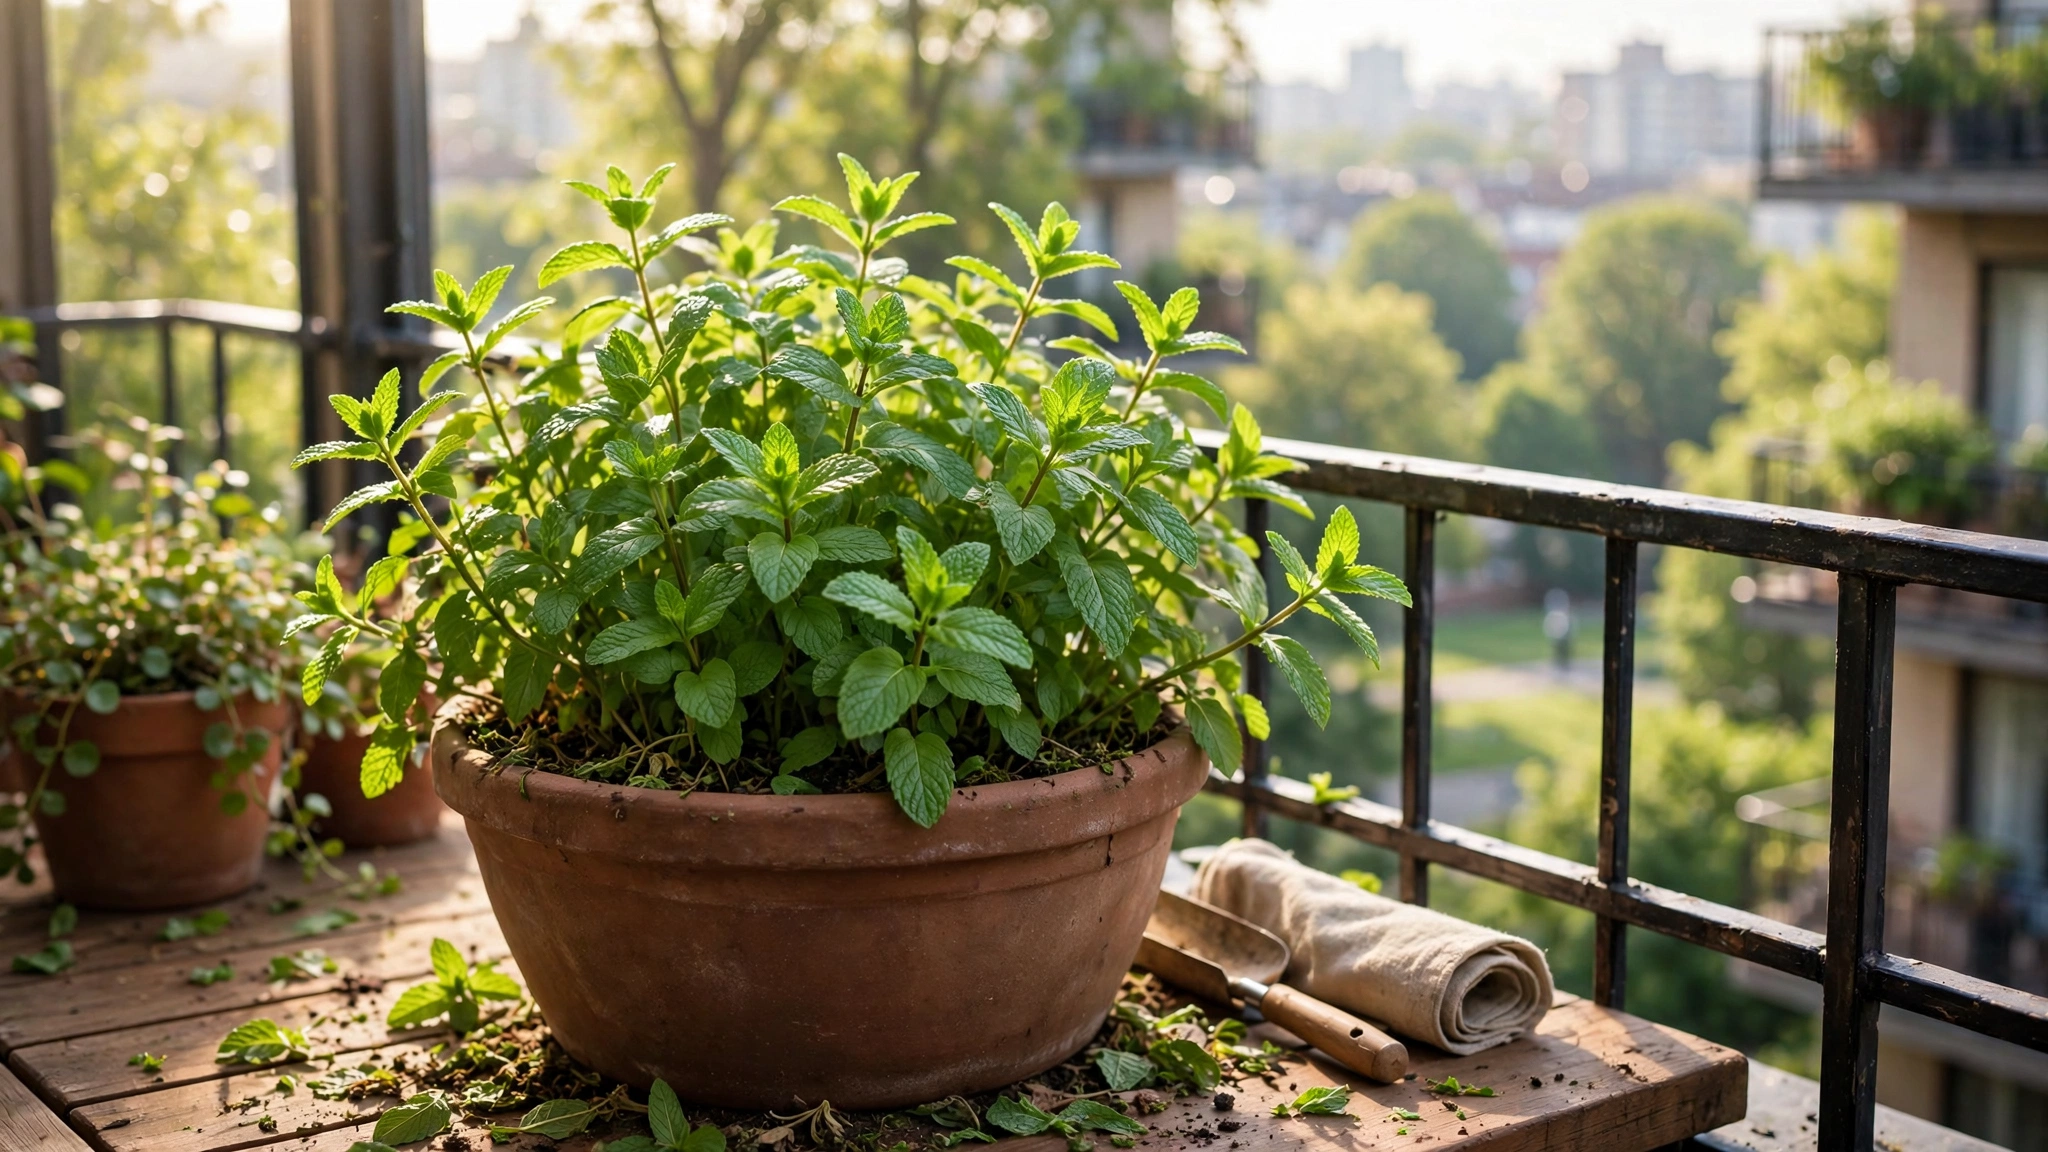
Go bigger than your instincts say. A 6-inch (15 cm) pot works for a few months, then dries out constantly and turns root-bound by midsummer. A 10–12 inch (25–30 cm) pot gives one plant room to stay lush all season and holds moisture through hot afternoons. Terracotta breathes well but dries faster; glazed ceramic or plastic suits forgetful waterers. Whatever you choose, it must have drainage holes — mint likes damp soil, not a swamp. If pots still confuse you, the guide to choosing the right pots and containers covers the plastic-versus-terracotta debate properly.
Soil
A standard multi-purpose potting compost works fine; I mix in a handful of perlite per pot so it doesn’t compact into a brick by August. Fill to about an inch (2–3 cm) below the rim — that gap is your watering reservoir. Skip garden soil in pots: it’s too heavy and drains badly.
The one-pot rule
The golden rule of how to grow mint in pots: one plant per pot, never shared. Its runners will crowd out parsley, basil, and anything else polite enough to share.
Starting Out: Nursery Plant or Cuttings
Buy a healthy seedling in spring, plant it at the same depth it was growing, water well, and you’ll harvest within weeks. Look for bright green leaves and skip anything already flowering.
Cuttings are the free option, and mint is one of the easiest plants in the world to propagate this way. Snip a healthy 4-inch (10 cm) stem just below a leaf node, strip the lower leaves, and stand it in a glass of water on a bright windowsill. Roots appear within 7–10 days; once they’re an inch or two long, pot it up and keep it moist for the first week. I’ve started whole new pots from stems that were nearly headed for a jug of iced tea.
Sun and Water: What Mint Actually Wants
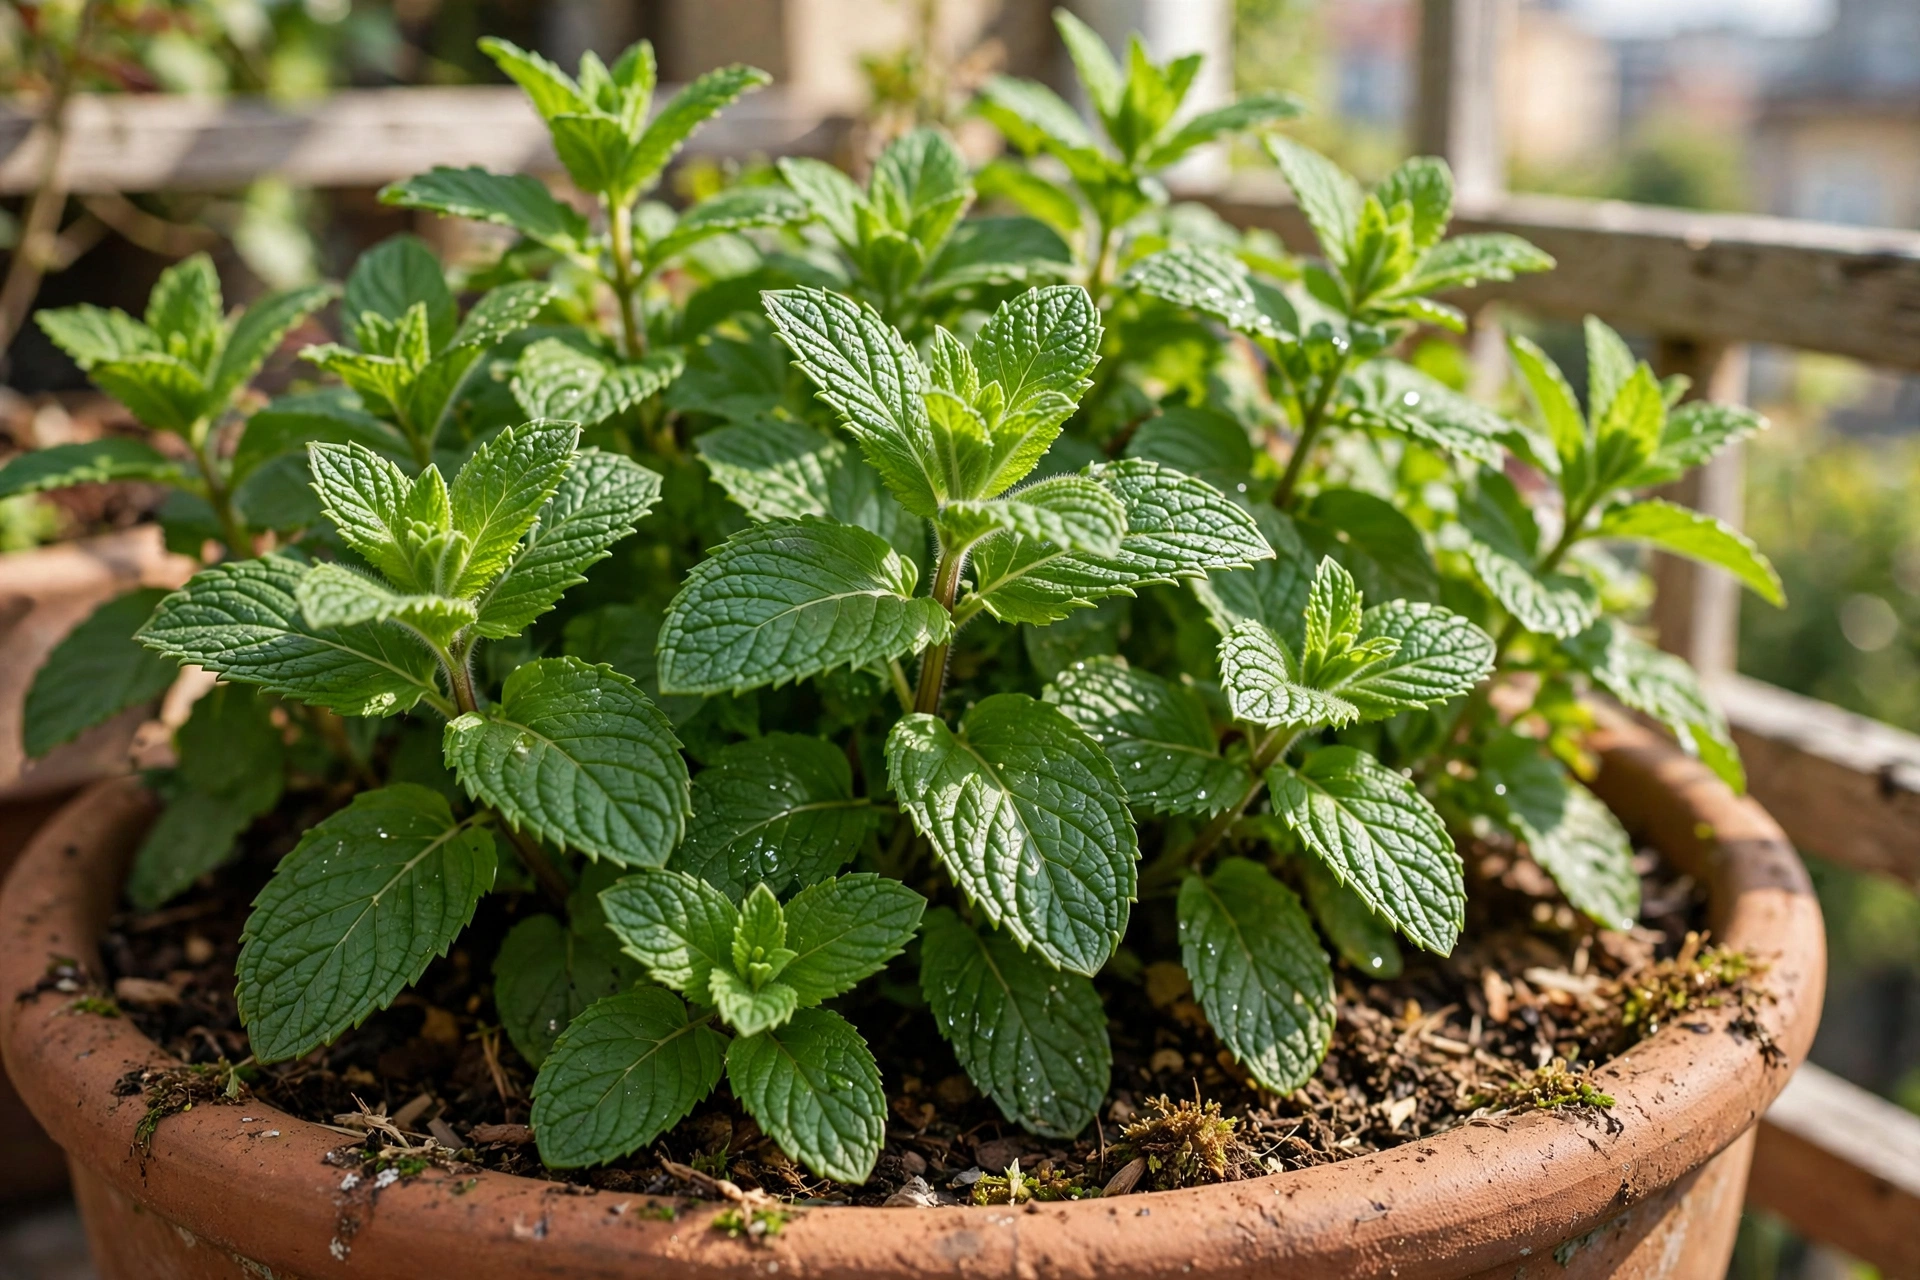
One thing that surprises people learning how to grow mint in pots is how undramatic it is about light. Full sun is fine (morning sun with a little afternoon shade is the dream ticket), and it tolerates partial shade better than most herbs — 3–4 hours of direct sun keeps it productive. Even a north-east-facing balcony that defeats basil can usually grow decent mint.
Watering is where mint differs from its Mediterranean cousins. Rosemary and thyme like to dry out between drinks; mint wants consistently moist soil. Not waterlogged — but don’t let it dry out completely or the lower leaves yellow and drop. The finger test never lies: push a finger into the soil up to the second knuckle. Dry? Water thoroughly until it runs from the drainage holes. Damp? Walk away.
In a heatwave, water daily; a mulch layer of bark chips or pebbles slows evaporation noticeably. Growing on a kitchen windowsill instead? The same rules apply on a smaller scale, and there’s a whole guide to growing herbs on a windowsill if that’s your setup.
Pinching and Harvesting: The Secret to Bushy Mint
Mint left alone grows tall, leggy, and sparse, with bare stems and a tuft of leaves at the top. Mint that gets pinched regularly grows into a dense, bushy cloud. Once you learn how to grow mint in pots, pinching becomes the ten-second weekly habit that makes all the difference.
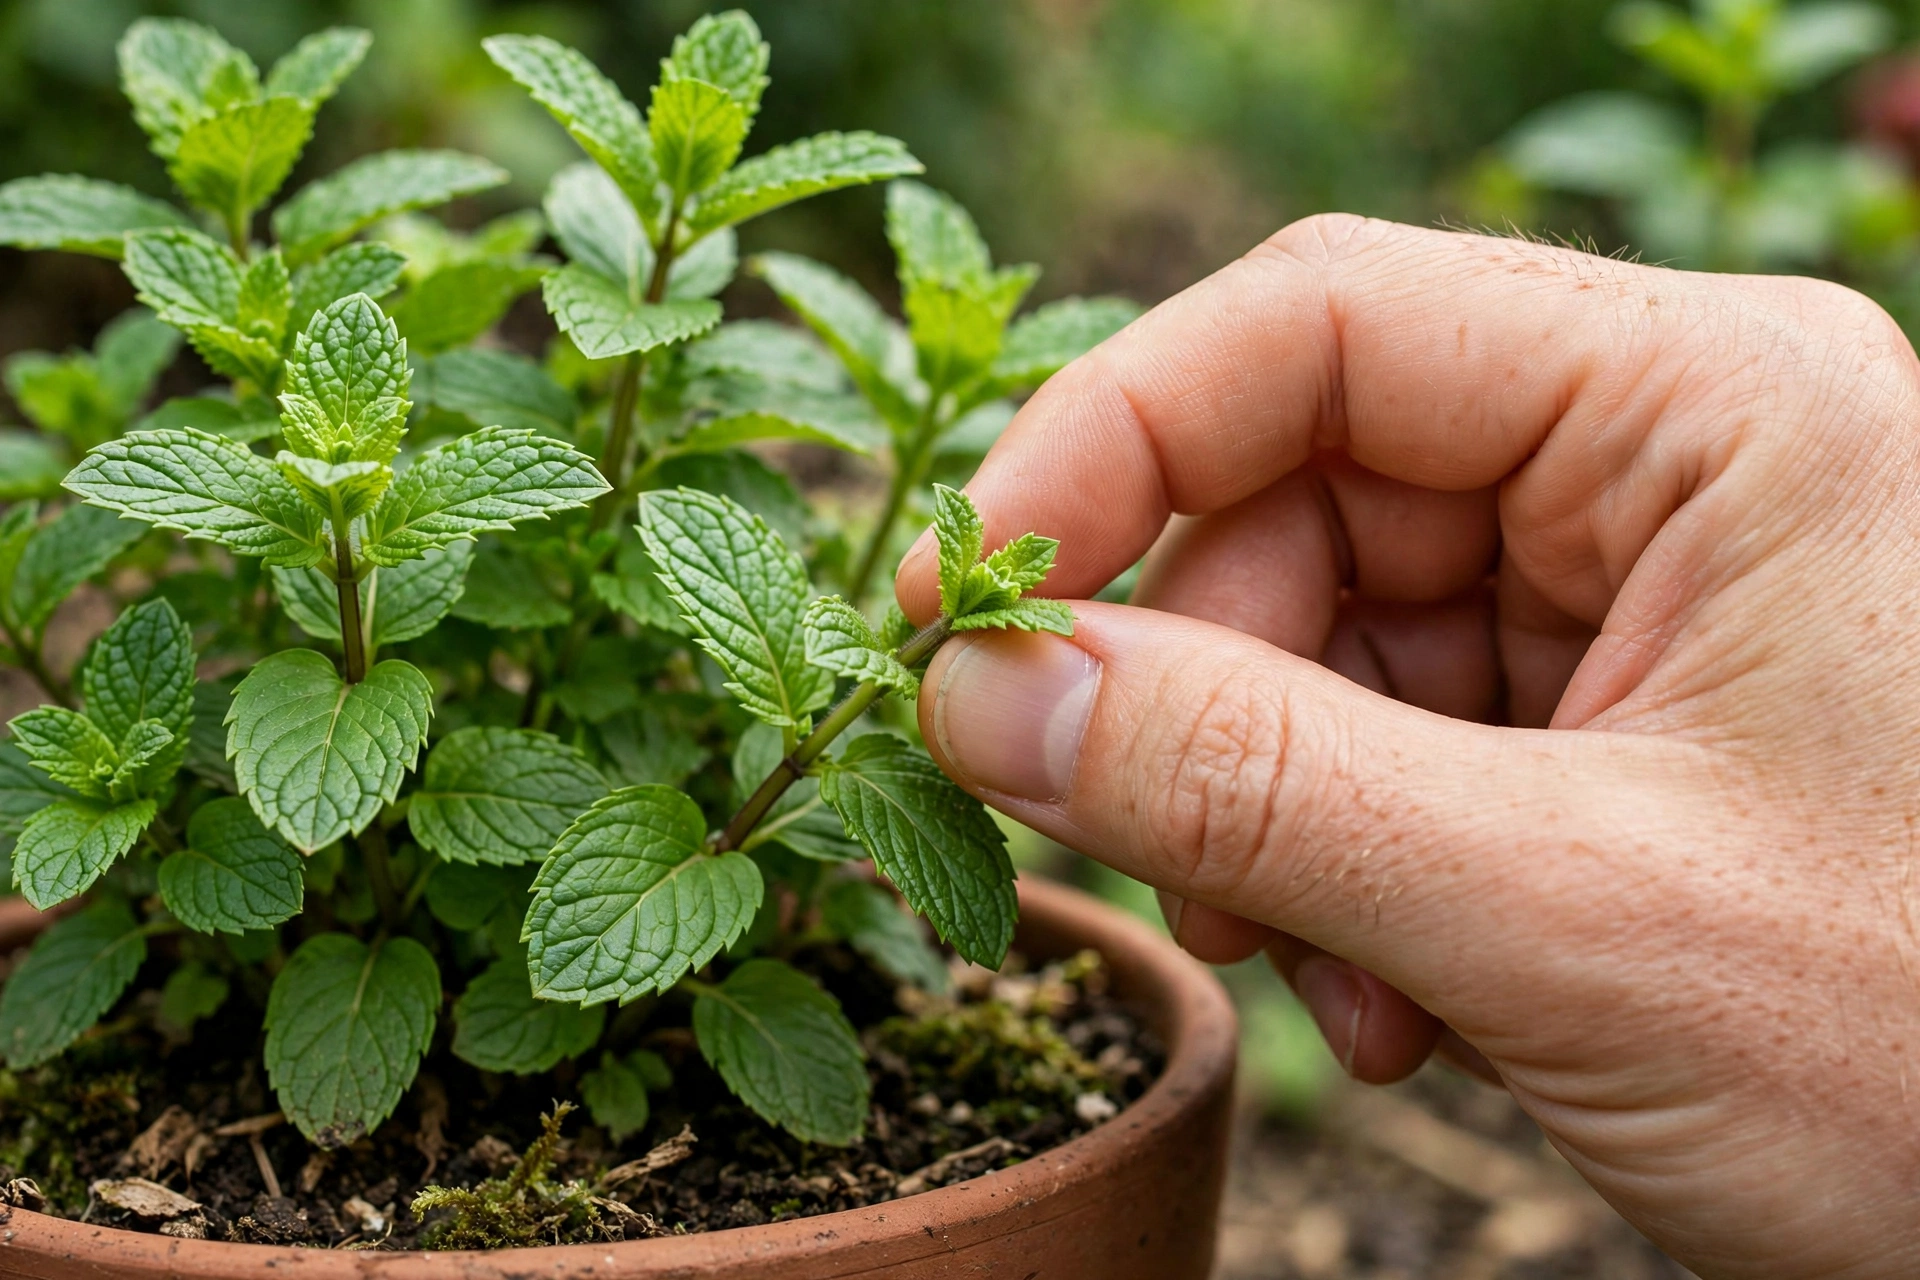
Pinch the growing tips. Once your plant is about 6 inches (15 cm) tall, pinch or snip the top inch or two off each stem, just above a pair of leaves. Each pinched stem splits into two new stems below the cut — that’s the whole trick. Do it every week or two and one plant becomes a thick mound. Use the pinched tips in your tea; nothing is wasted.
For bigger harvests, cut whole stems just above a leaf node — never more than a third of the plant at once. A healthy potted mint bounces back from a hard cut in two to three weeks. Pick in the morning, when the essential oils are strongest and the flavour is noticeably better.
Stop the Flowers Before They Start
Around midsummer your mint will try to flower — little spikes of tiny purple or white blossoms. Bees love them, but flowering is bad news for flavour: the leaves turn smaller, tougher, and less tasty once the plant puts its energy into blooms.
Snip off flower buds the moment you spot them, pinching the stem back to a pair of leaves. Regular harvesting usually prevents flowering anyway, since you’re always removing the tips where buds form. If a plant gets away from you, cut it back by half, water and feed it, and it’ll push out a fresh flush of tasty growth within weeks.
Containing the Runners: Dividing and Repotting
After a season or two the pot fills with a dense mat of roots. Act when growth slows, the centre goes bare and woody, or roots circle the drainage holes — usually every 2–3 years.
Spring division is the answer, and it’s weirdly satisfying. Tip the root ball out, and with a sharp knife cut it into two to four chunks, each with stems and roots. Discard the tired woody centre, repot the healthiest chunks into fresh compost, water well — and you’ve turned one exhausted plant into several vigorous new ones. Give spares to friends; mint divisions are the classic gardener’s gift.
One more containment note: don’t let stems flop over the rim and root into neighbouring pots or the ground. Mint roots wherever it touches soil. Tuck escapees back in or snip them off.
Overwintering Your Mint Pot
Once you’ve mastered how to grow mint in pots through summer, winter is the easy part. Most varieties are hardy well below freezing, but pot roots are exposed — so in cold climates, shelter the pot against a wall, wrap it in bubble wrap, or move it to an unheated garage.
Don’t panic when it collapses in late autumn — the top dying back is normal. Cut dead stems to an inch above the soil, stop feeding, and water only occasionally. The roots are alive underground, waiting. In spring, fresh shoots appear — often earlier than you’d expect. Plant mint once, divide every few years, and it can keep you in fresh leaves for a decade.
Using Your Harvest: Tea, Cooking, and More
The simplest use is also the best: fresh mint tea. A generous handful of leaves, lightly bruised between your palms, in a teapot with just-boiled water, steeped five minutes. It never fails to impress anyone who’s only had the dusty teabag version.
Spearmint loves peas, potatoes, lamb, and tabbouleh; torn (not chopped — chopping bruises it dark) through watermelon and feta, it’s wonderful. Peppermint goes into baking and iced drinks. For a mojito, muddle gently — press, don’t shred, or it turns bitter. If the harvest overwhelms you, freeze leaves in ice-cube trays topped with water; they keep their flavour far better than dried mint.
Troubleshooting: Quick Mint Fixes
Mint is forgiving, but even when you know how to grow mint in pots, things go wrong. Quick diagnosis:
Yellow leaves
Usually overwatering — check drainage holes aren’t blocked and empty the saucer. Or hunger: a half-strength liquid feed every couple of weeks perks it up. Roots packed solid? Division time.
Leggy stems, few leaves
Under-pinched or under-lit. Cut back by half, move somewhere brighter, and pinch new growth regularly.
Brown, crispy leaf edges
Underwatering or harsh afternoon sun. Water deeply, mulch the surface, try morning sun only. Scorched leaves won’t recover; new growth will.
Orange spots under the leaves
That’s mint rust. Improve air circulation, avoid wetting leaves when watering, and remove affected leaves promptly — bin them, don’t compost. Cut badly infected plants to the ground; the regrowth is usually clean.
Frequently Asked Questions
Can I grow mint indoors all year?
Yes — mint is one of the better herbs for indoor growing. Give it your brightest windowsill, a pot with drainage, and consistent moisture. Growth slows in winter, but you’ll still get usable leaves.
How fast does mint grow in a pot?
Fast. A spring-planted seedling in a 10–12 inch pot is usually harvestable within 4–6 weeks and properly lush by midsummer. That vigour is exactly why the one-pot rule matters.
Does mint come back every year?
Yes, it’s a hardy perennial — one of the quiet rewards of learning how to grow mint in pots. The top growth dies back in winter and fresh shoots emerge in spring. Divide every 2–3 years to keep it vigorous.
Your Turn
There’s something deeply satisfying about pinching a few leaves on the balcony and having proper fresh mint tea five minutes later — grown by you, in a pot, three floors up.
That’s how to grow mint in pots, start to finish: one spearmint plant, one decent-sized pot, pinch it often, keep it watered, and never let it near open ground or a shared pot. Do that and you’ll have the easiest win in container gardening. And if you’re building out a whole edible balcony, the guide to vegetables that grow well in pots is the natural next read.